Effortlessly Sync Salesforce Opportunities to Shopify – Send to Shopify Feature
In this guide, we’ll walk you through the step-by-step process of syncing a Salesforce Opportunity with Shopify using the Send to Shopify button. This feature allows you to convert an Opportunity with products into a Shopify Order, ensuring seamless data flow between Salesforce and Shopify.
Follow these steps to know the functionality of the Send to Shopify button for Opportunities:
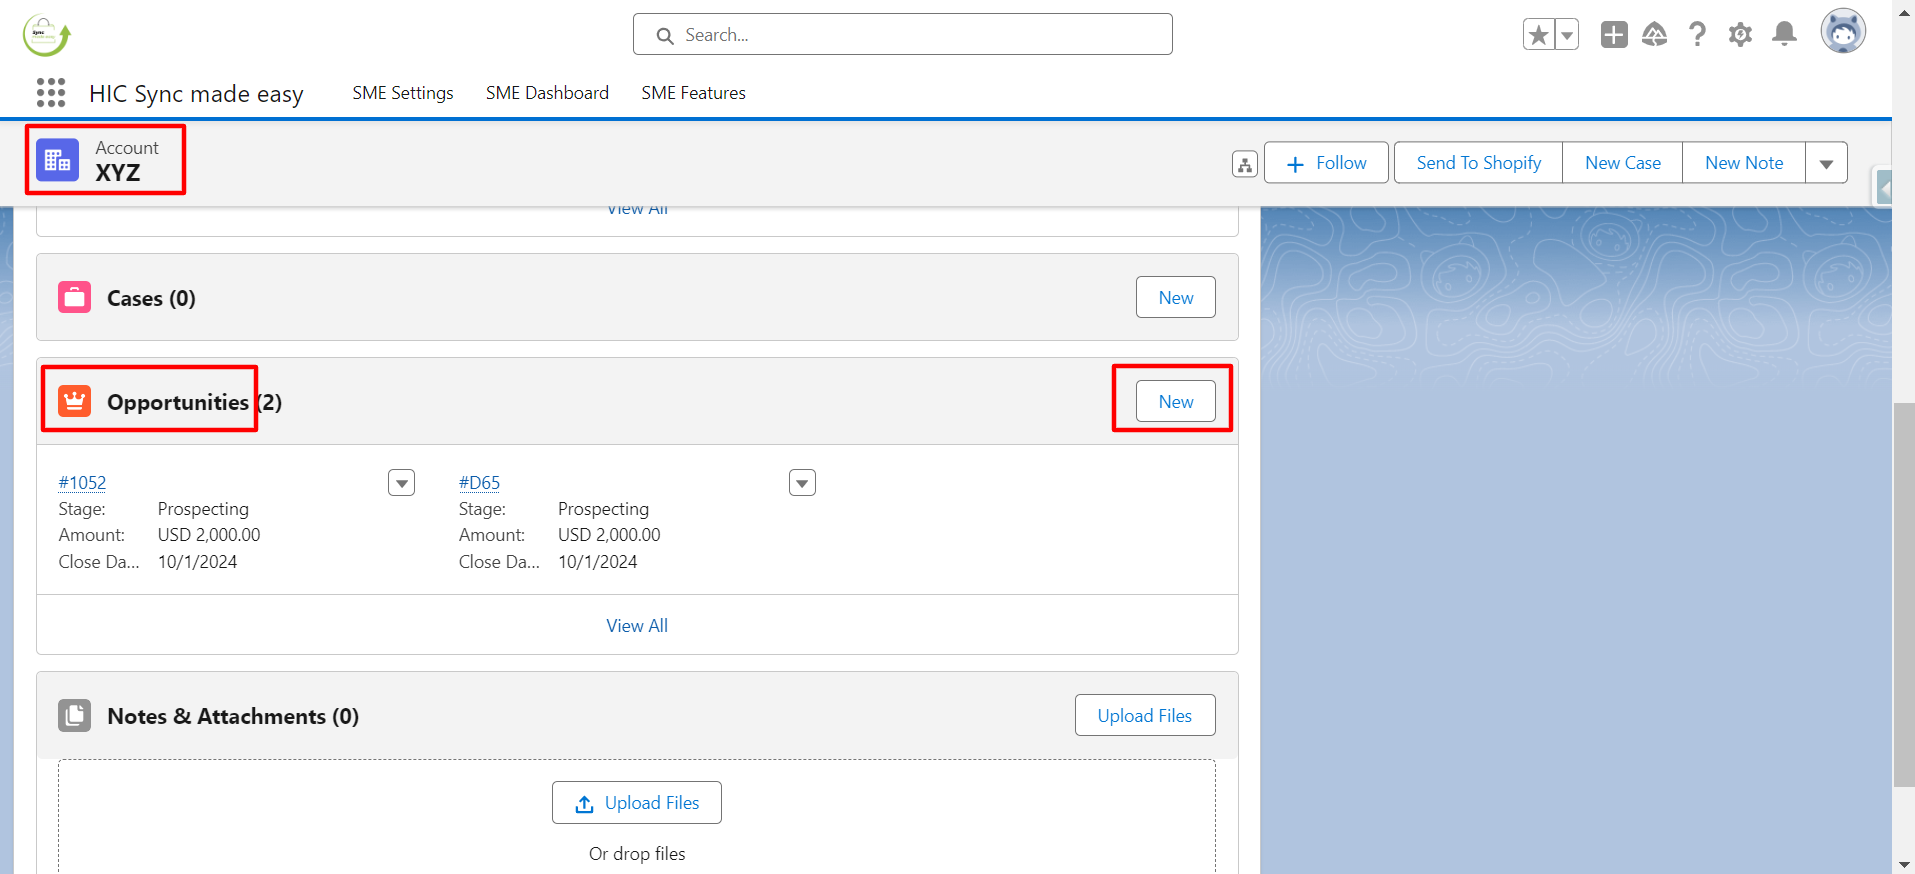
Step 1:Create an ‘Opportunity’ in Salesforce under the account XYZ by clicking on the ‘New’ button.
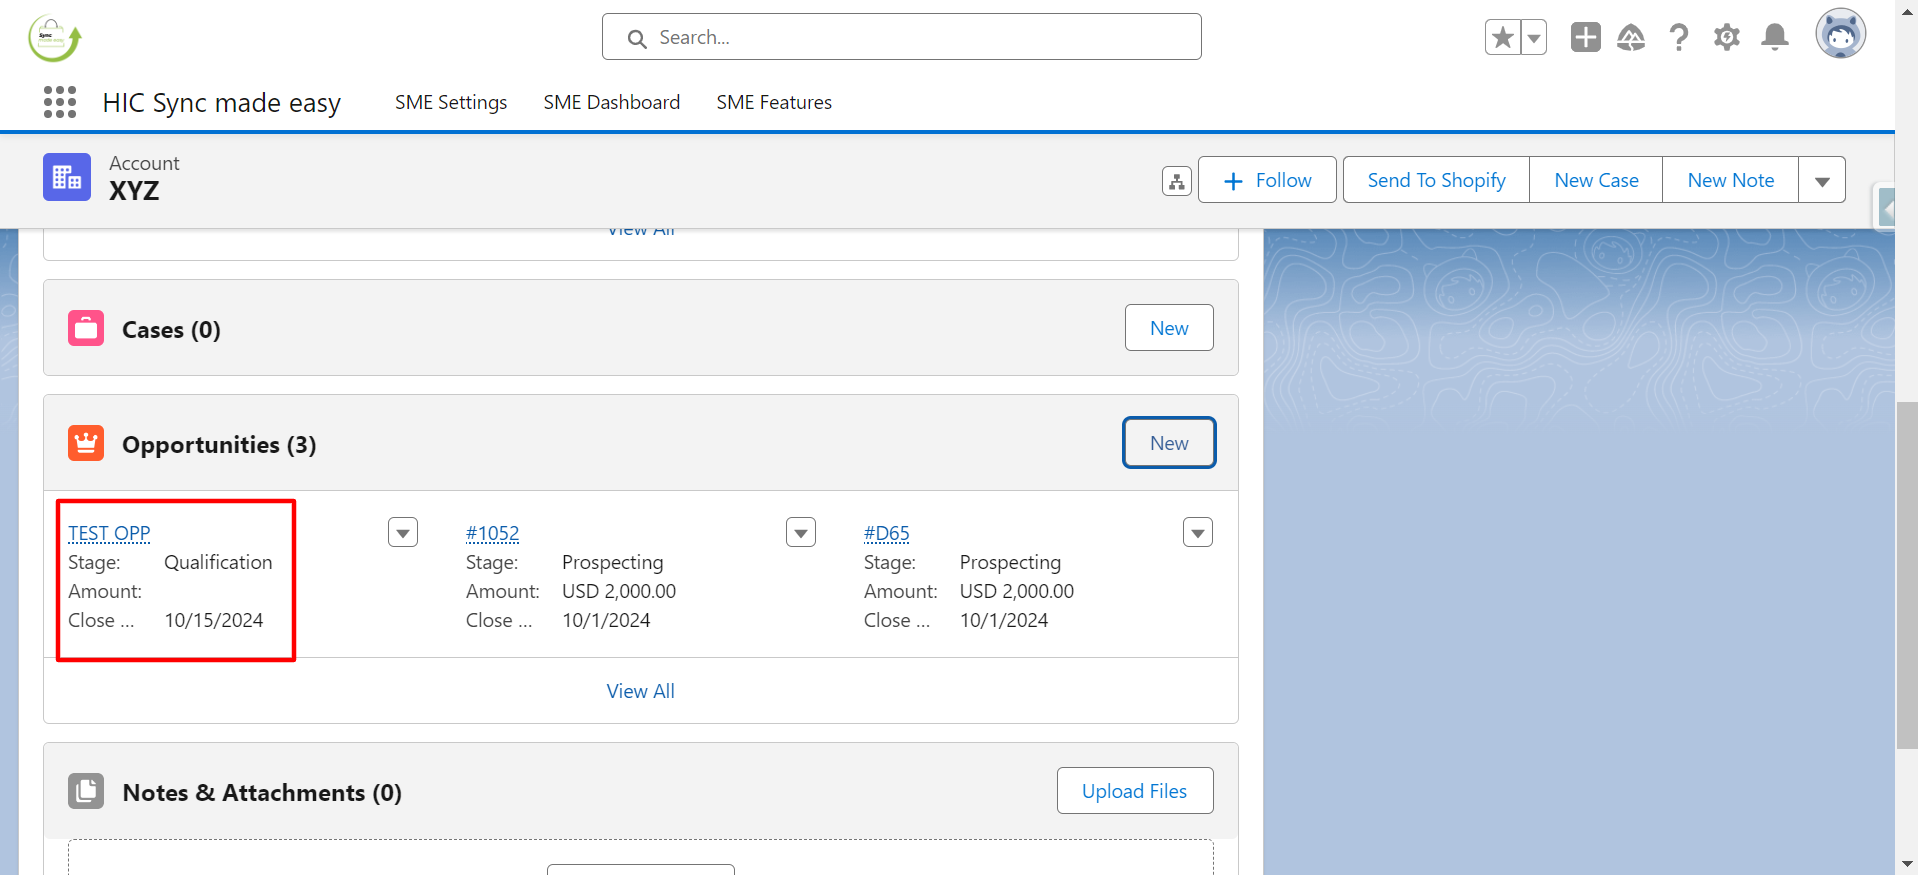
Step 2:Fill in the required fields, such as “Opportunity Name“, “Account Name“, “Stage“, and “Close Date“, then click the Save button.
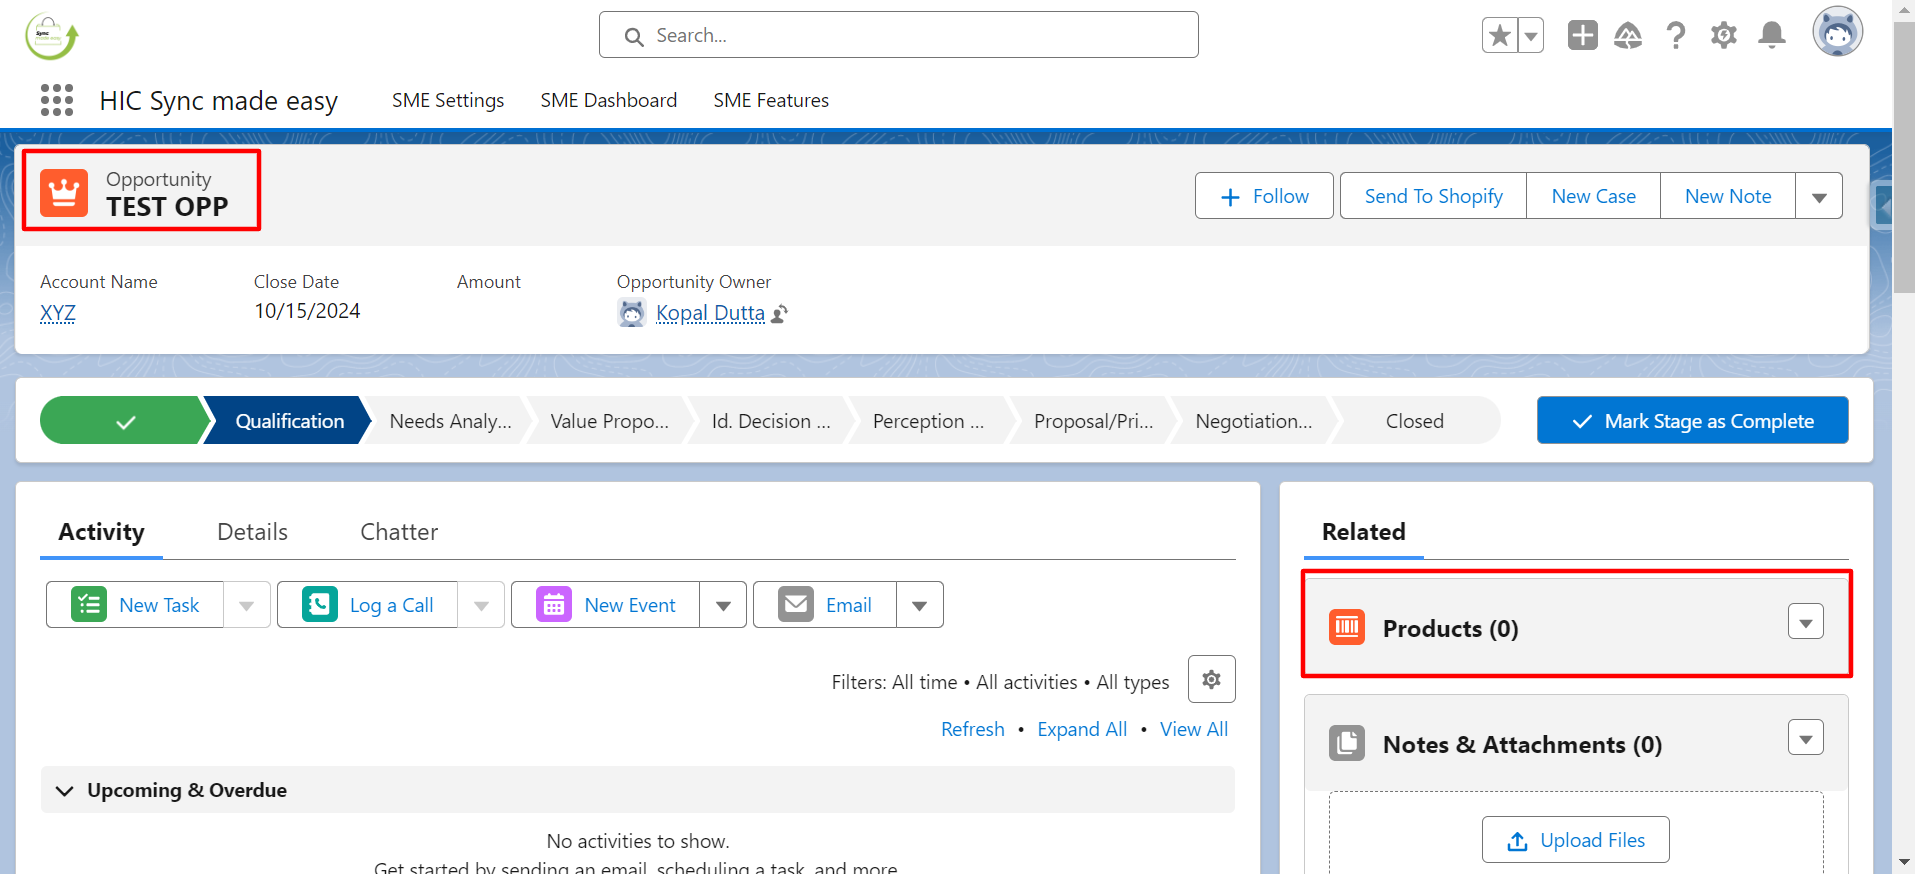
Step 3:Once the Opportunity is created, open it.
Step 4: Add a “Product” to the Opportunity.
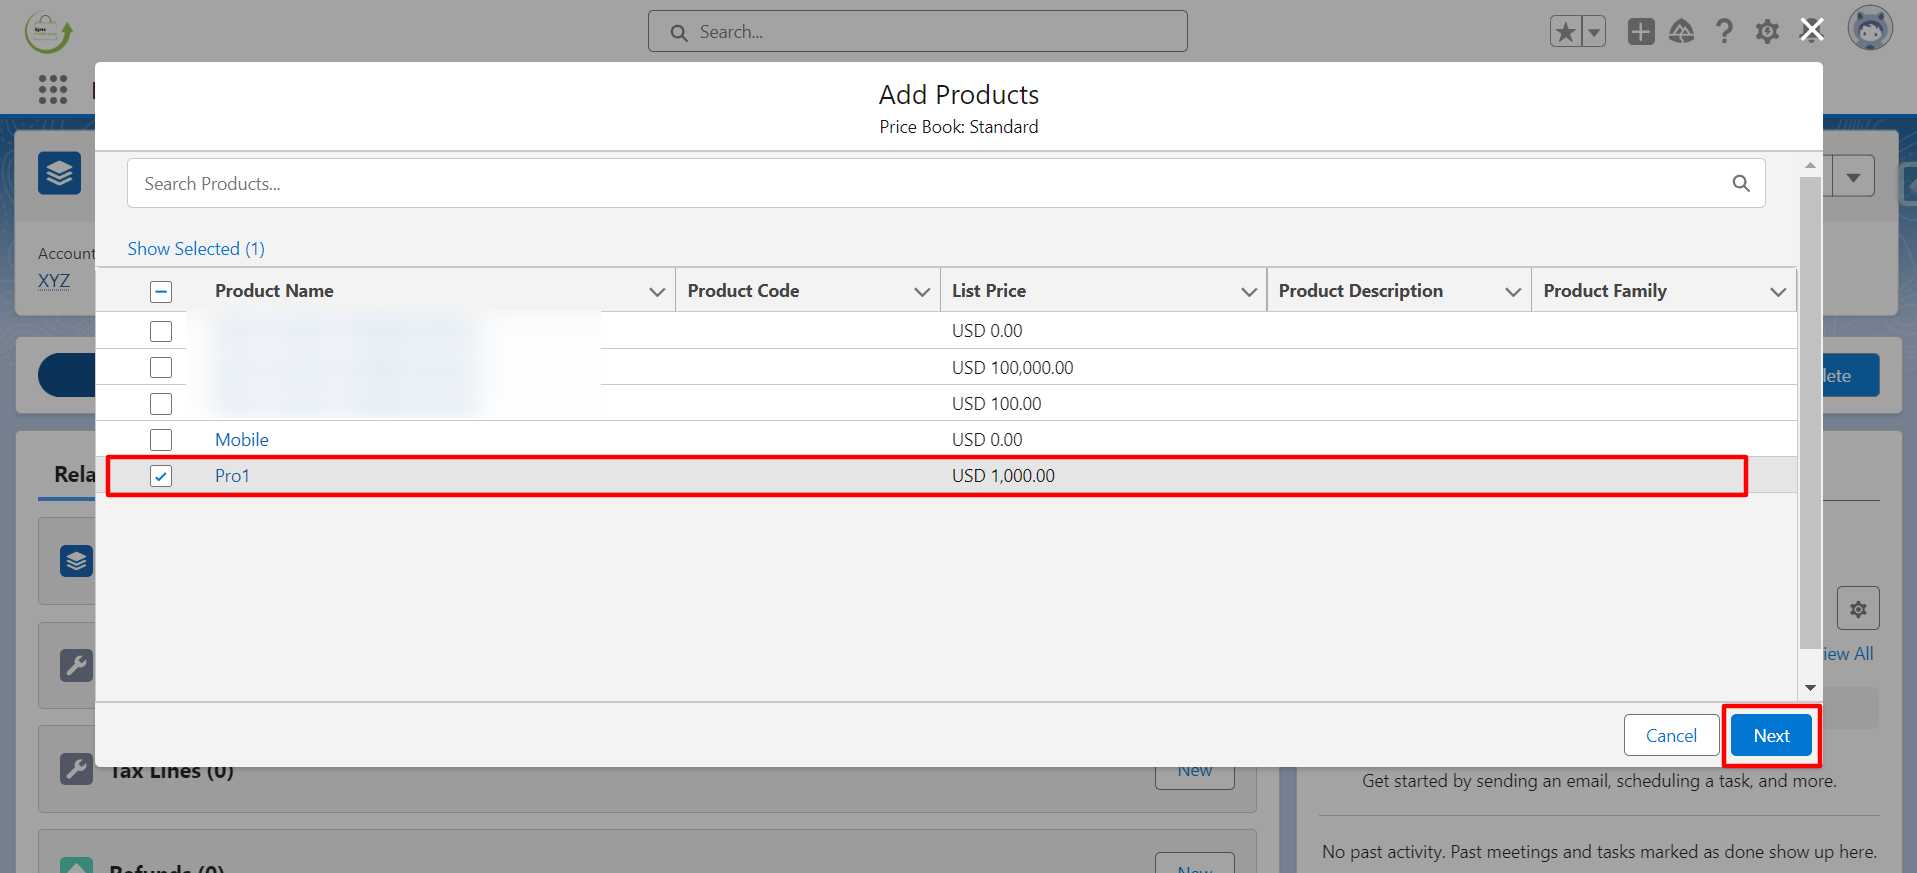
Step 5:Select the Product and click Next.
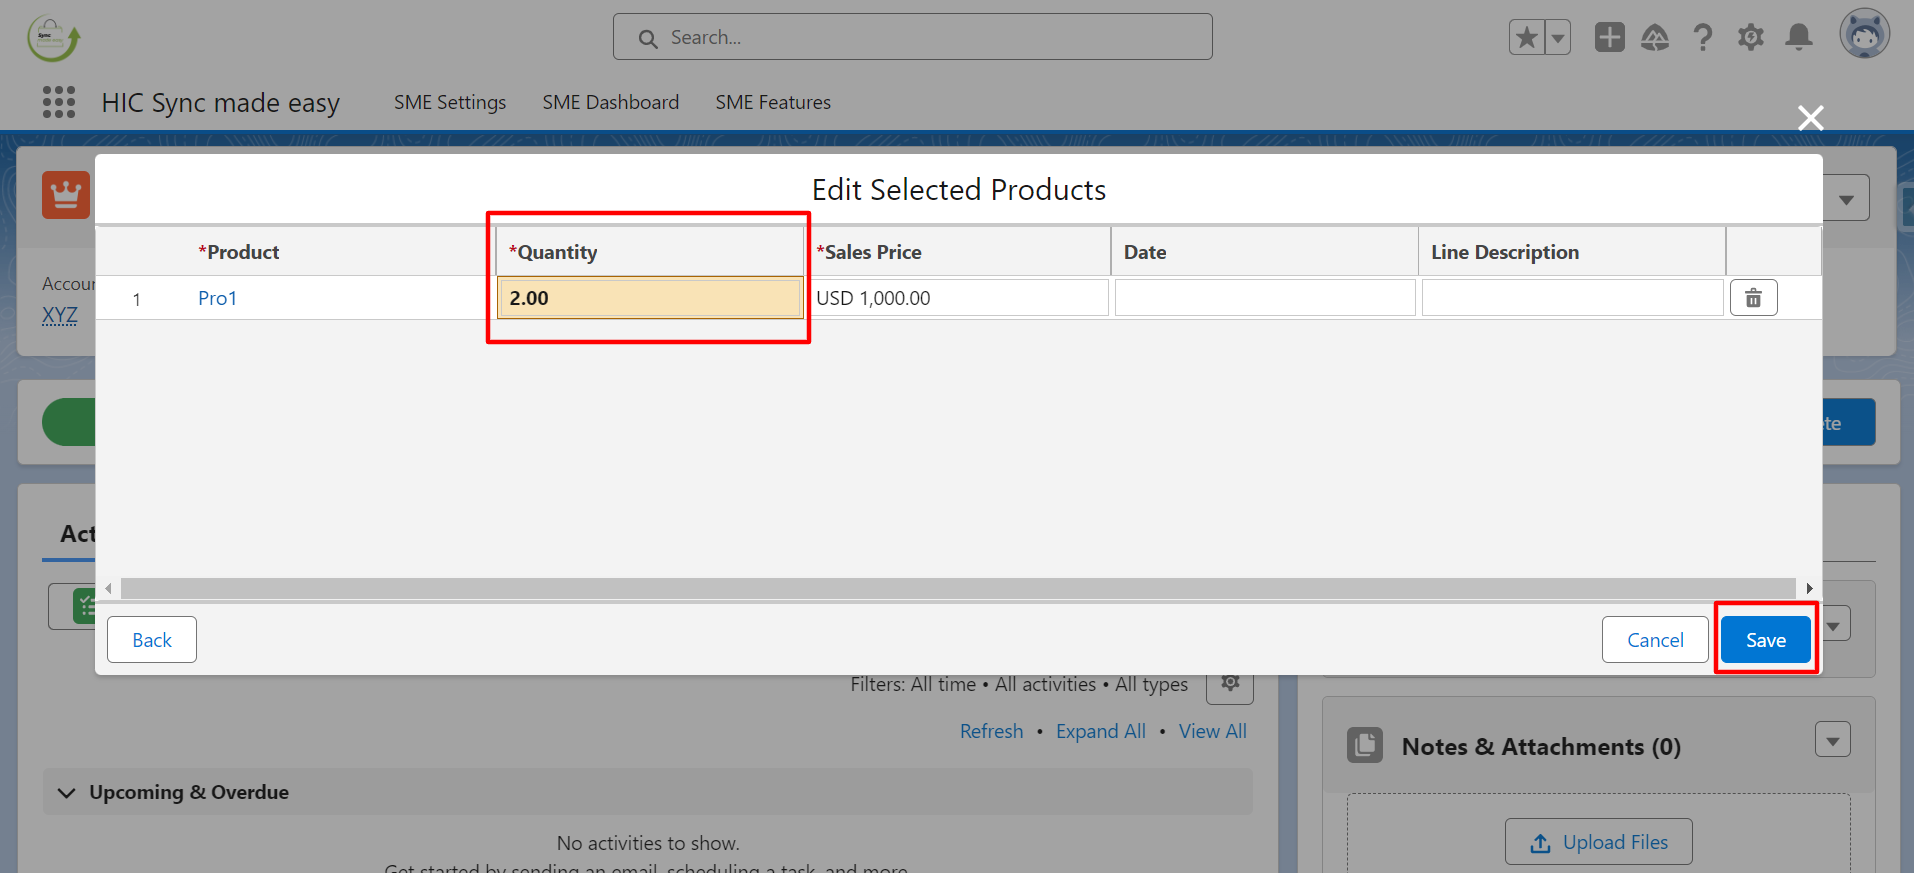
Step 6:Enter the “Quantity” for the Product and click Save.
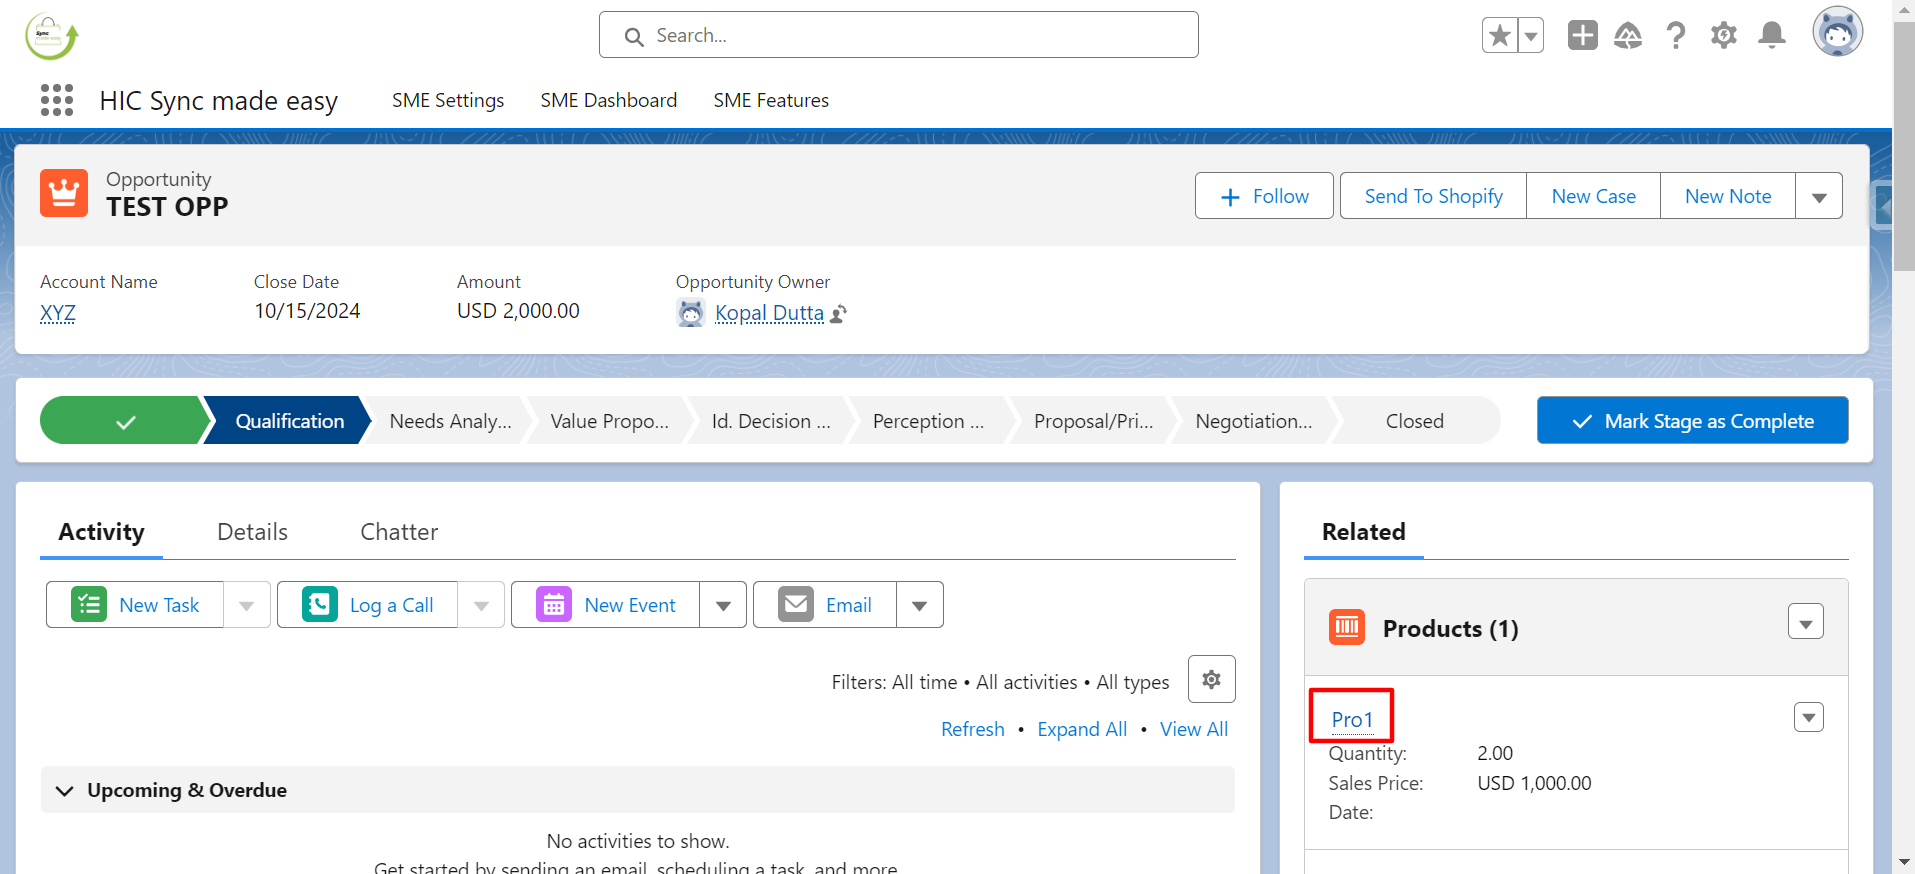
Step 7:After the Order Product is added, open the Product.
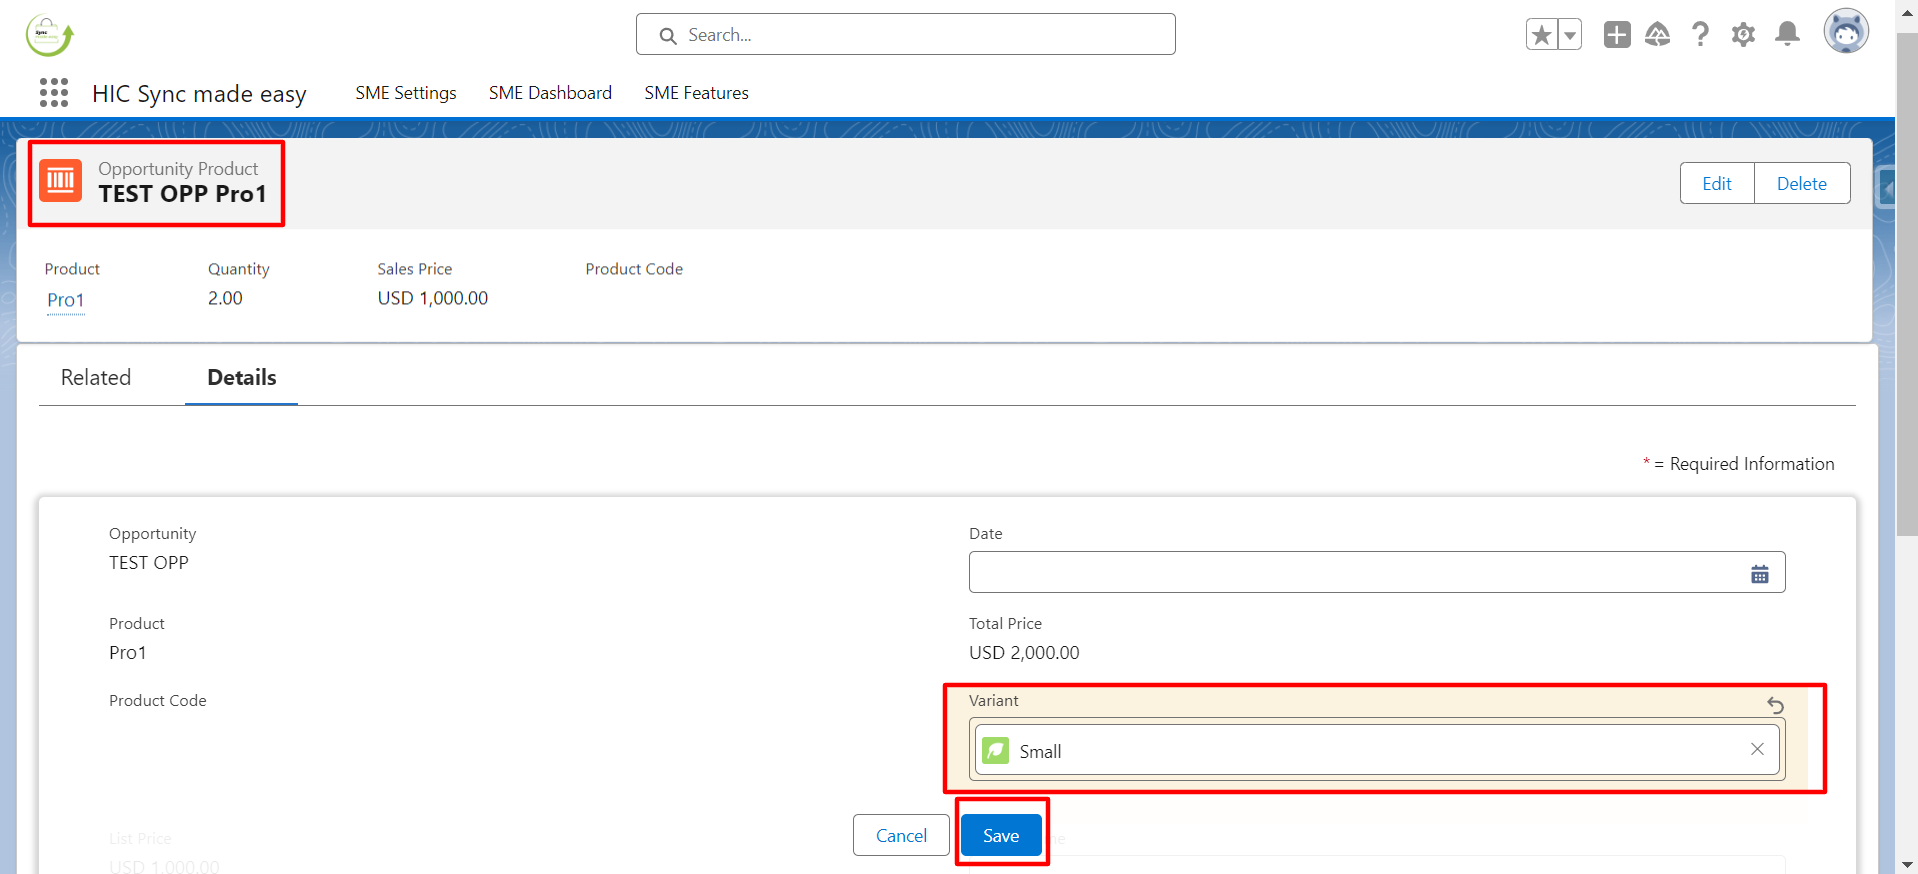
Step 8:Select the variant of the then click on “Save“.
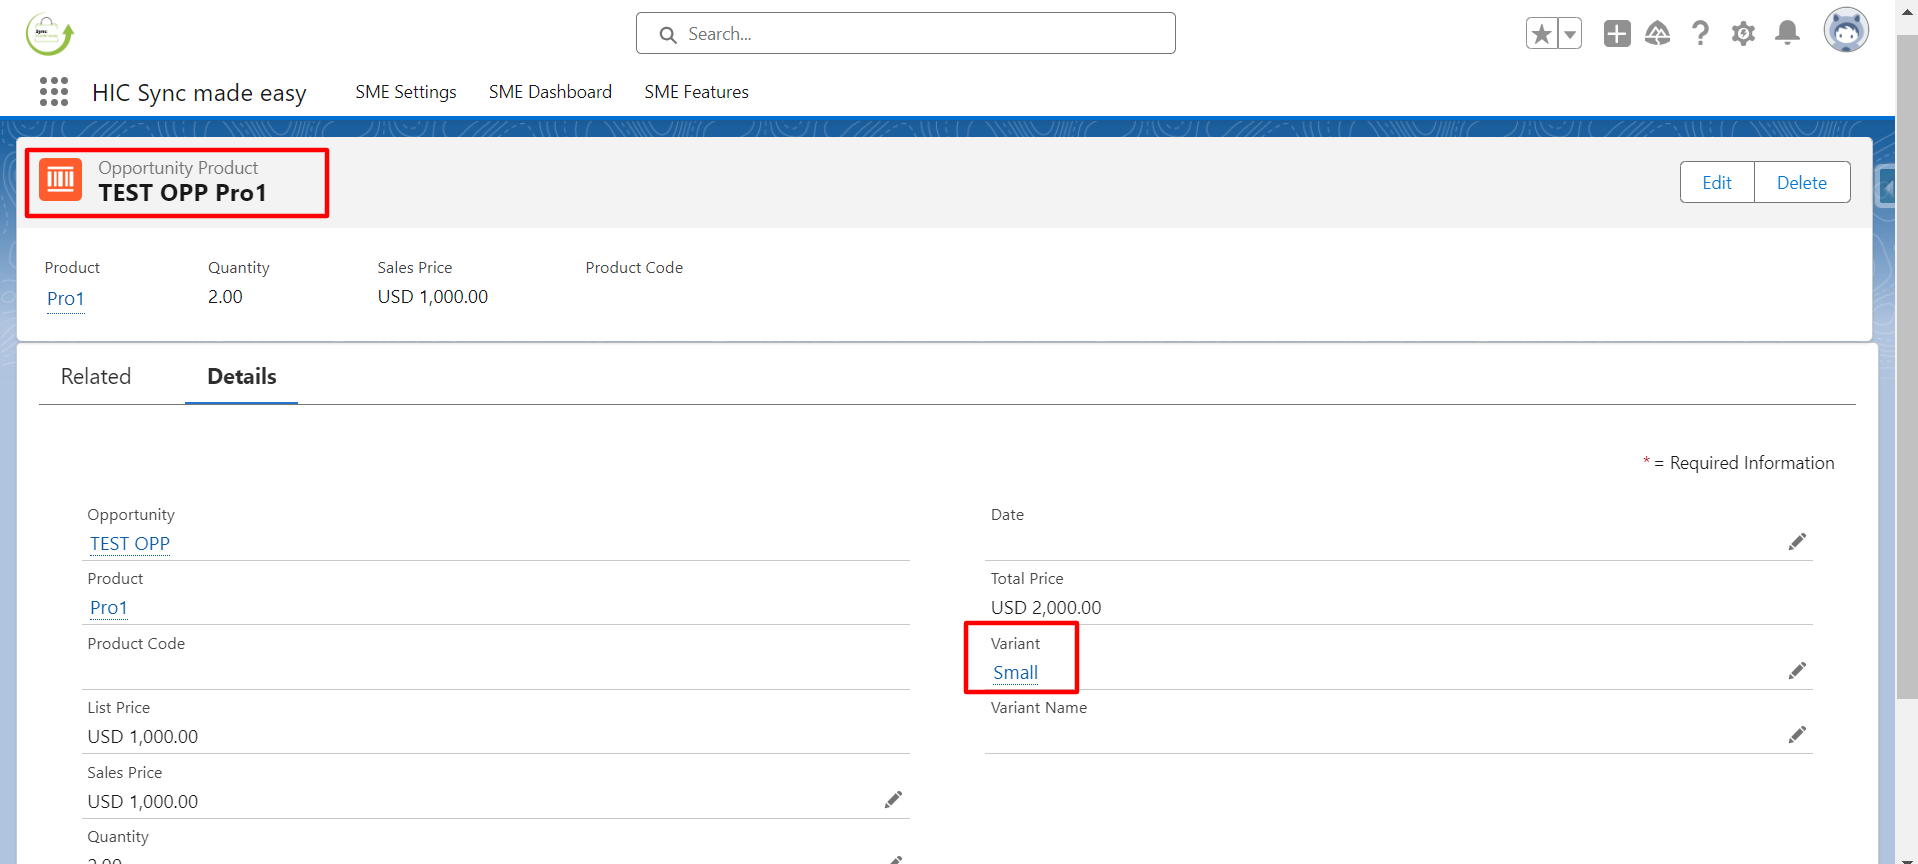
Step 9:Verify that the Variant has been successfully added to the Order Product.
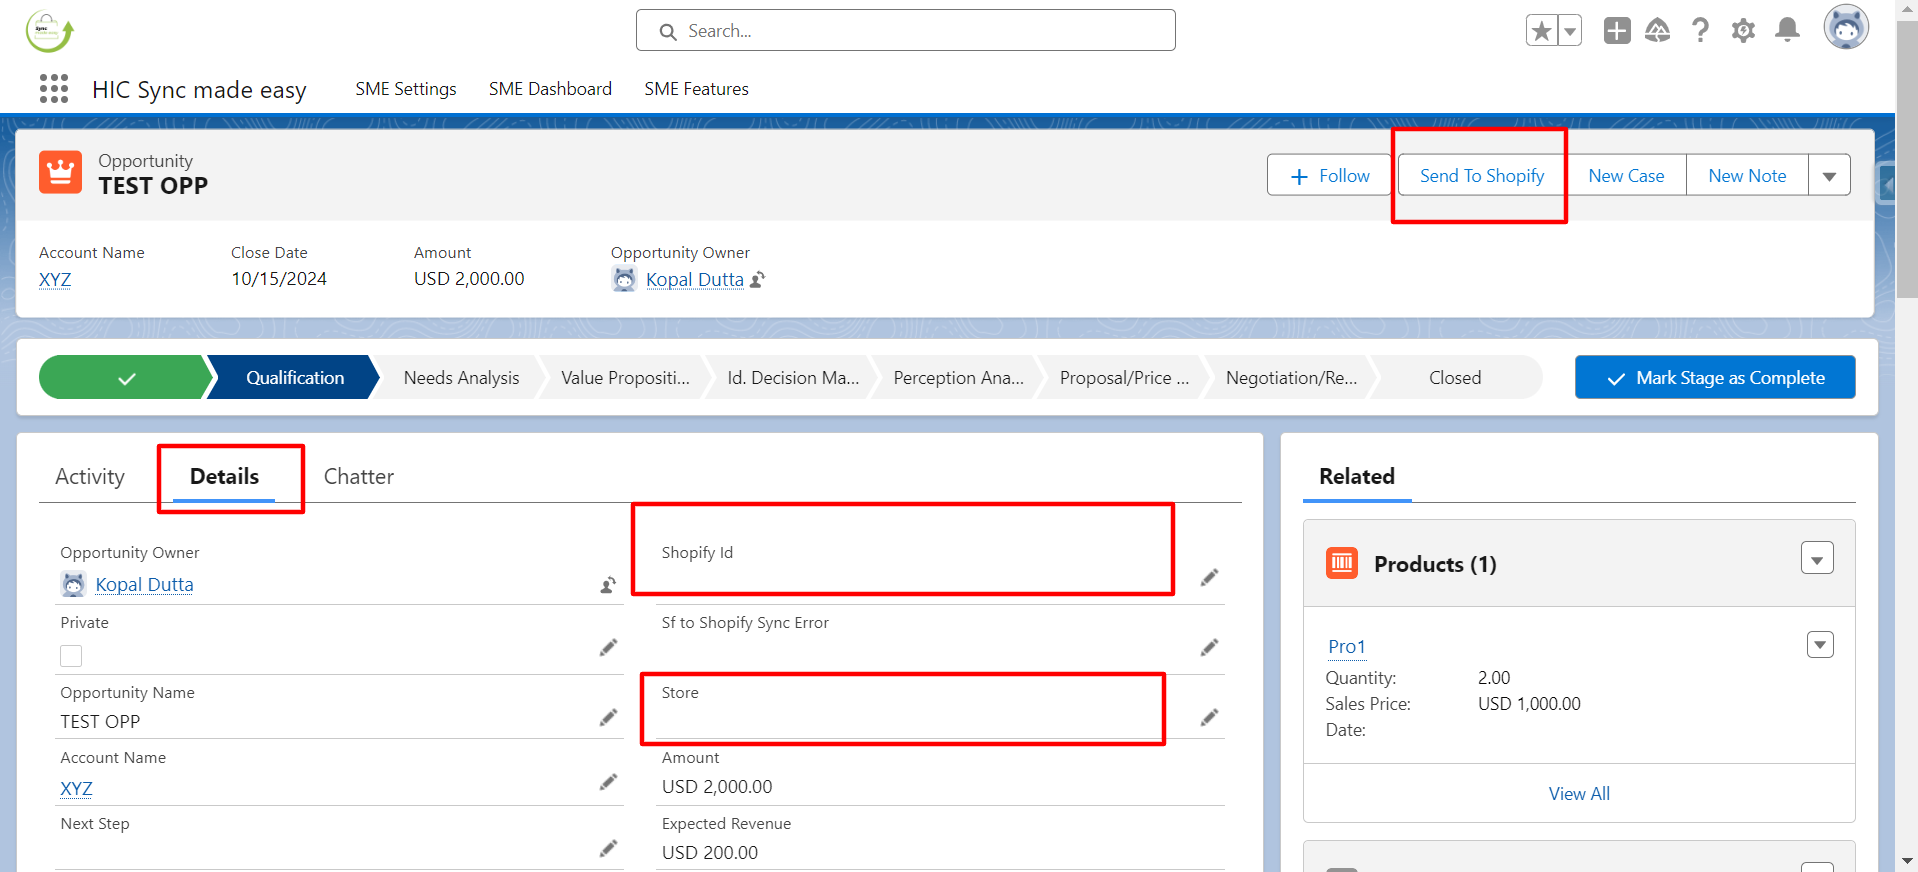
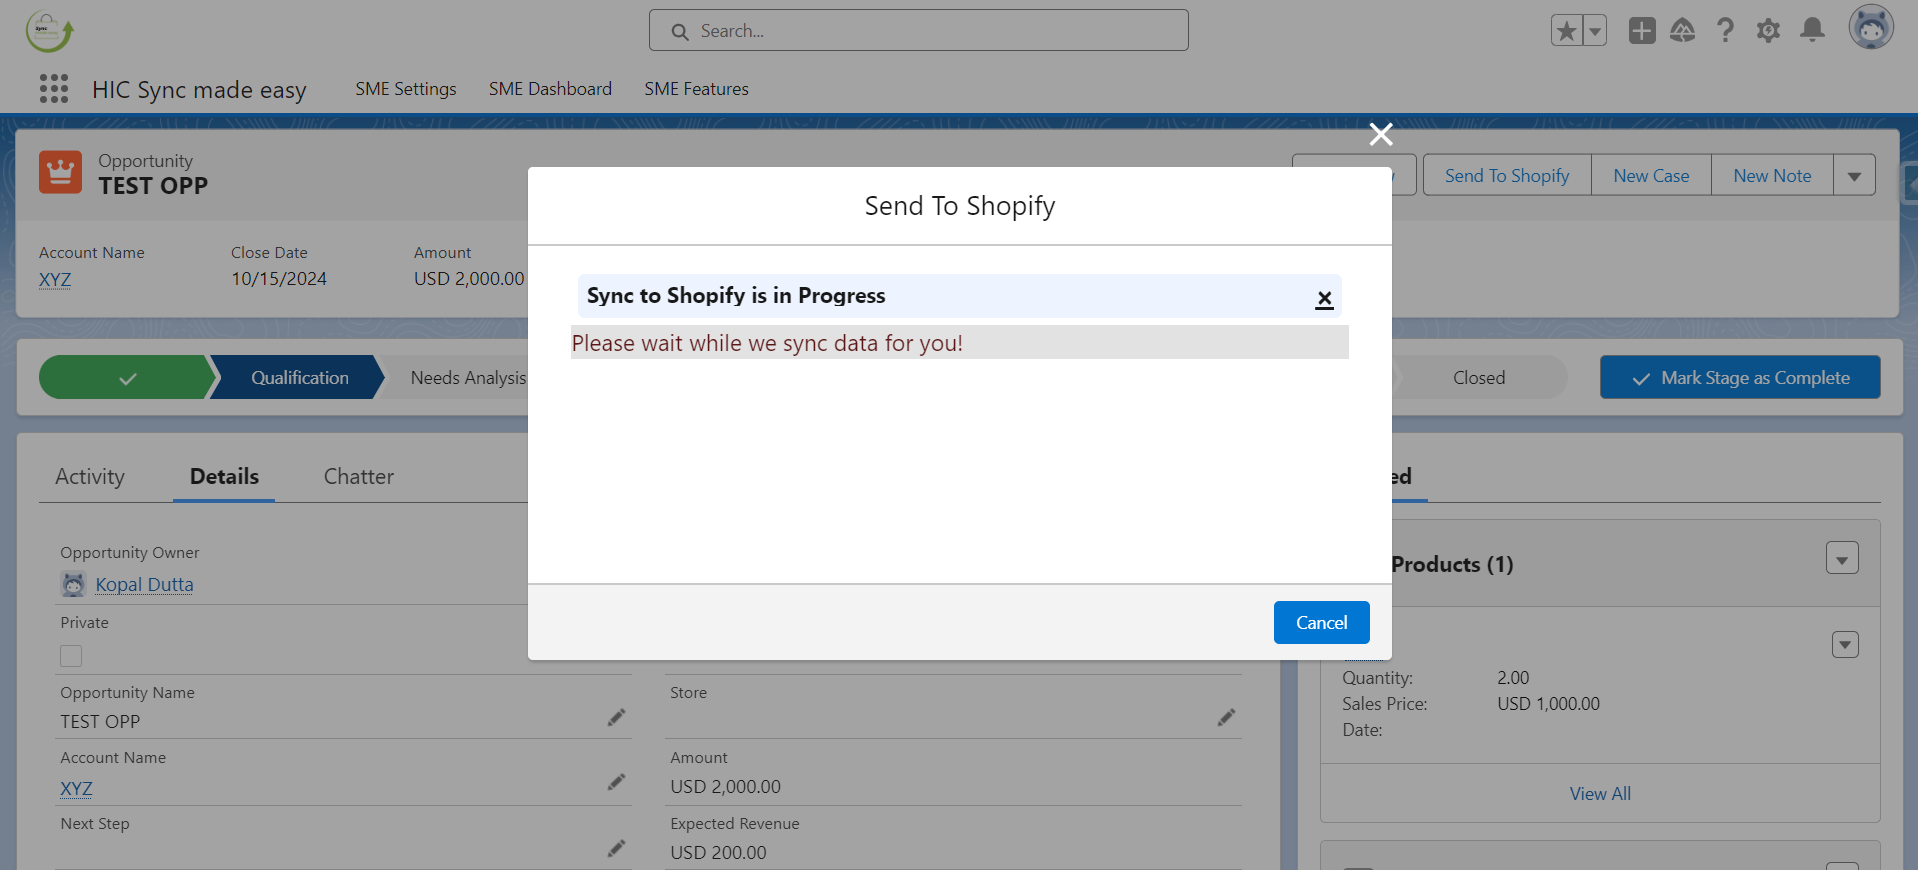
Step 10:Return to the Opportunity detail page. Check the “Shopify ID” and “Store Name” fields, which will initially be blank. Click on the “Send to Shopify” button to generate the Shopify ID and Store Name.
Step 11:Once the process is complete, the “Shopify ID” and “Store Name” fields will be populated.
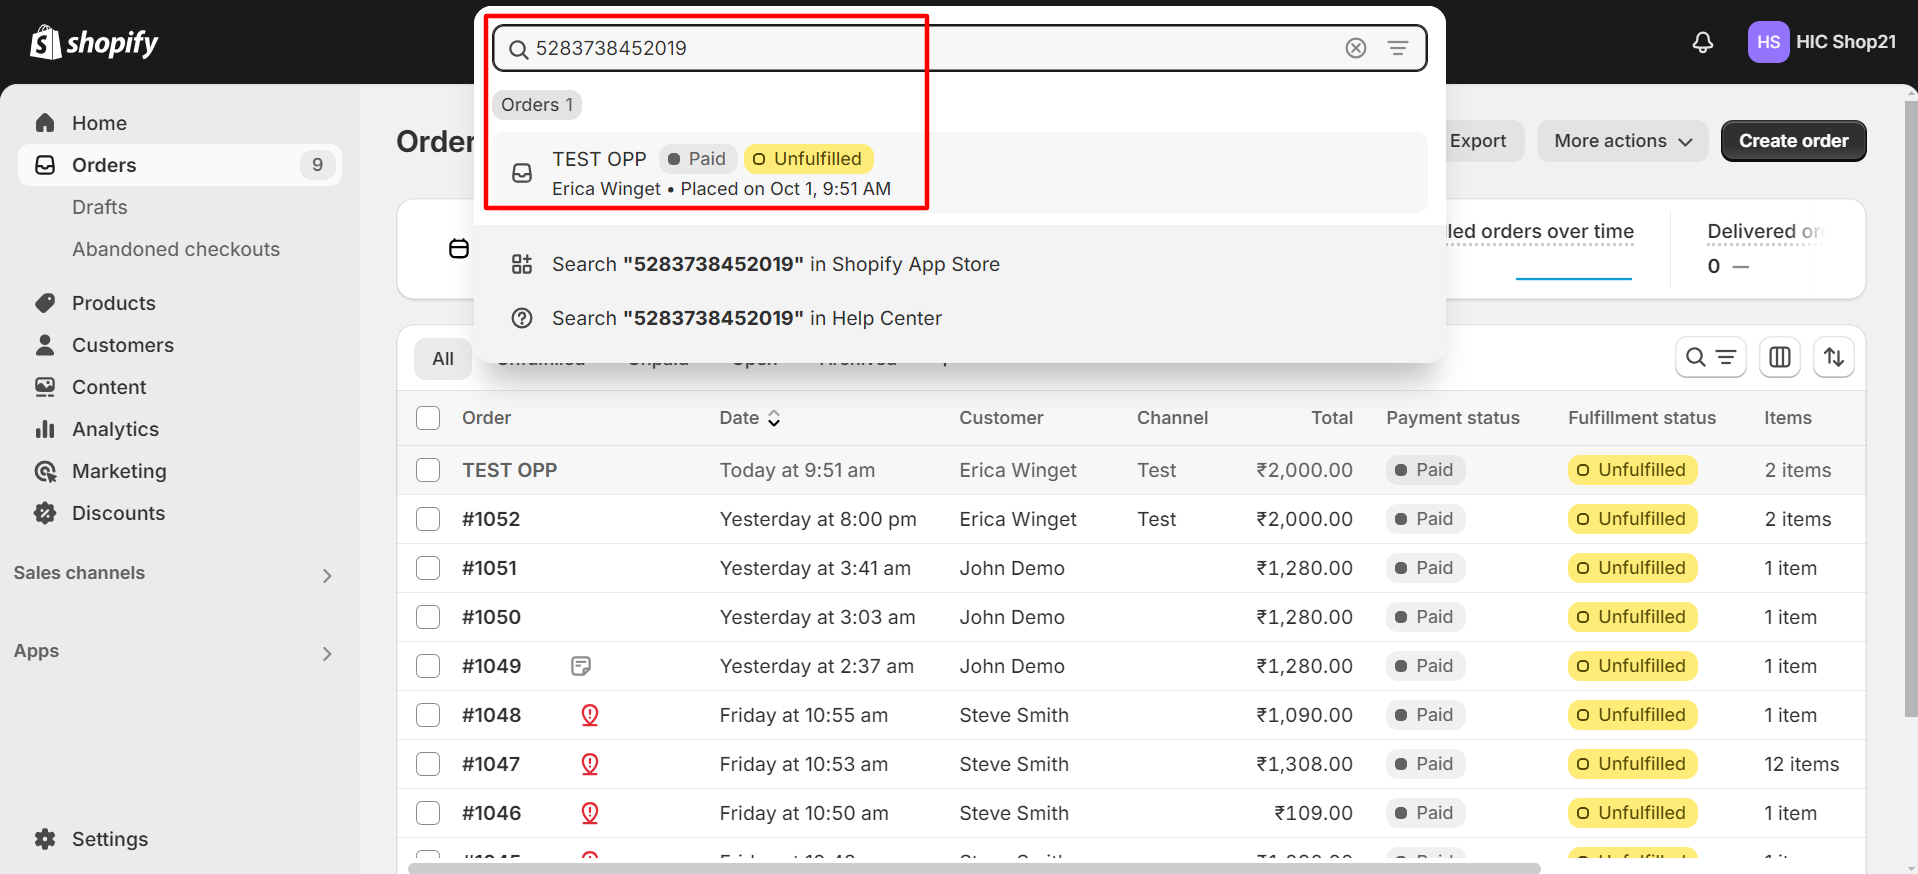
Step 12:Verify that the “Shopify ID” and “Store Name” are generated, then copy the “Shopify ID“.
Step 13: Search the “Shopify ID” to search for the Opportunity in your Shopify store.
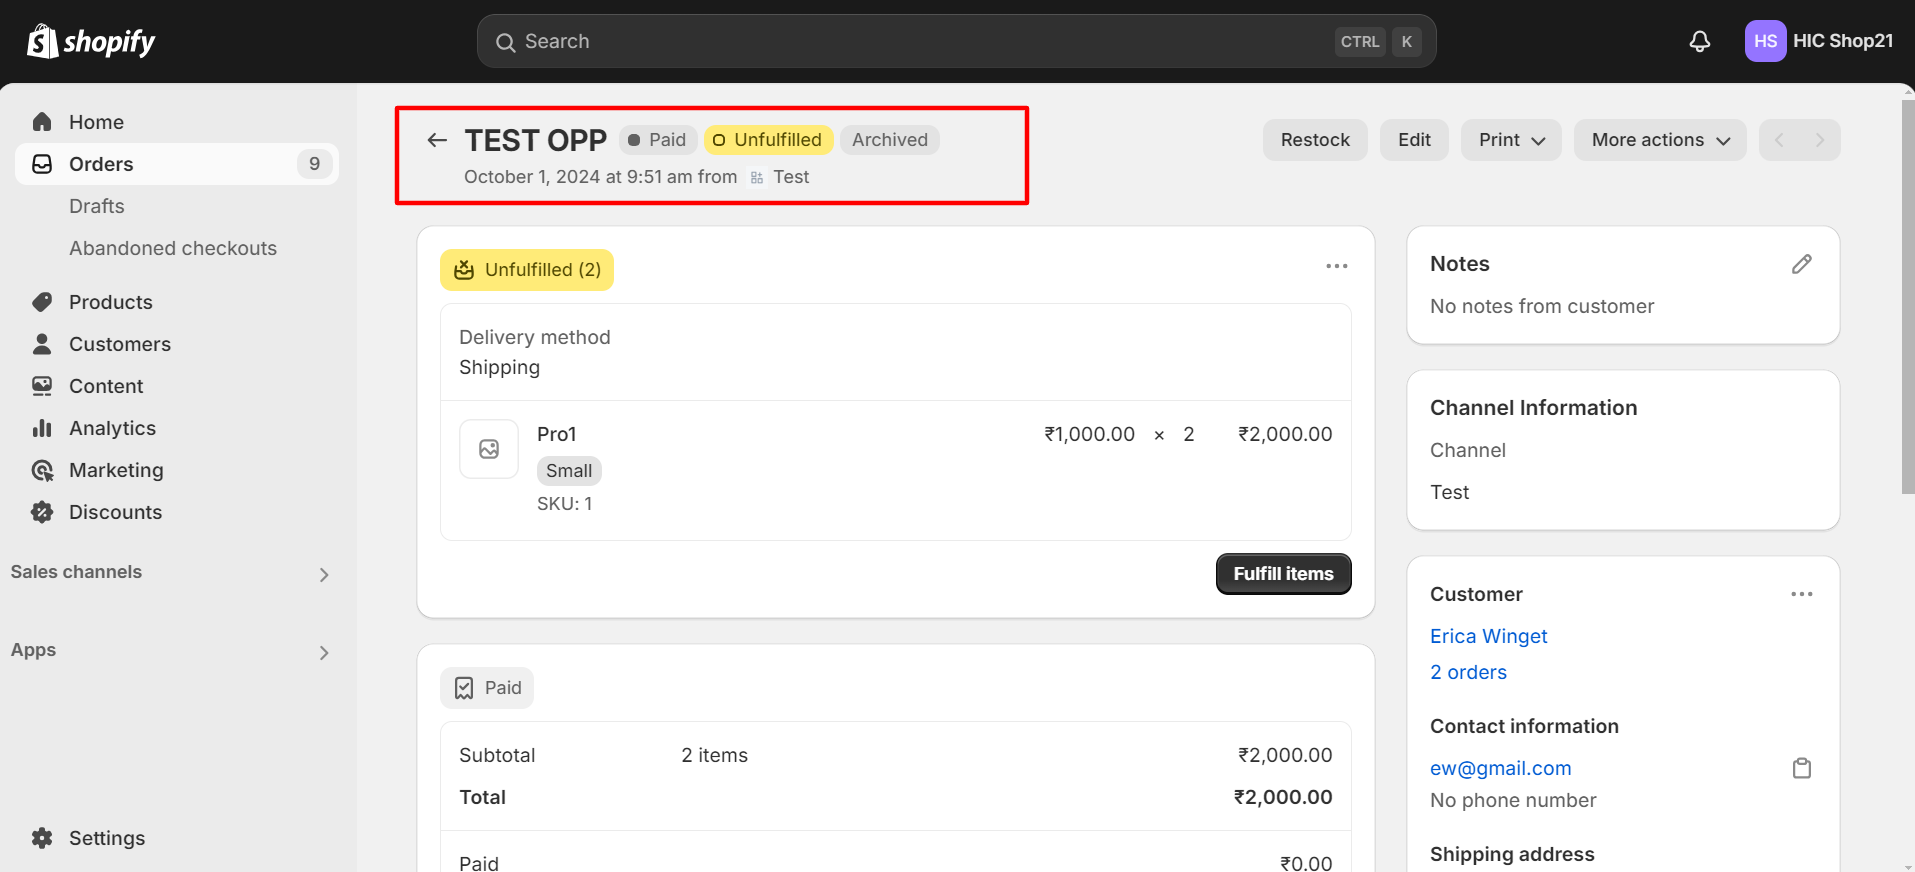
Step 14:Confirm that the Opportunity has been successfully synced to Shopify using the Send to Shopify feature.
This concludes the functionality of the Send to Shopify button for Opportunities. Thanks !