This guide explains how the Send to Shopify button works for the Account object in Salesforce. When you create an Account in Salesforce along with its associated Contact and click on the Send to Shopify button, the following happens:
A Shopify ID is generated in the Salesforce Account record.
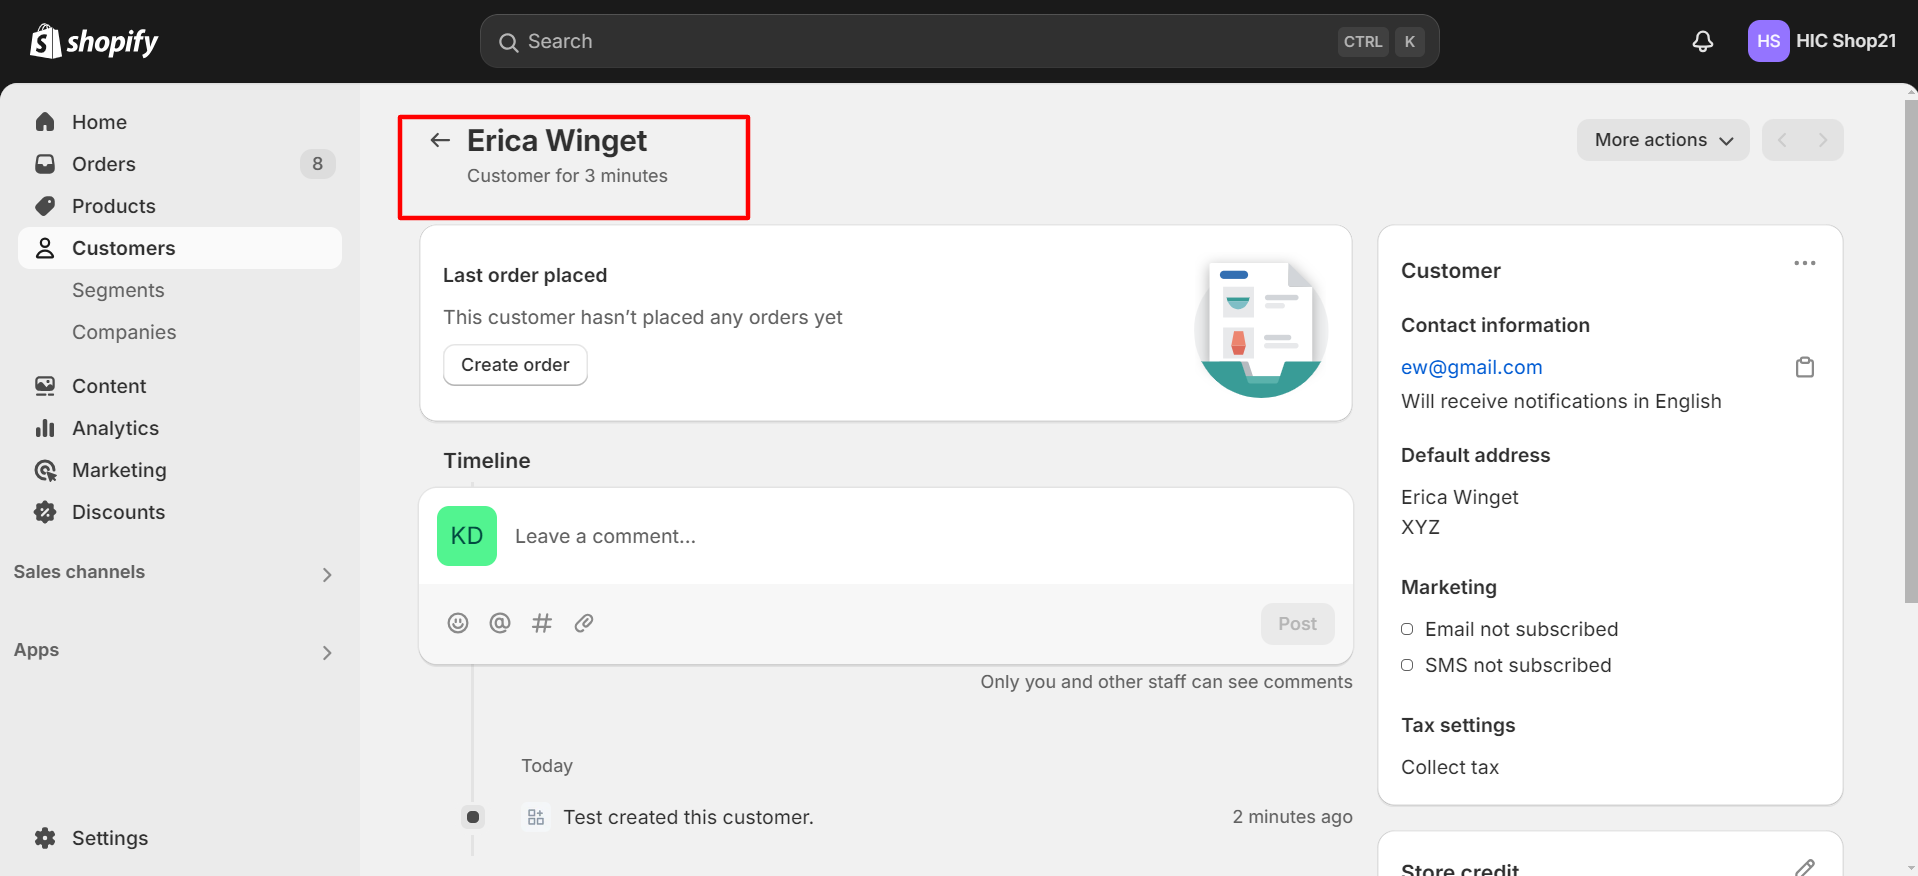
The Account is successfully synchronized with your Shopify store and appears as a Customer in Shopify.
Below Are the Steps to Sync an Account Object
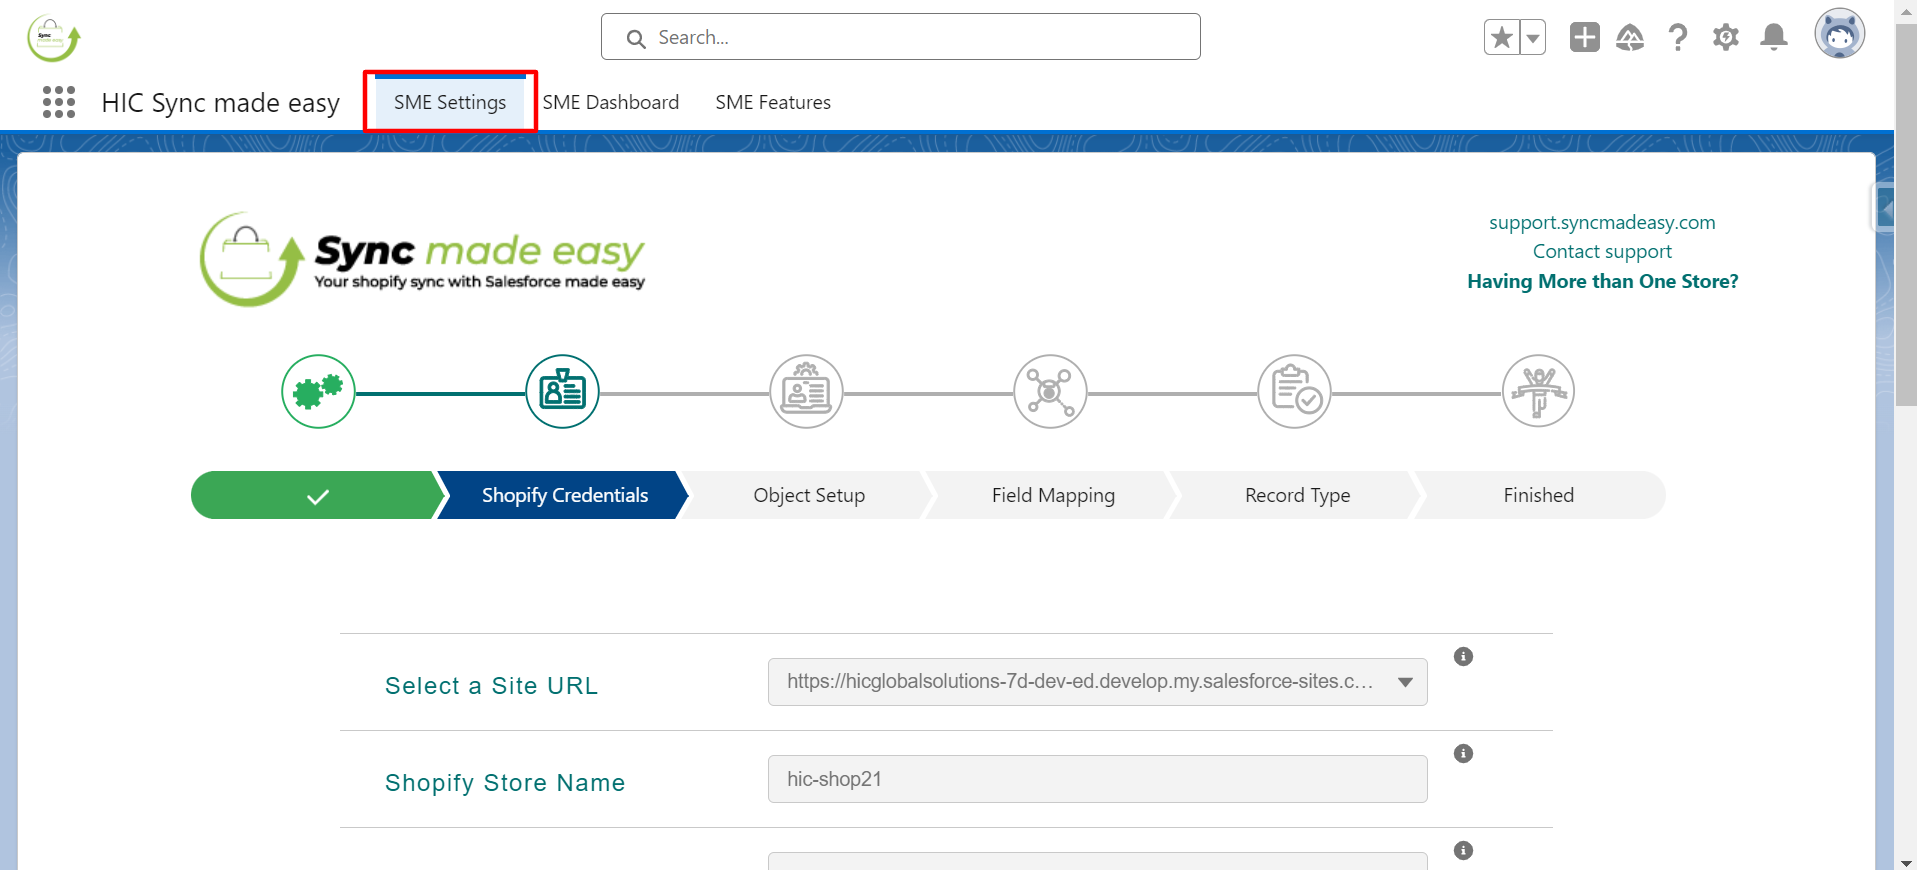
Step 1:Log in to Salesforce and navigate to SME Settings.
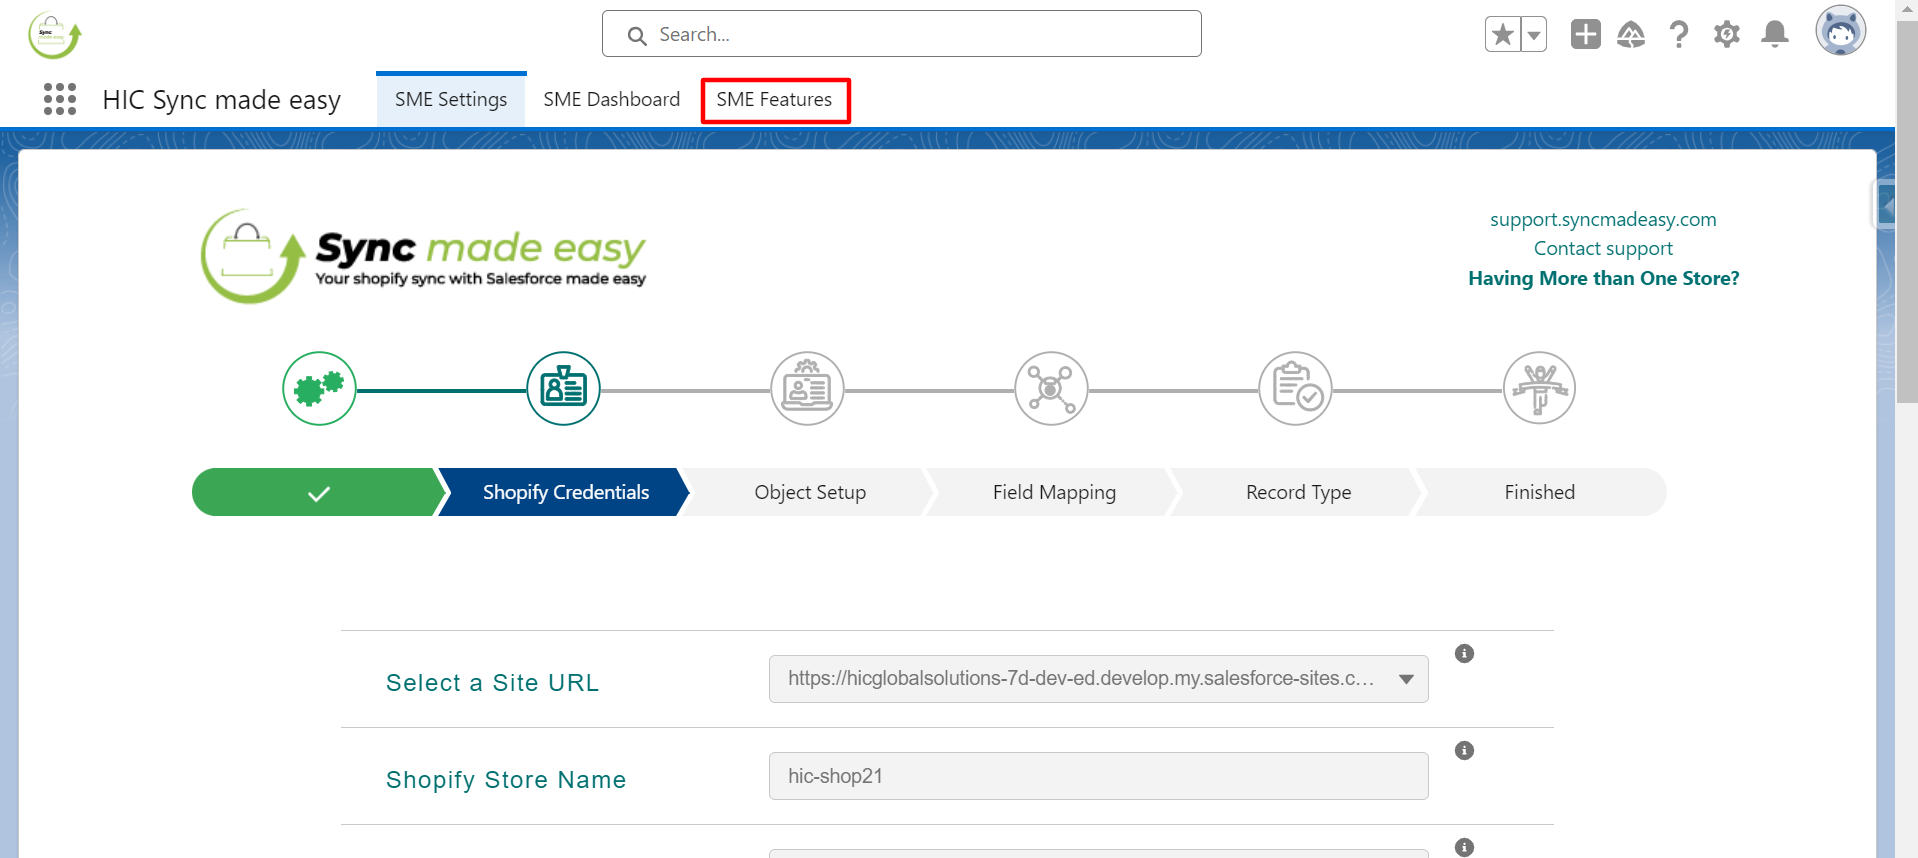
Step 2: Click on SME Feature.
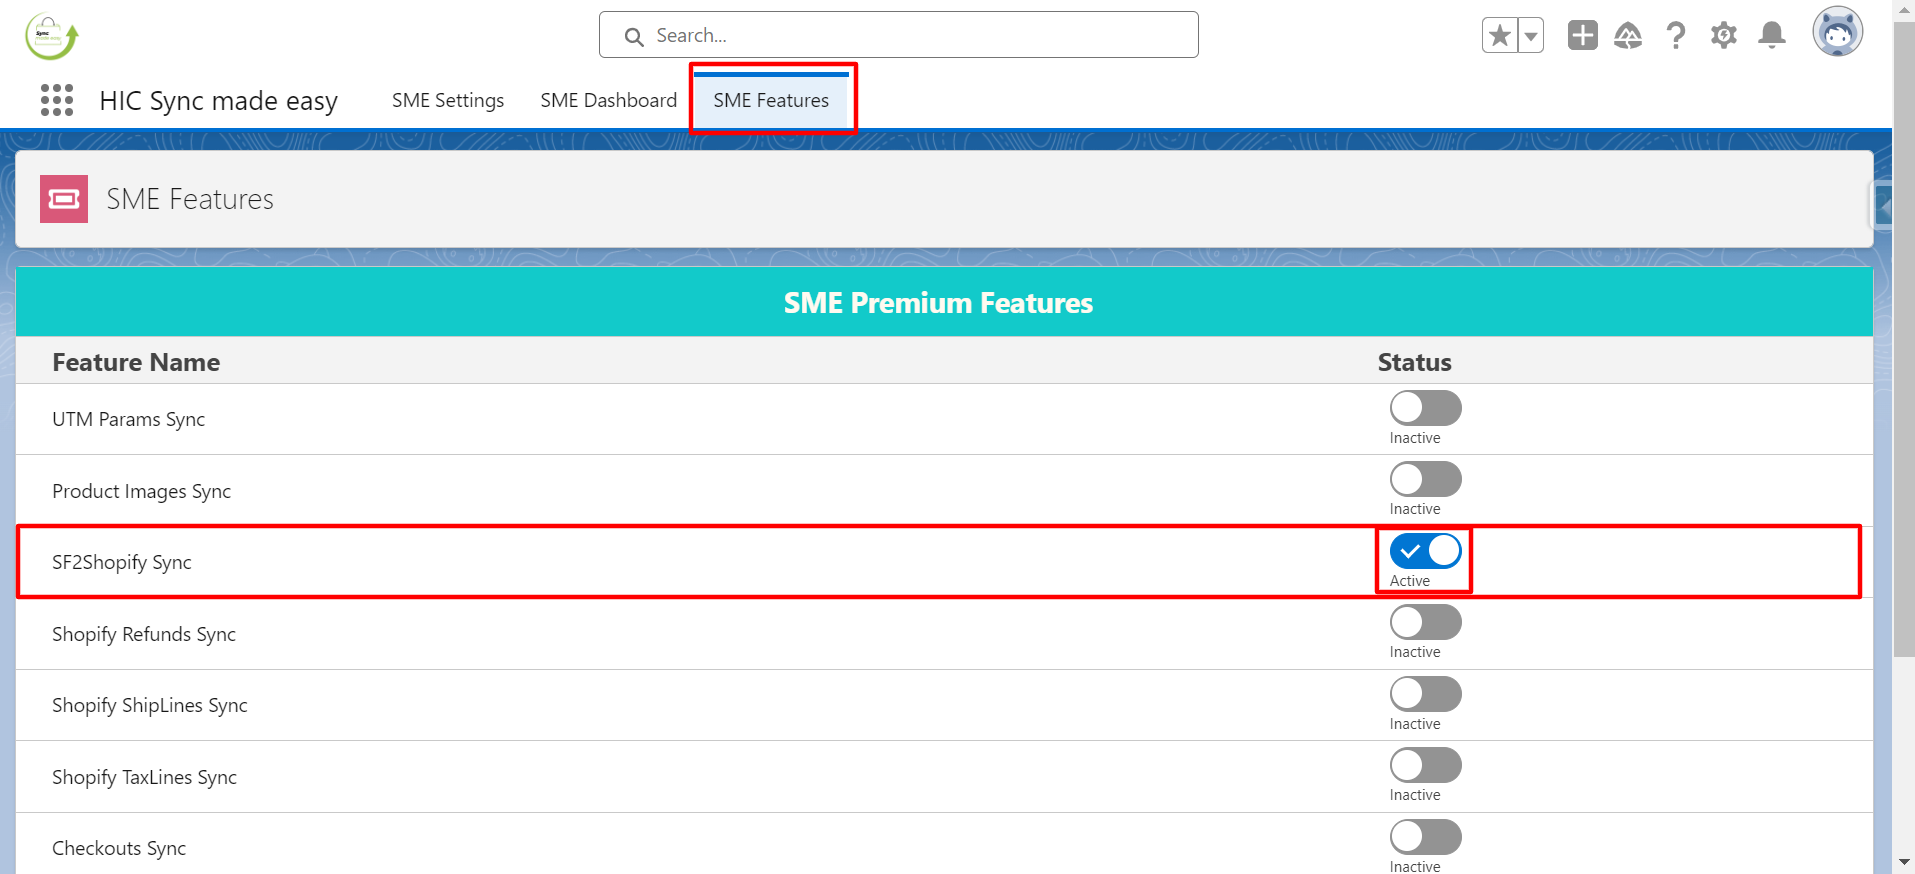
Step 3: Enable the Salesforce to Shopify Sync ( SF2 ) feature and confirm by clicking OK, I Understand.
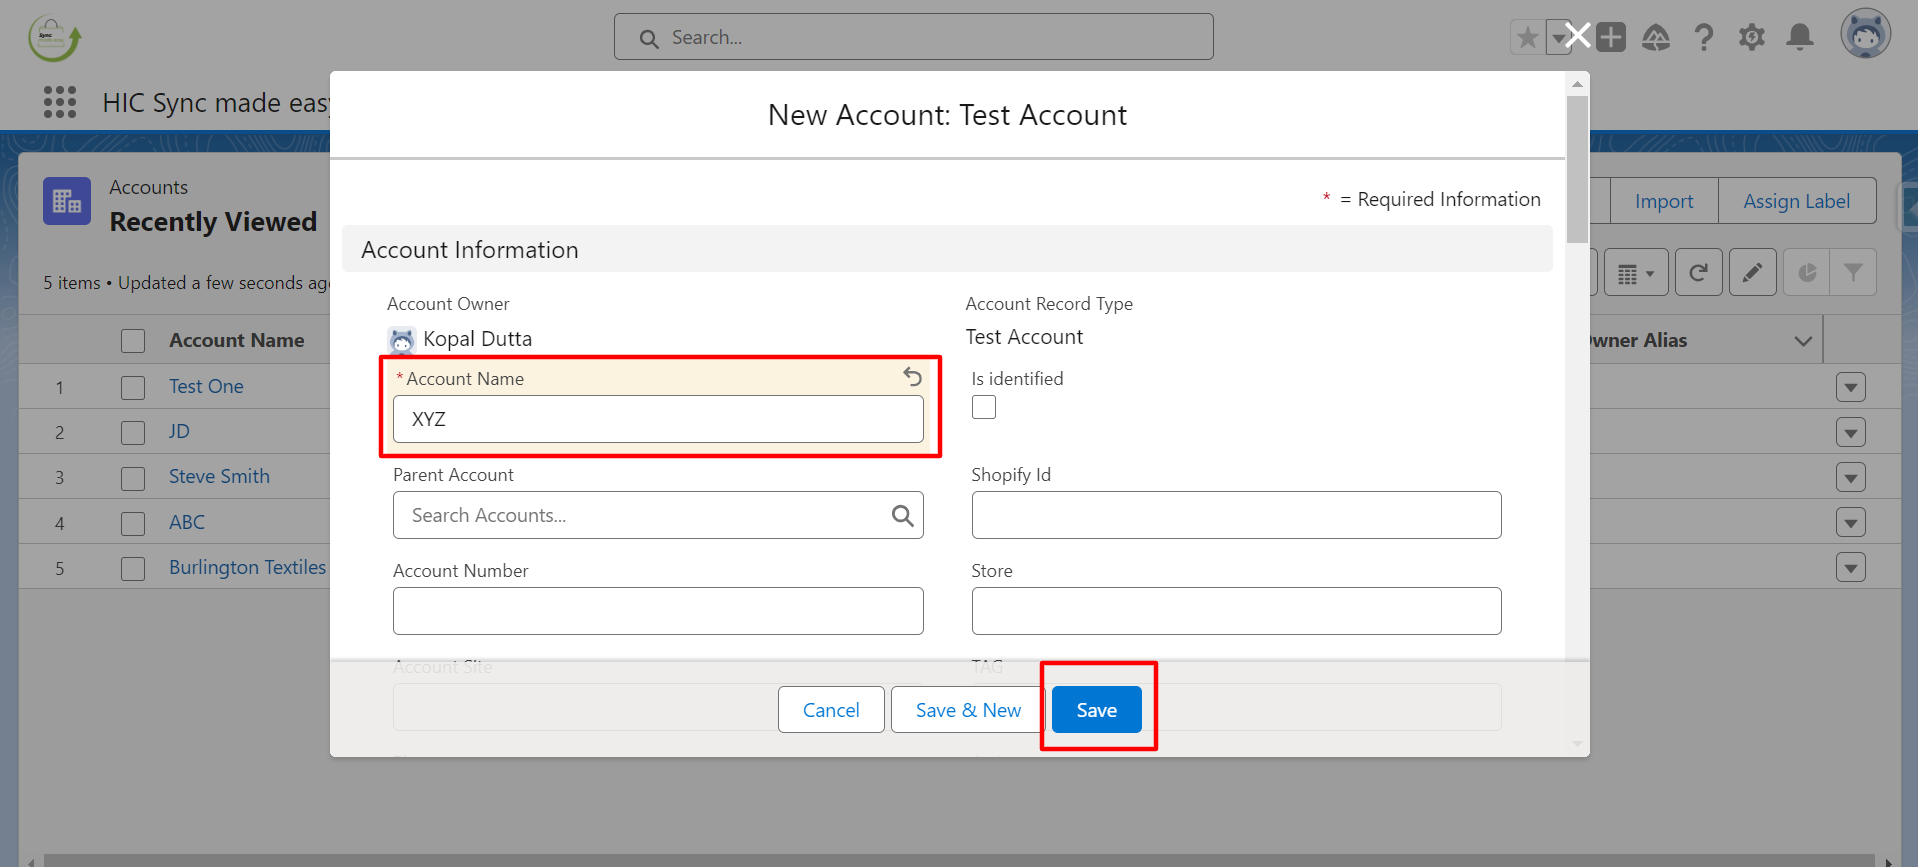
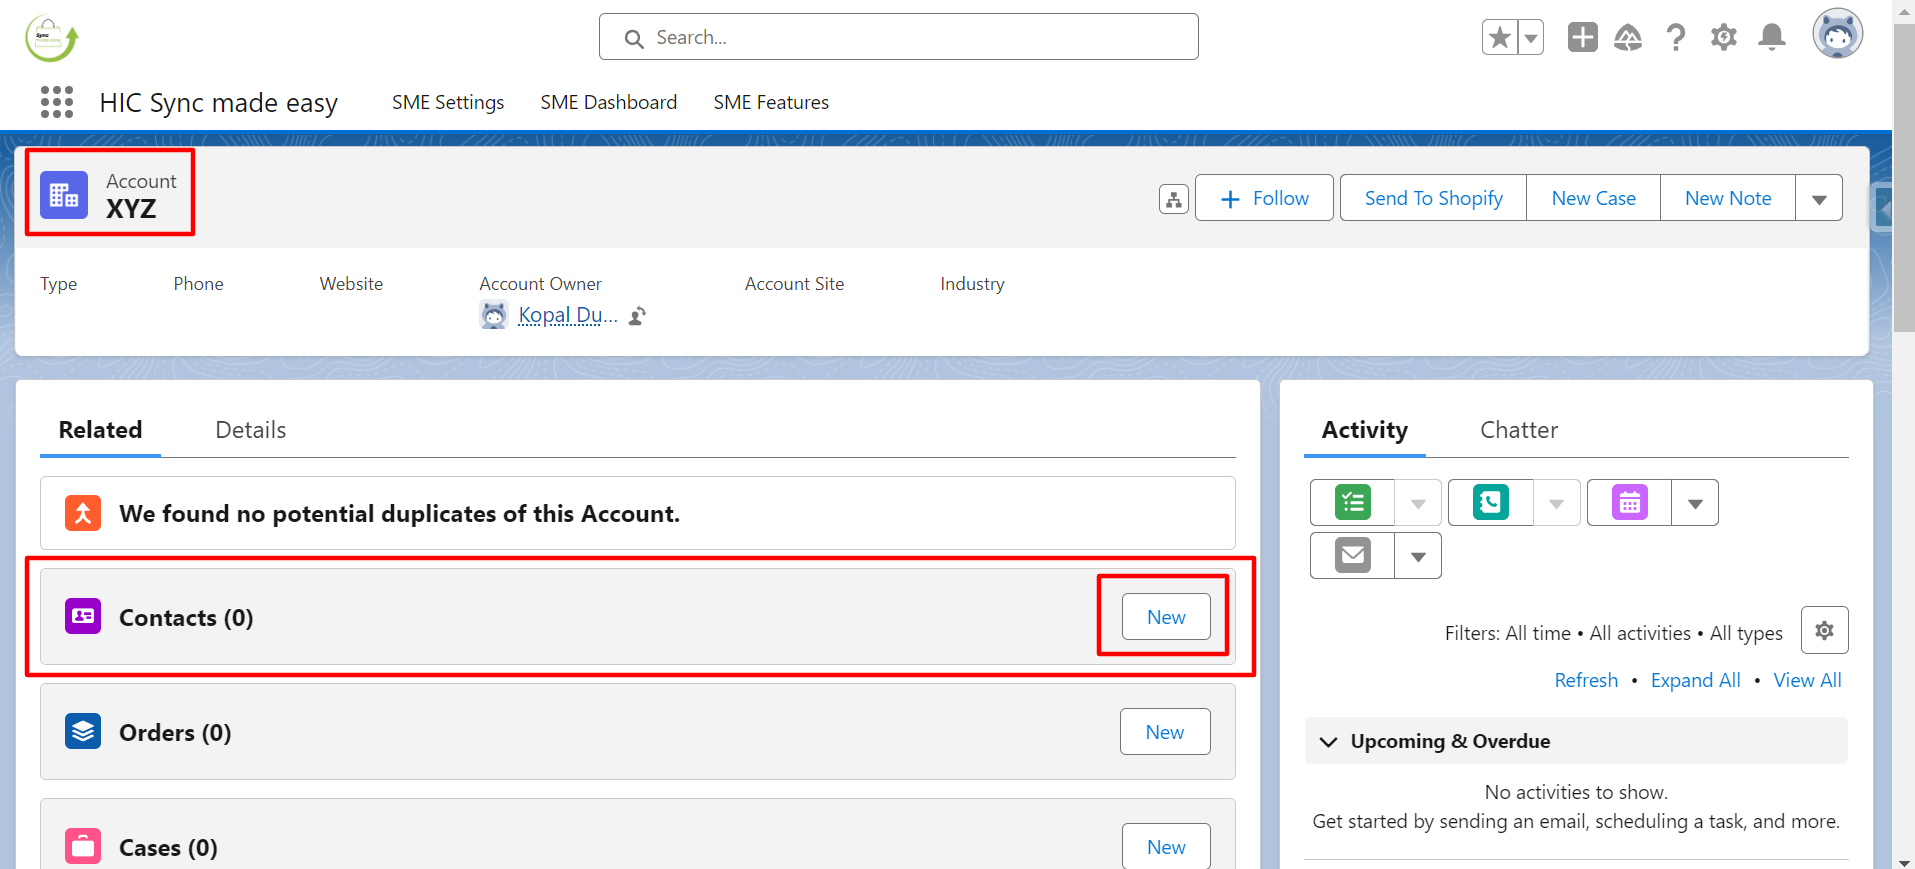
Step 4: Navigate to the Salesforce Account page and create a new account named XYZ, then click Save.
Step 5: Under this account, create a new contact by clicking the New button in the Contact section.
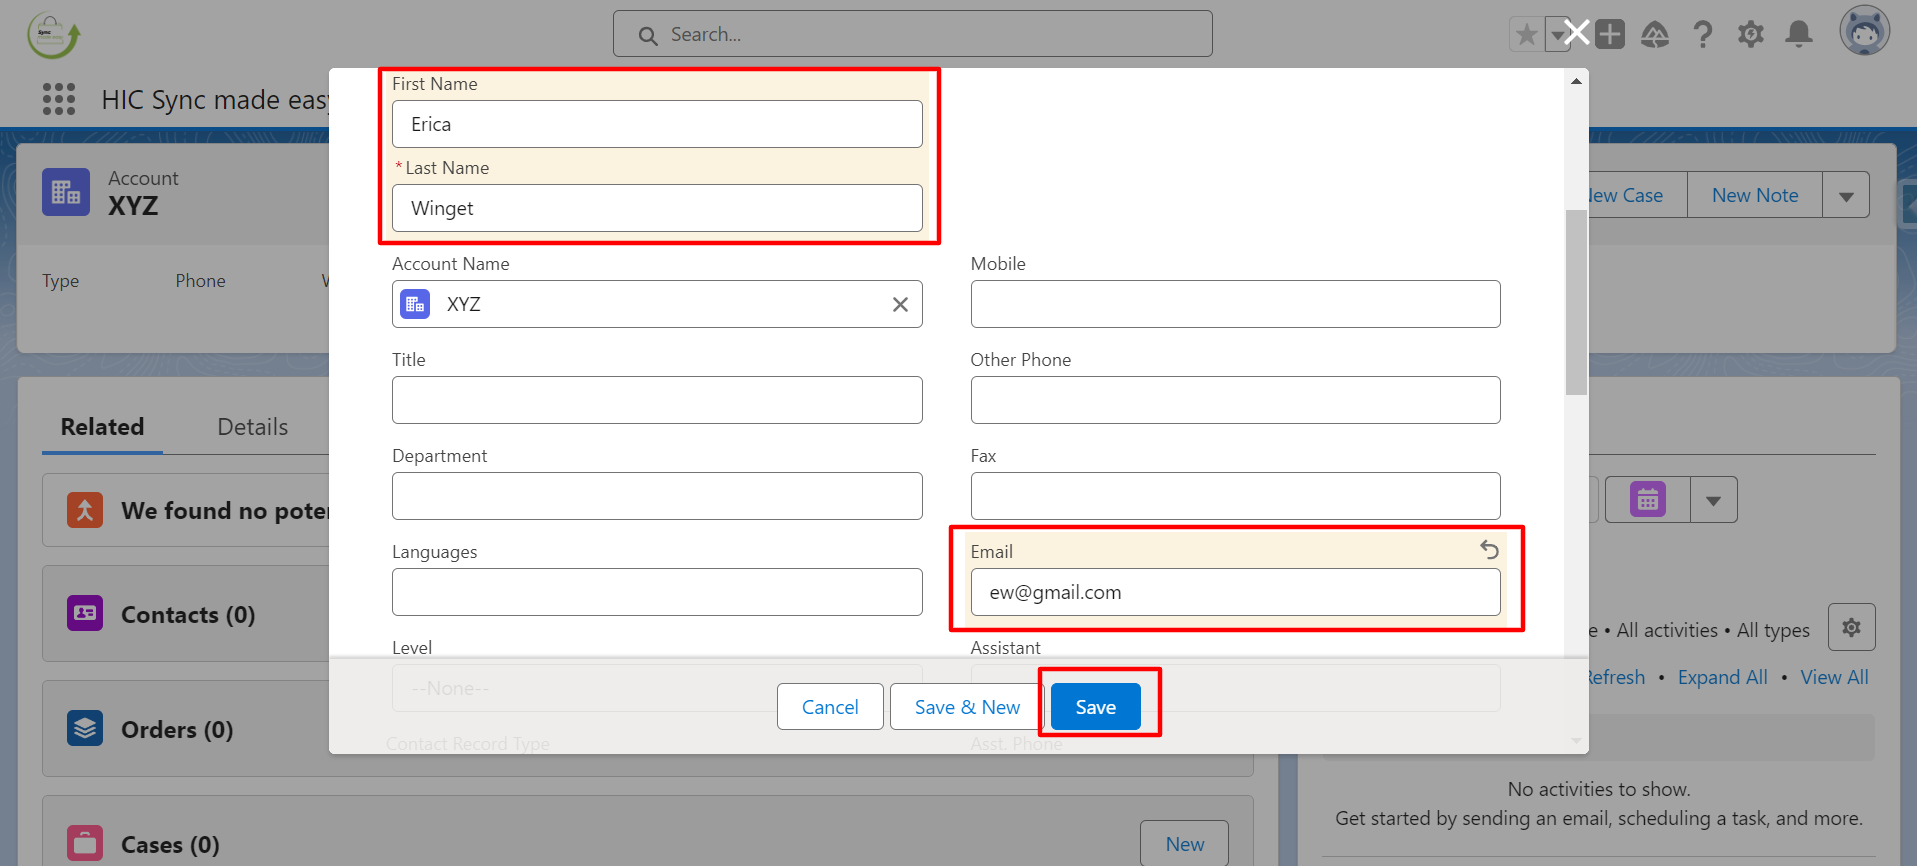
Step 6: Fill in the required details for the Contact, such as First Name, Last Name, and Email ID, and then click Save.
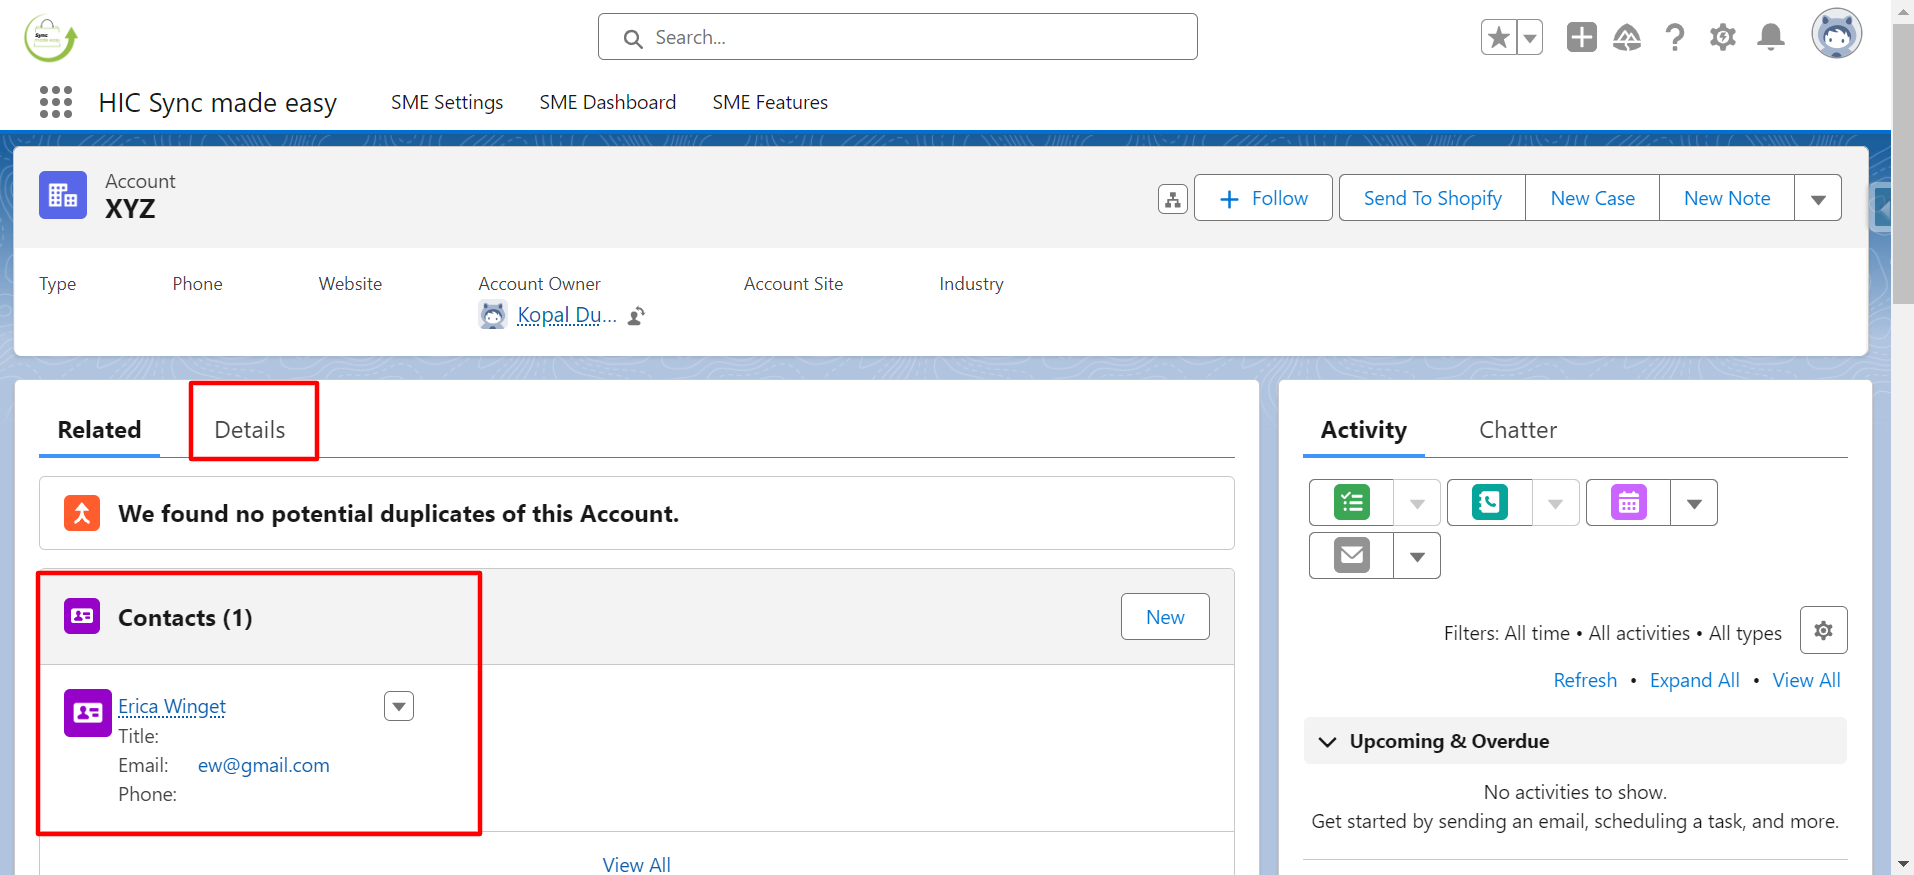
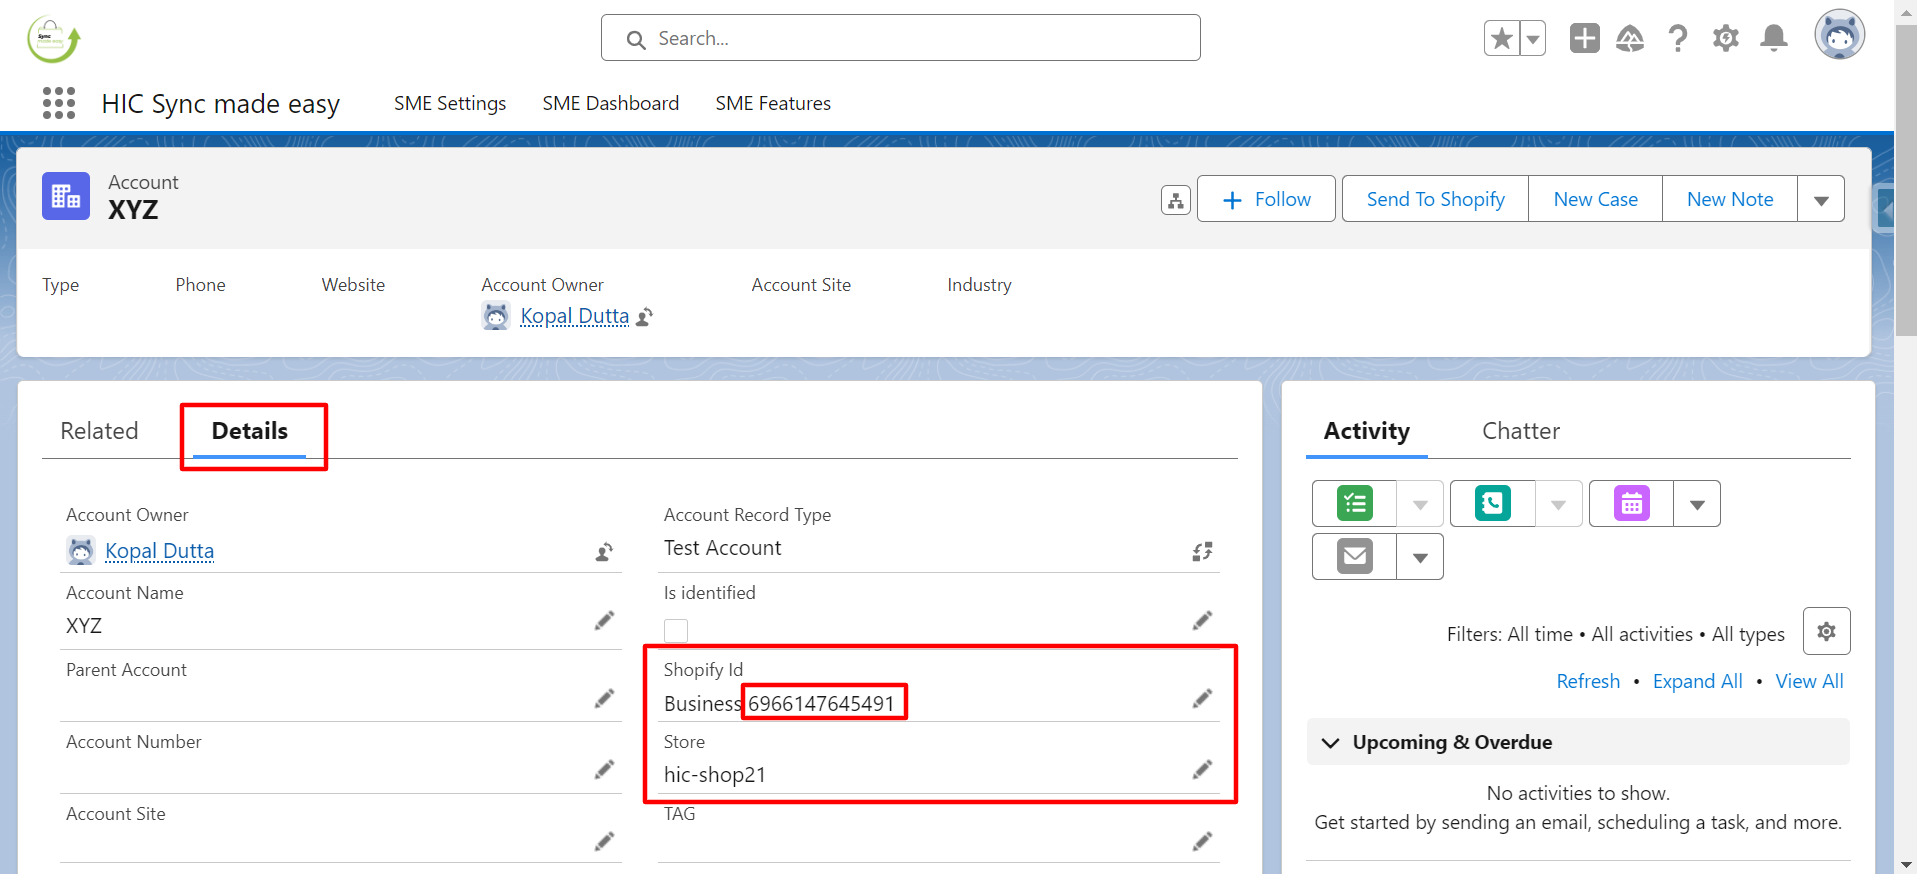
Step 7: Go to the Details section of the Account.
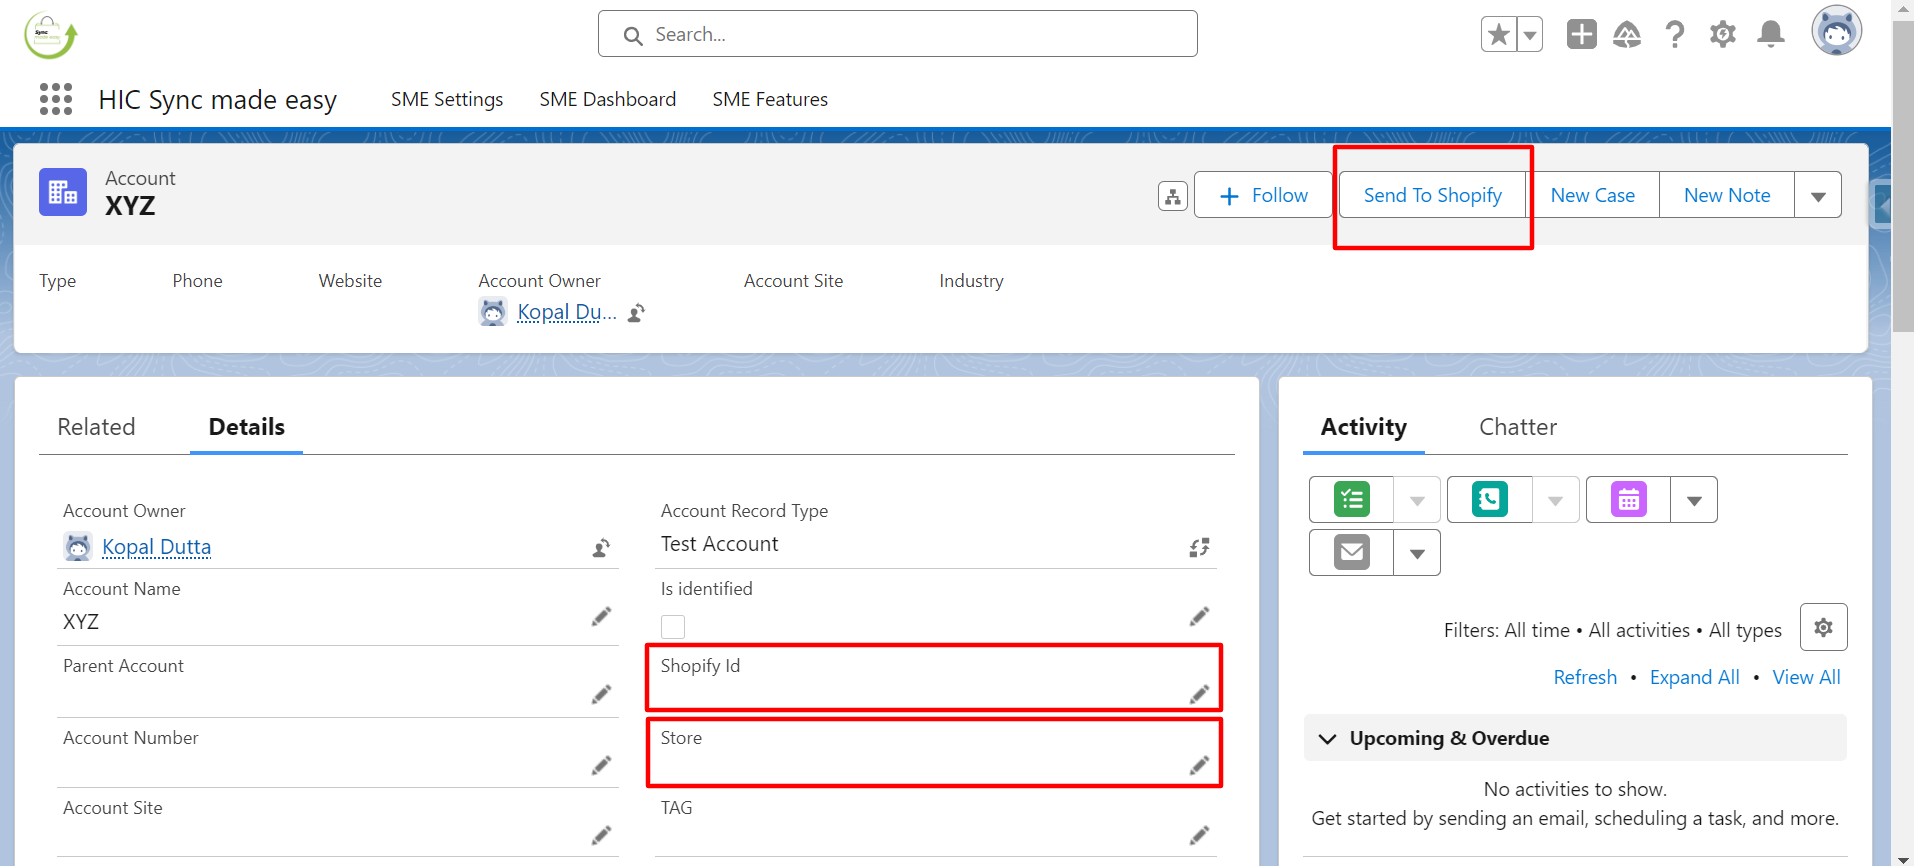
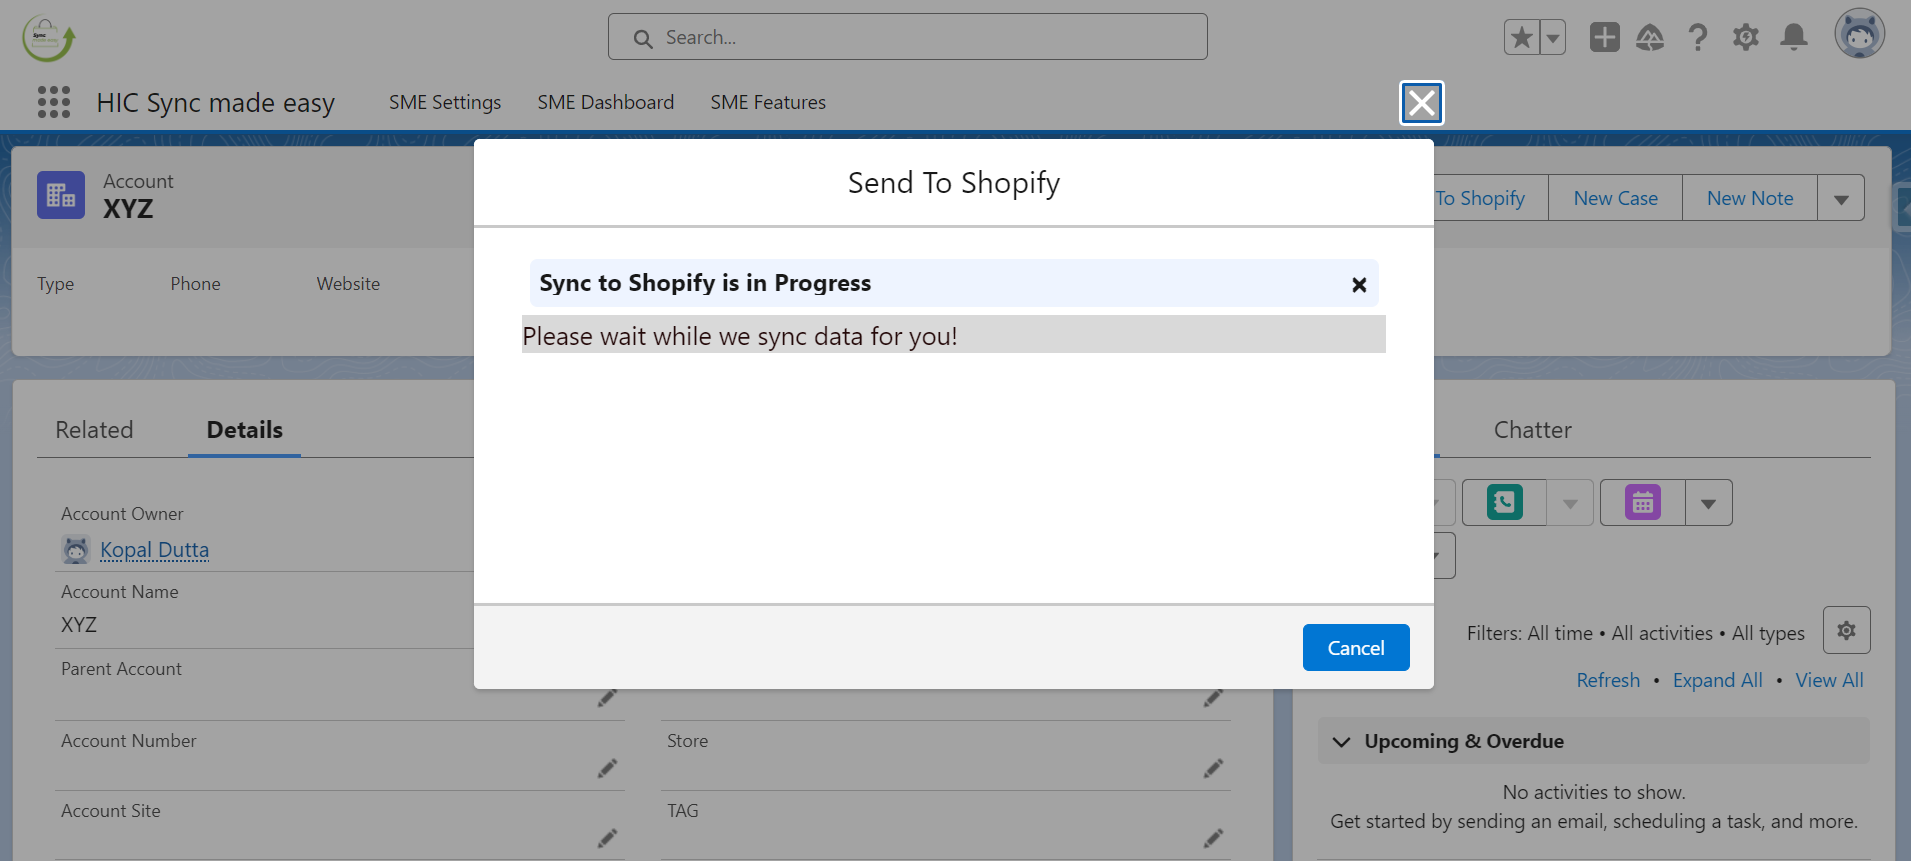
Step 8: Observe that the Shopify ID and Store Name fields are blank. Click on the Send to Shopify button to generate the Shopify ID and Store Name.
Step 9: Once the process is complete, the Shopify ID and Store Name will be populated.
Step 10: Verify that the Shopify ID and Store Name fields are now populated.
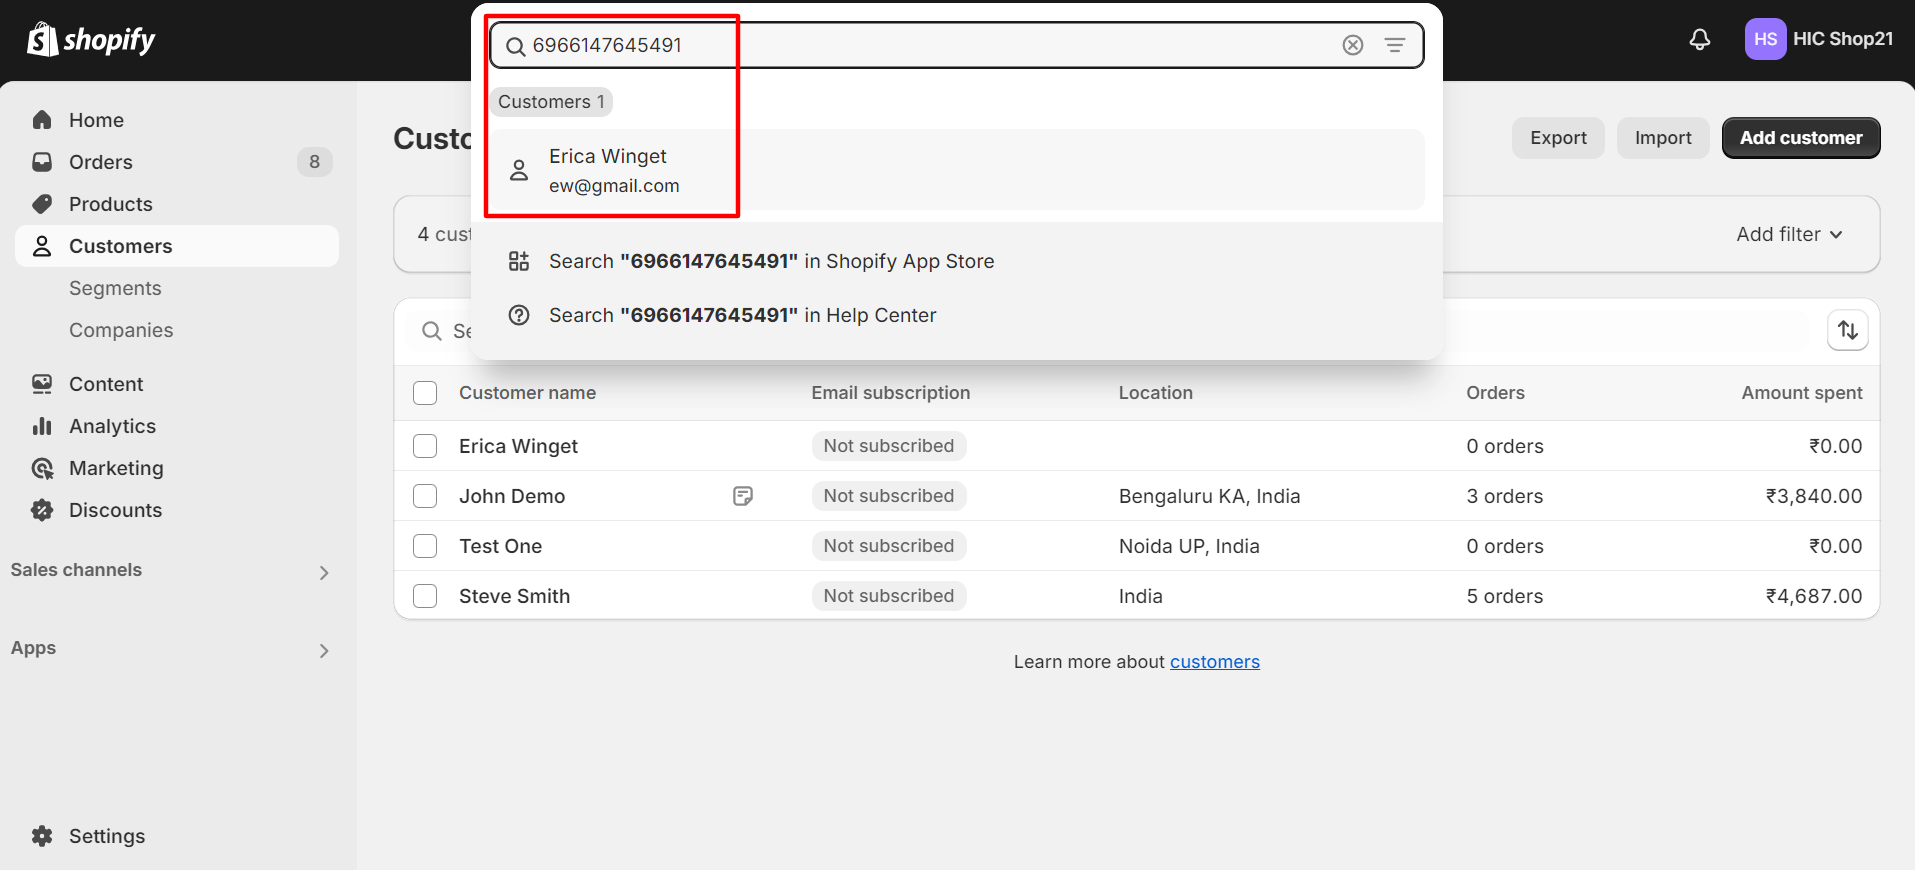
Step 11: Copy the Shopify ID and search for it in your Shopify store.
Step 12: Confirm that the account has been successfully synced to Shopify using the Send to Shopify feature.
This concludes the functionality of the Send to Shopify button on the Account.