How to Sync Abandoned Checkouts from Shopify to Salesforce?
In this guide, we’ll walk you through the seamless synchronization of Abandoned Checkouts from Shopify to Salesforce using the Checkout Sync feature. When a customer initiates a purchase but leaves before completing payment, Shopify generates an Abandoned Checkout, which is then automatically synced to Salesforce. Follow this step-by-step process to enable and utilize this feature effortlessly. Let’s dive in!
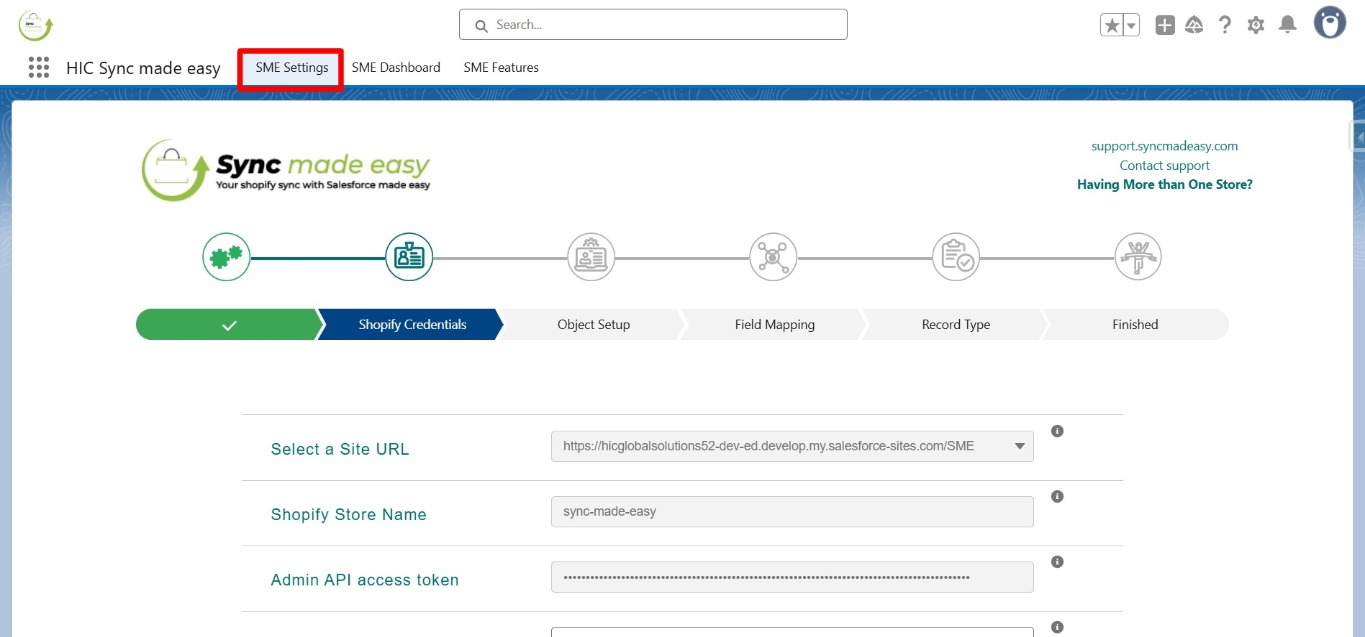
Step 1:Log in to Salesforce and navigate to “SME Settings“.
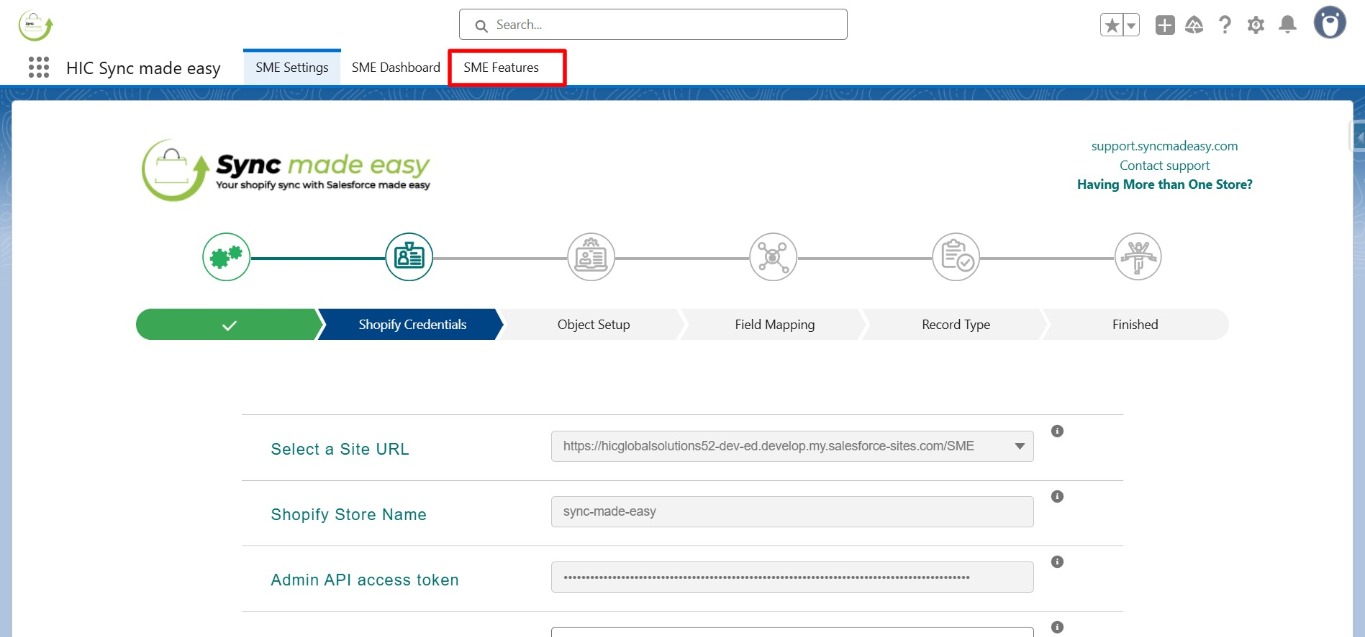
Step 2:Go to the “SME Features” section.
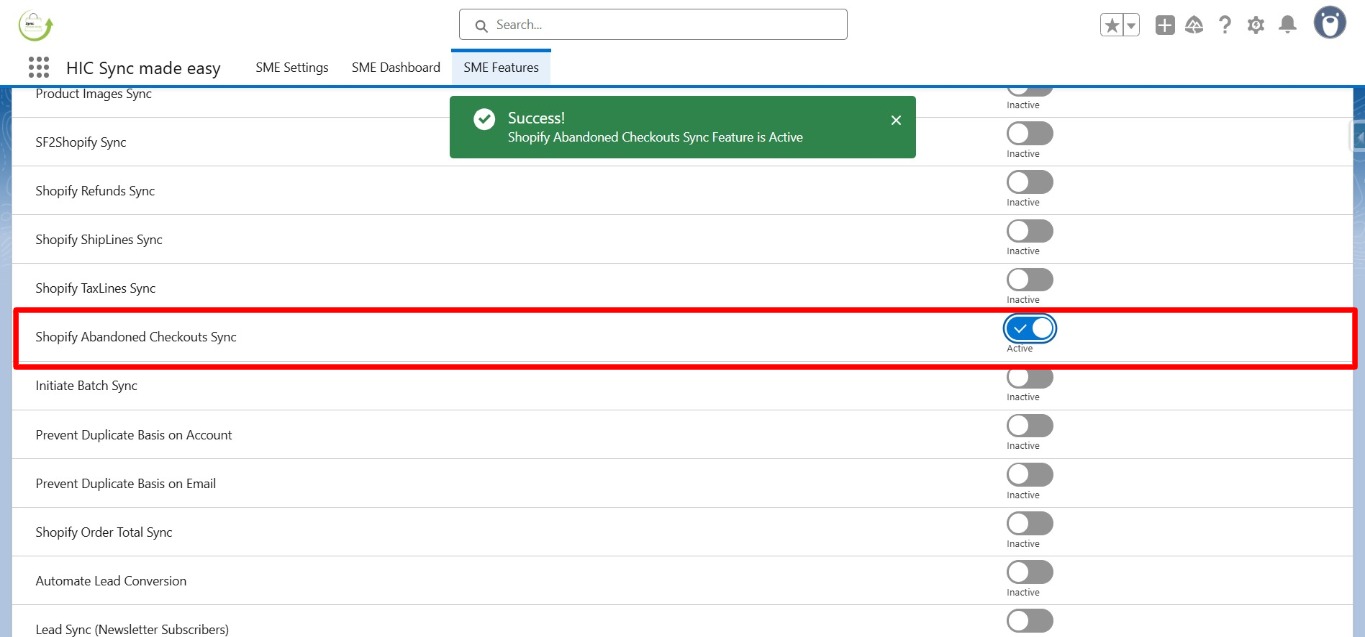
Step 3:Enable the “Shopify Abandoned Checkouts Sync” feature.
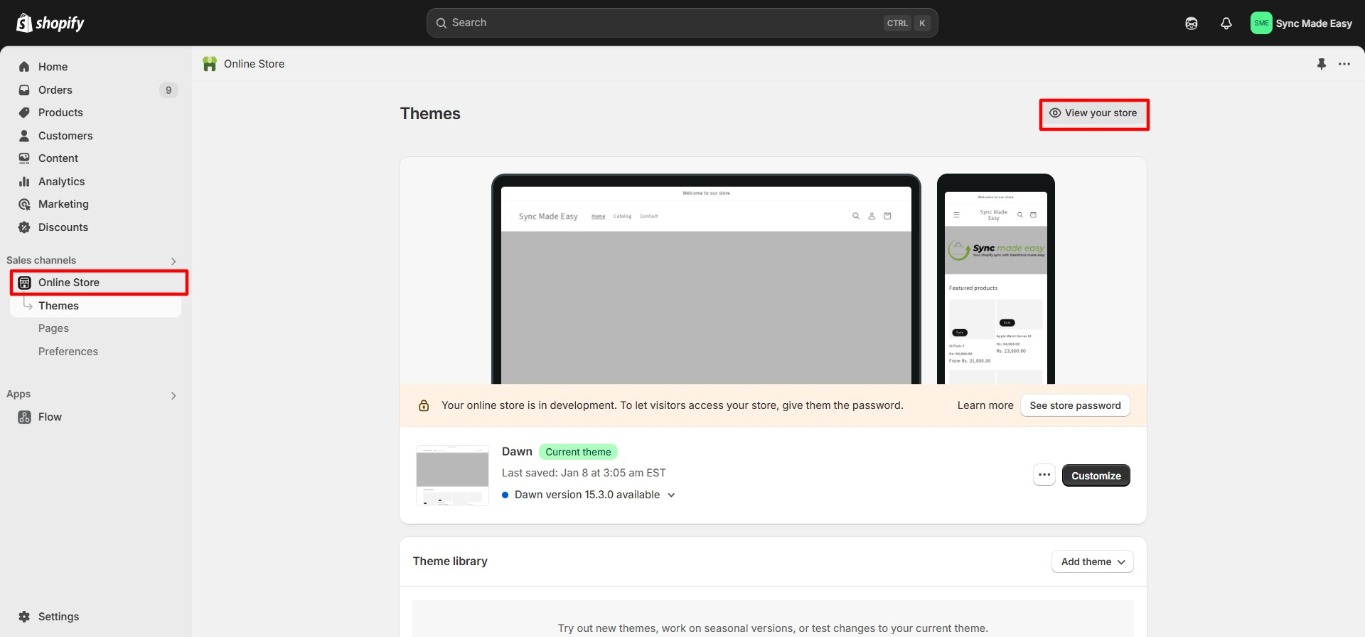
Step 4:In your Shopify store, navigate to Online Store and select View Your Store.
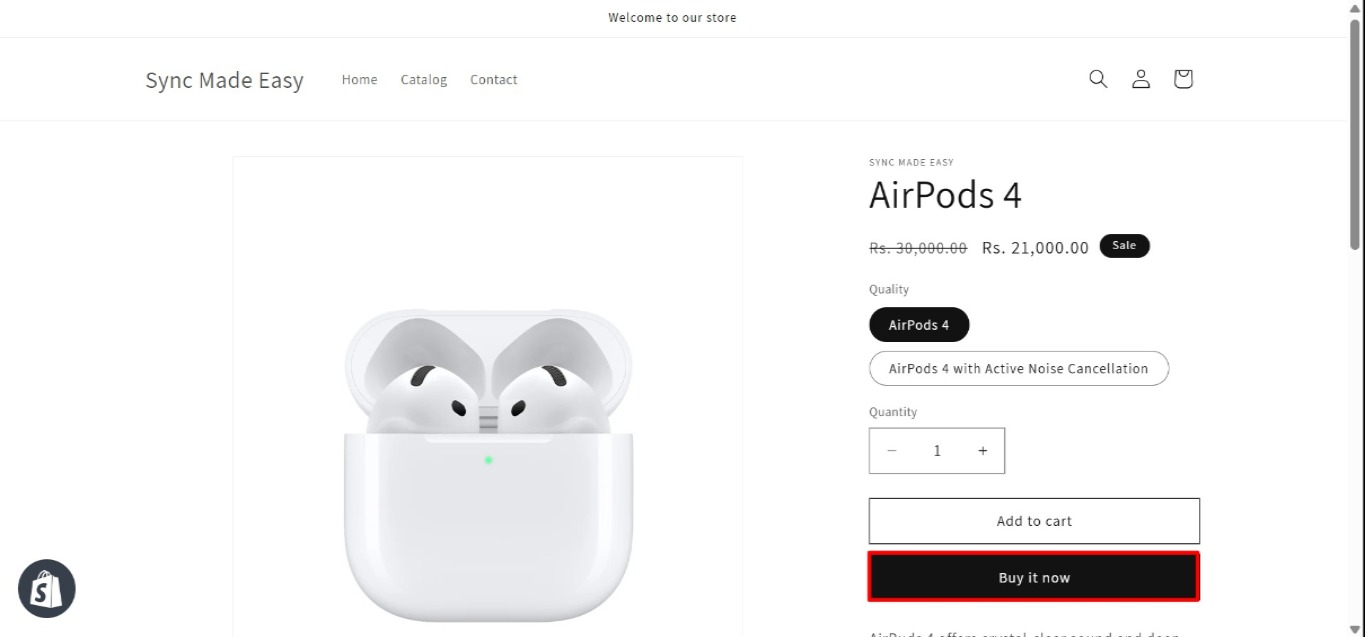
Step 5:Choose a product from the store and click “Buy It Now“.
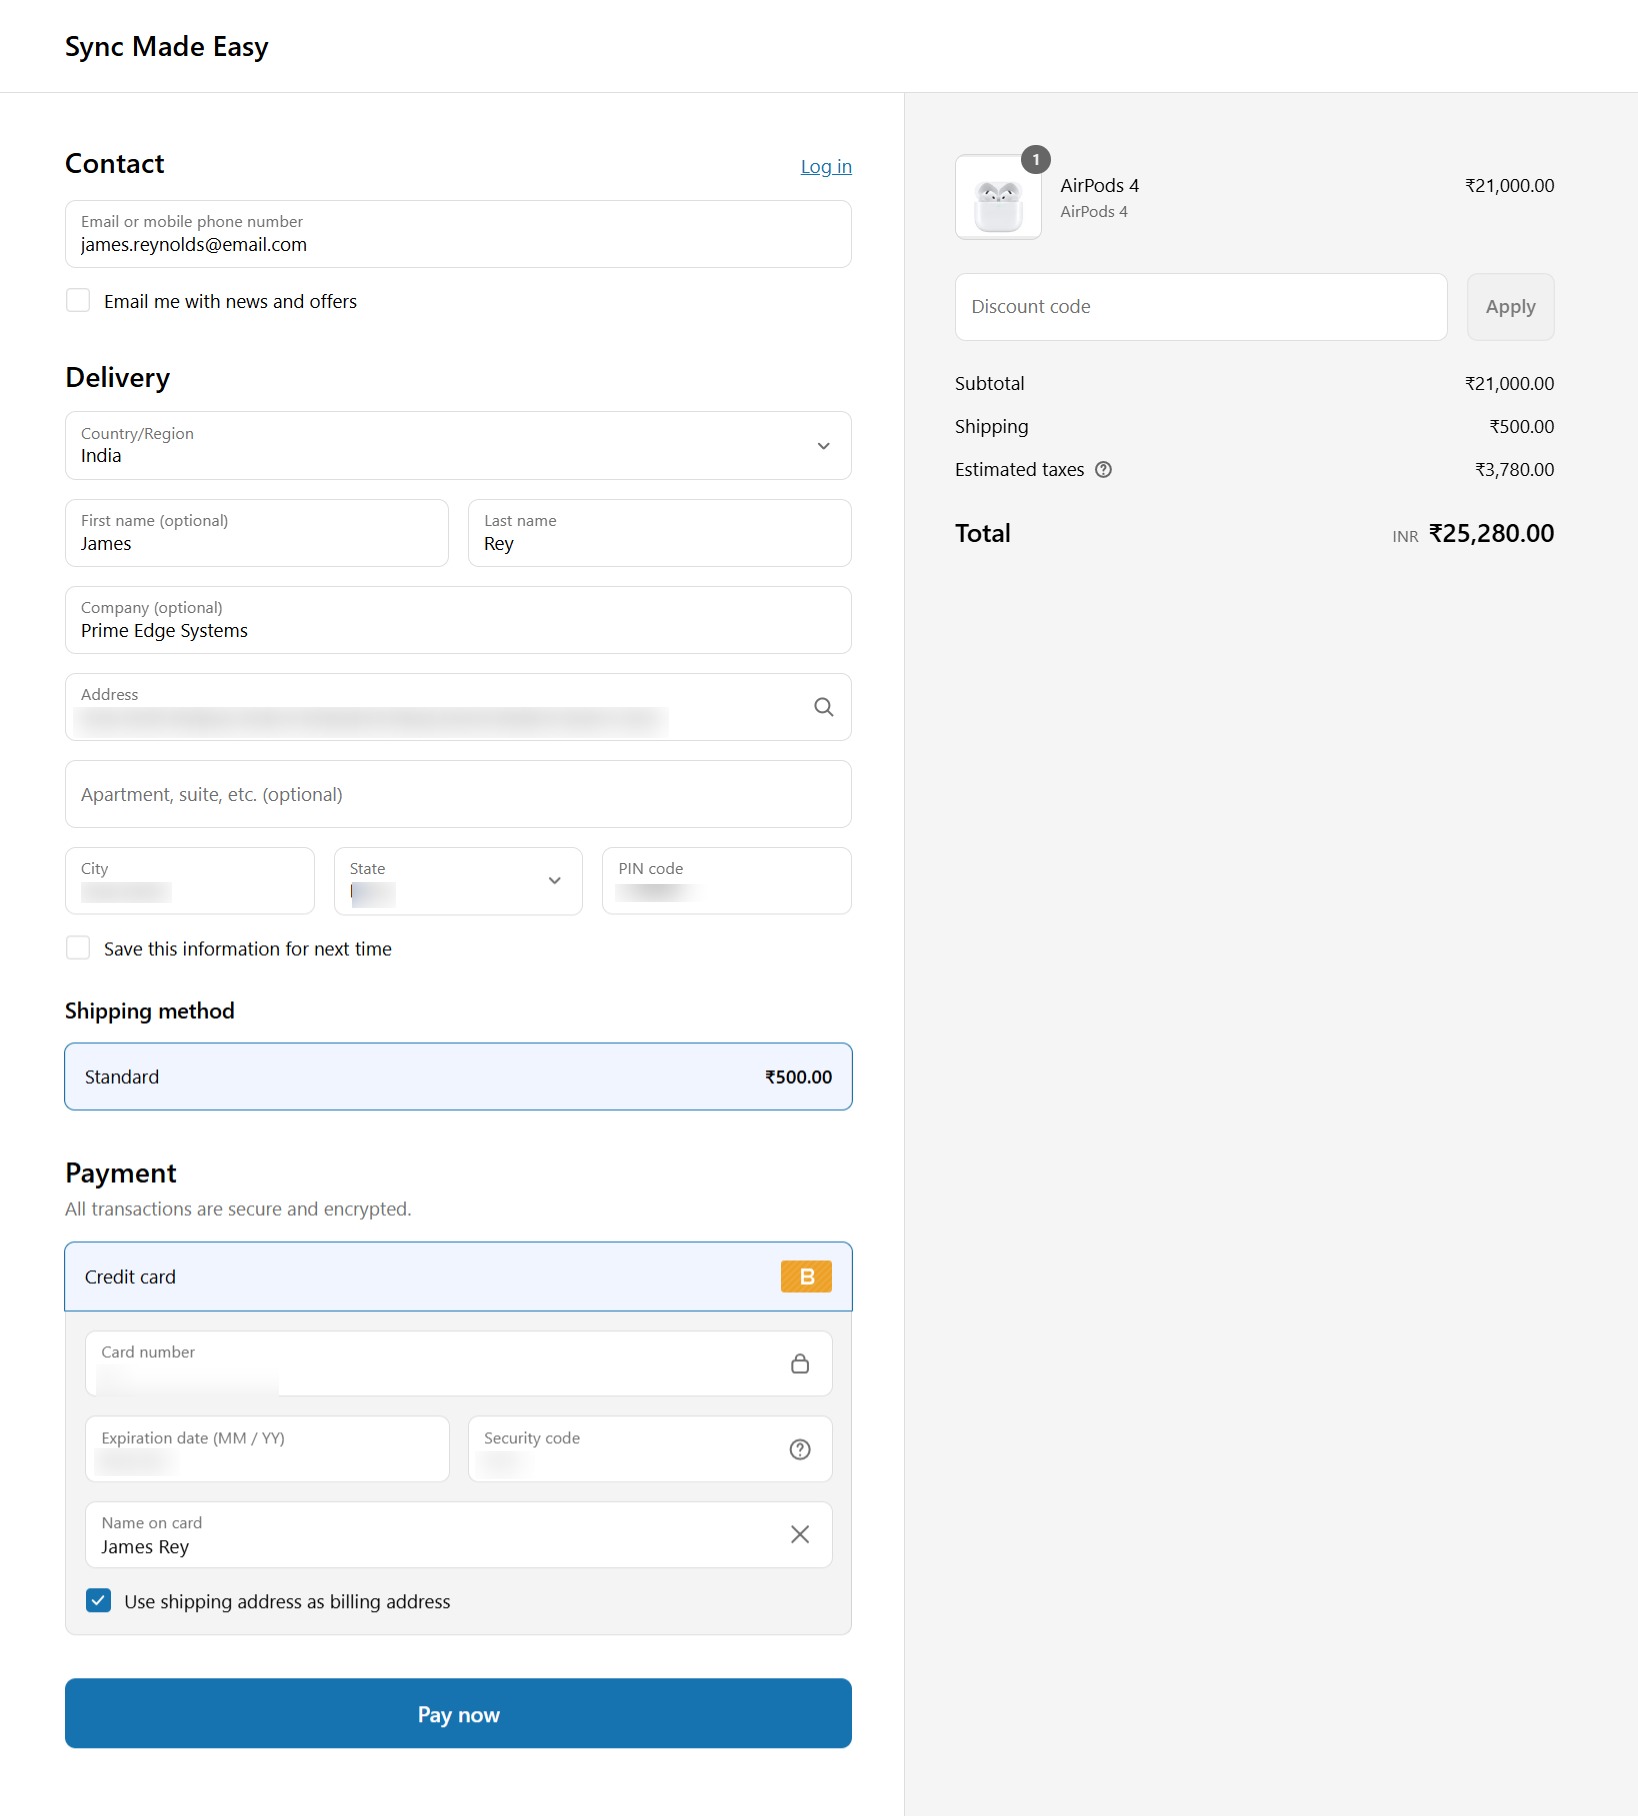
Step 6:Complete all required fields, such as First Name, Last Name, and Address, but do not finalize the payment.
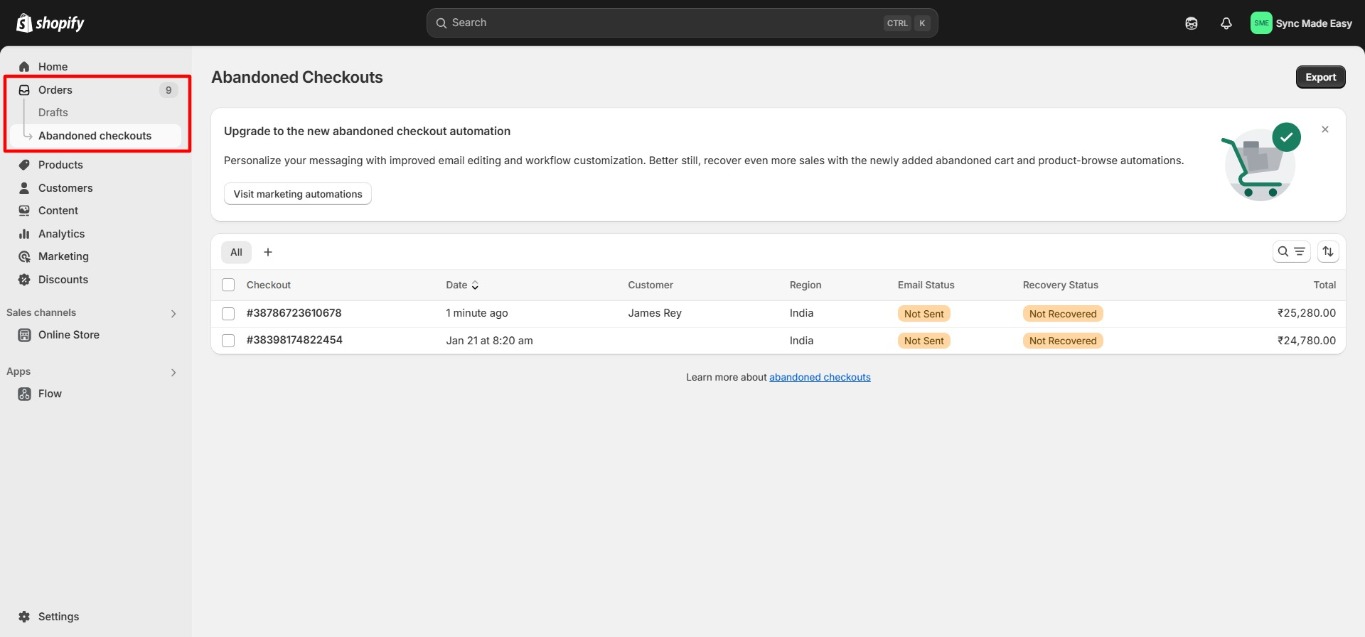
Step 7:After a few minutes, refresh the Abandoned Checkouts page in Shopify.
Please Note: Abandoned Checkouts typically take 10-20 minutes to appear in Shopify. Refresh the page periodically during this time.
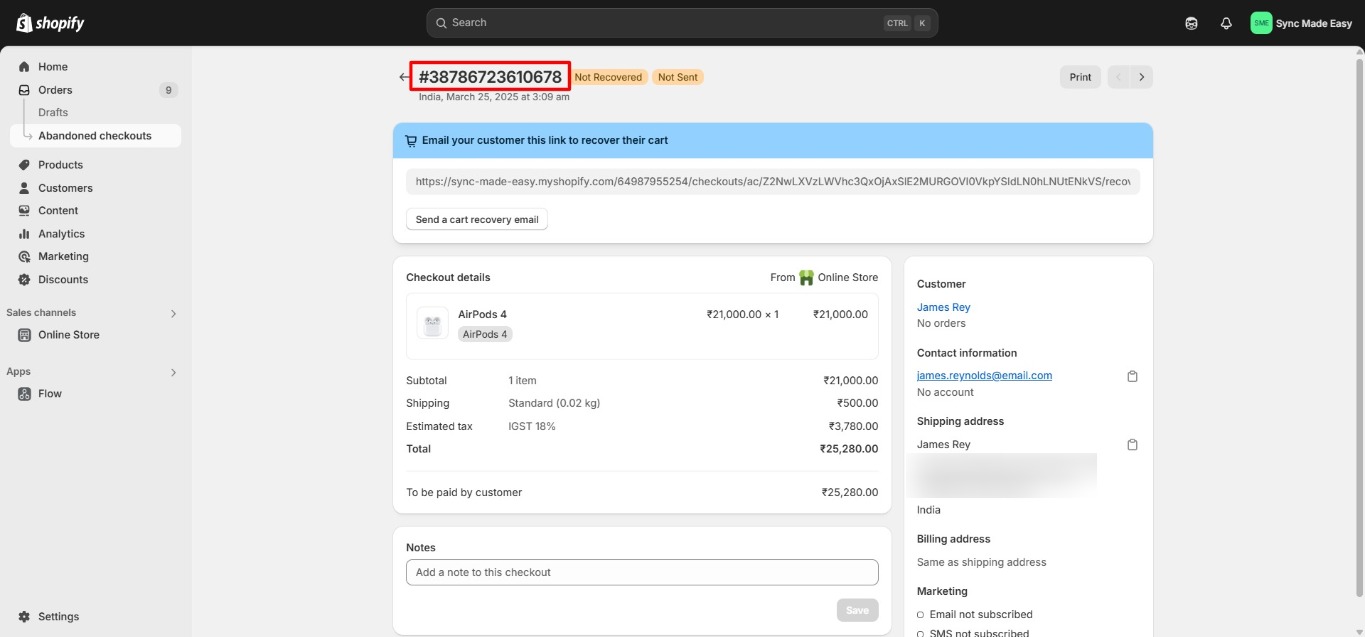
Step 8:Open the Checkout record in Shopify and copy the “Shopify ID“.
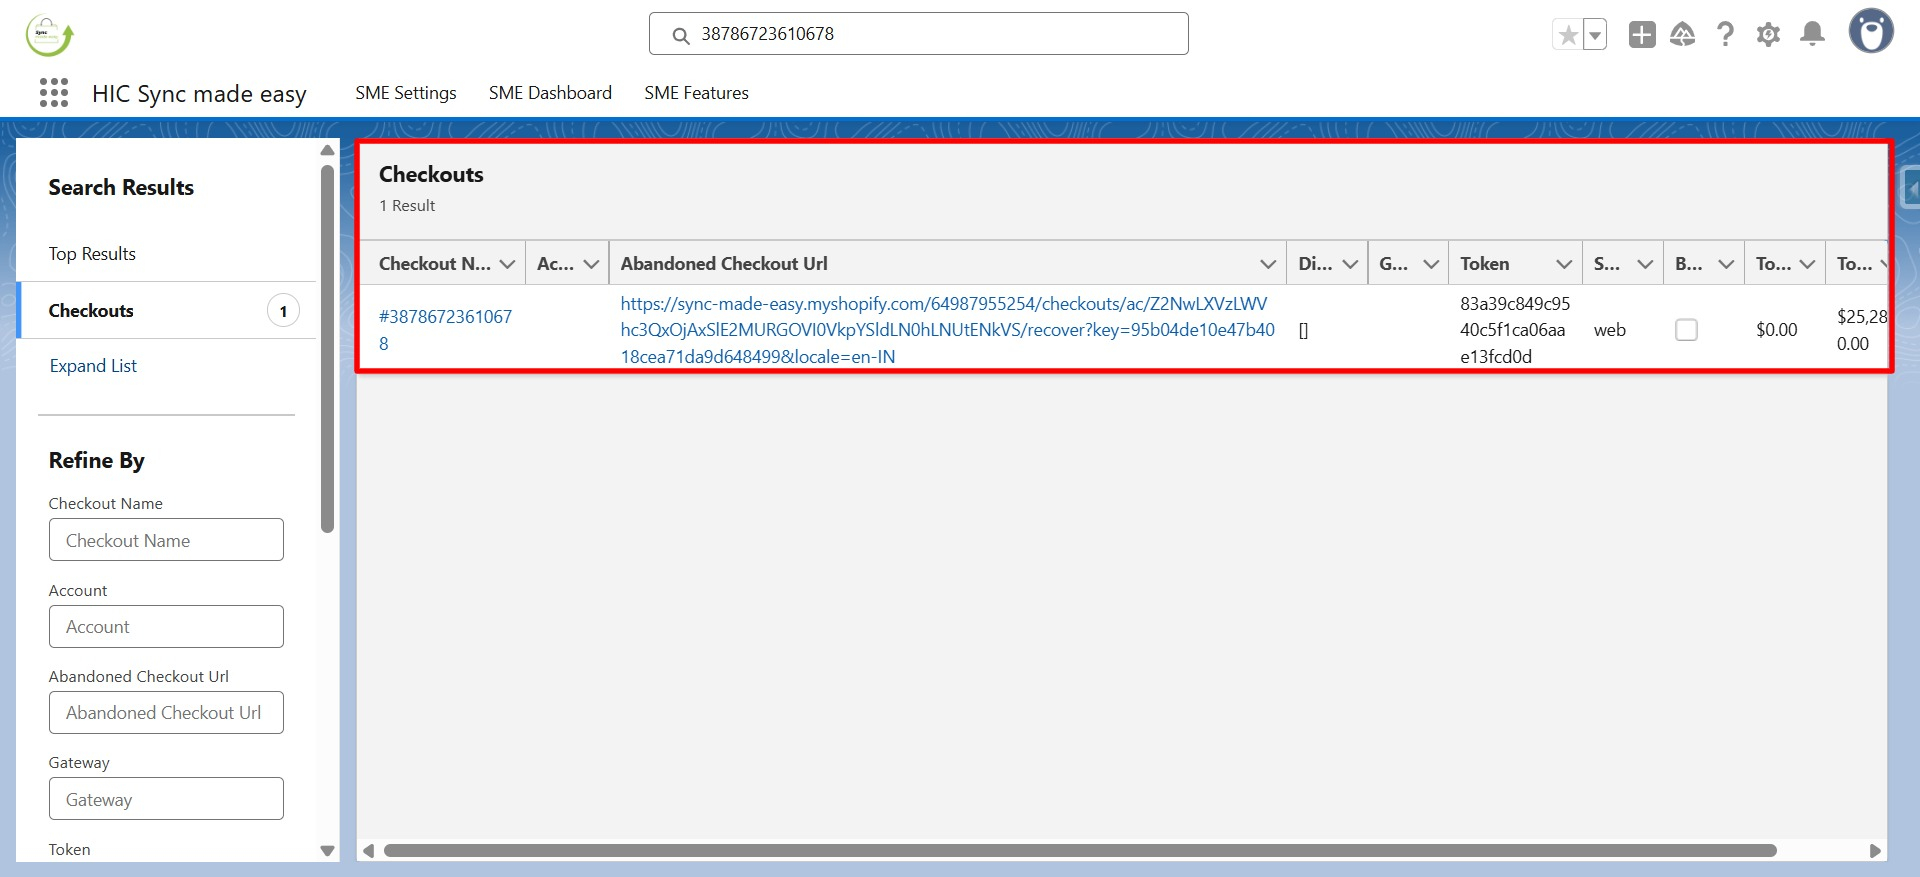
Step 9:In Salesforce, use the “Shopify ID” to locate the corresponding Checkout record.
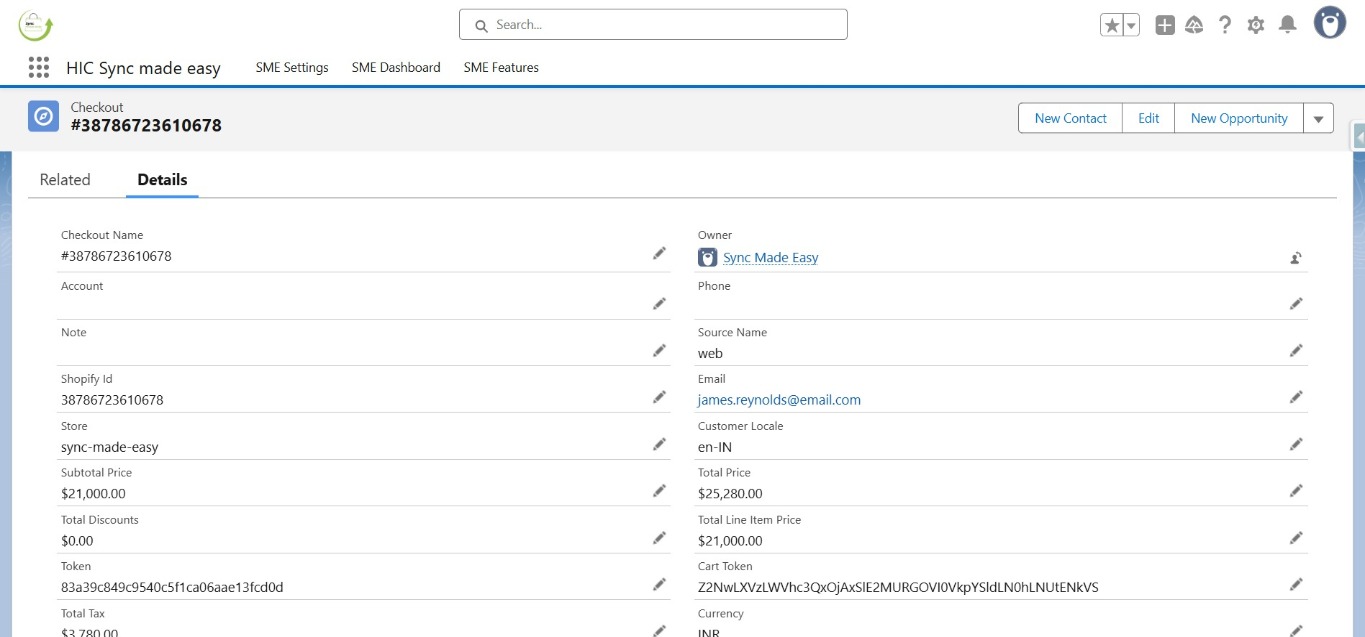
Step 10:You can check all the details about the checkout after opening it.
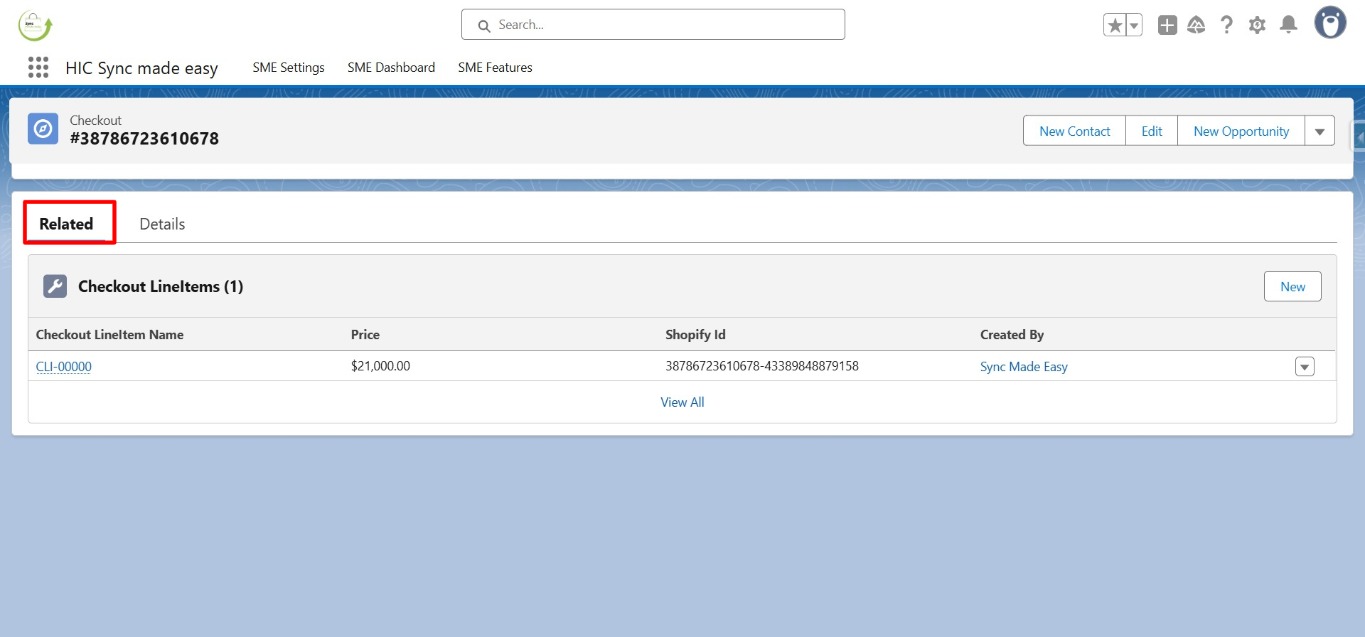
Step 11: Navigate to the “Related Checkouts” section to view additional details.
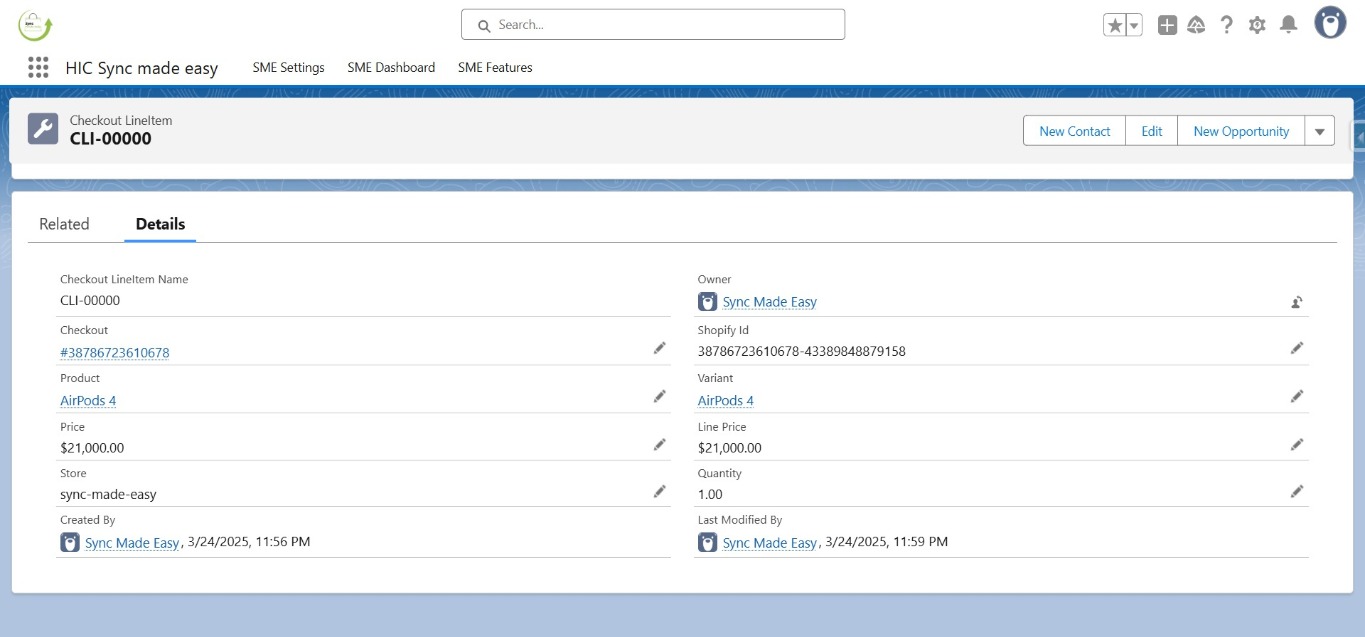
Step 12:Open the Checkout Line Items to review the details.
This concludes the process of configuring and utilizing the Checkout Sync functionality, providing seamless integration and comprehensive tracking of Checkout records between Shopify and Salesforce. Thanks!