In this guide, we will walk you through the process of using the Initiate Batch Sync feature. This feature allows you to sync specific Shopify data within a selected time frame instead of pulling all historical records. By setting a Start Date and End Date, you can efficiently sync only the relevant data, ensuring a streamlined and organized process. Follow the steps below to enable and initiate batch sync effortlessly:
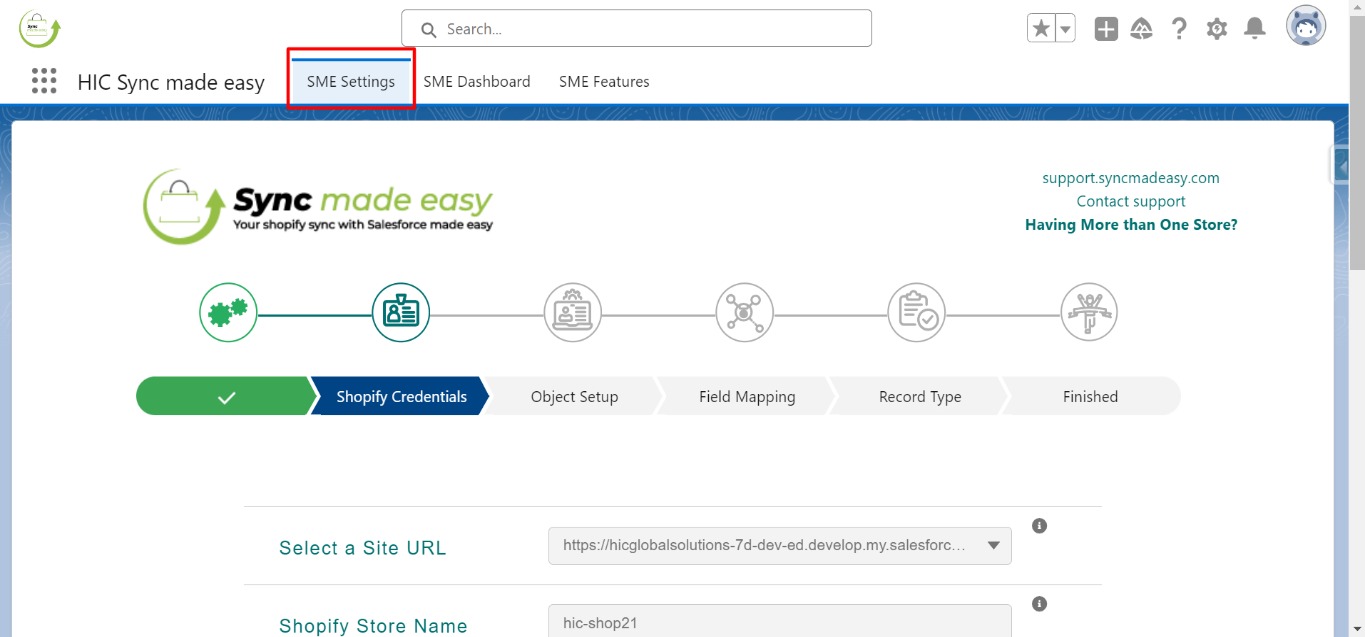
Step 1:Log in to Salesforce and navigate to SME Settings.
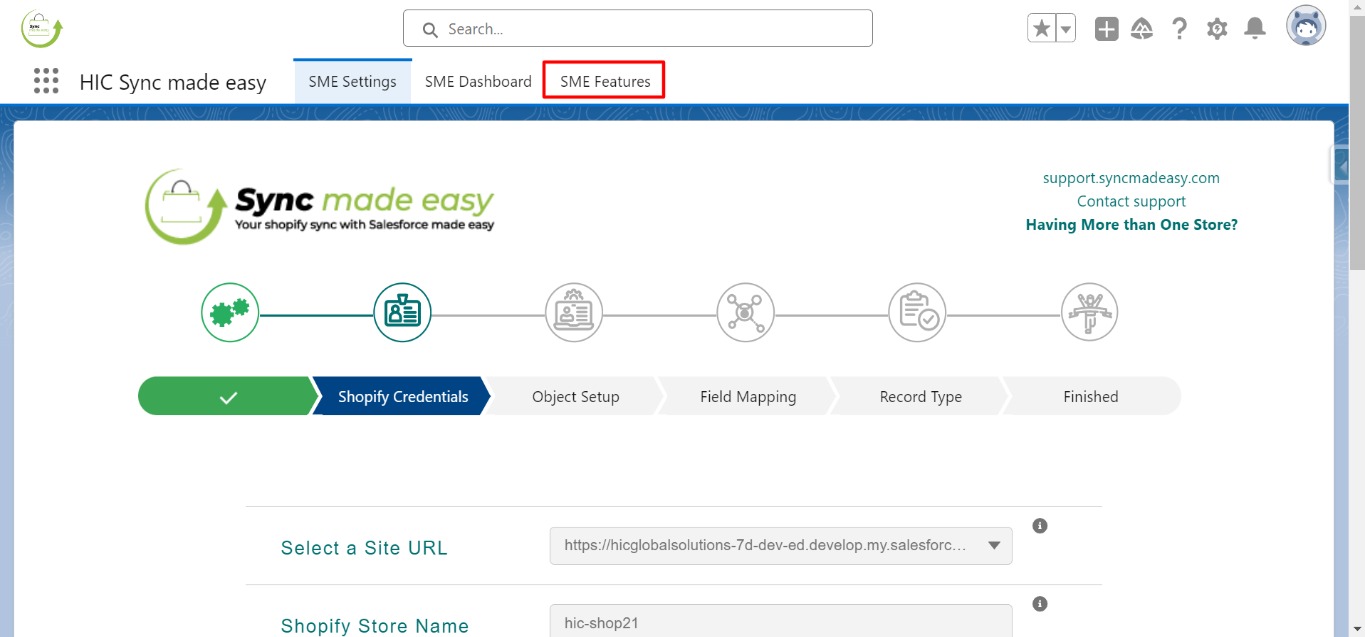
Step 2:Click on “SME Feature“.
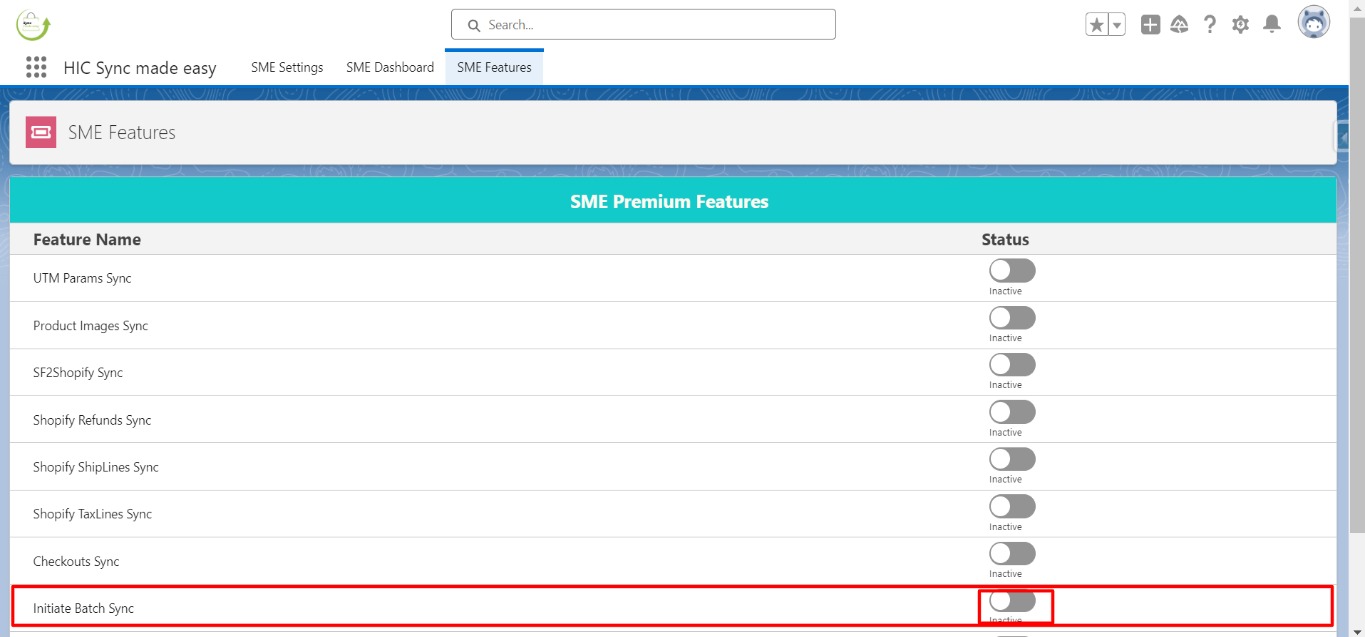
Step 3:Enable the “Initiate Batch Sync” feature.
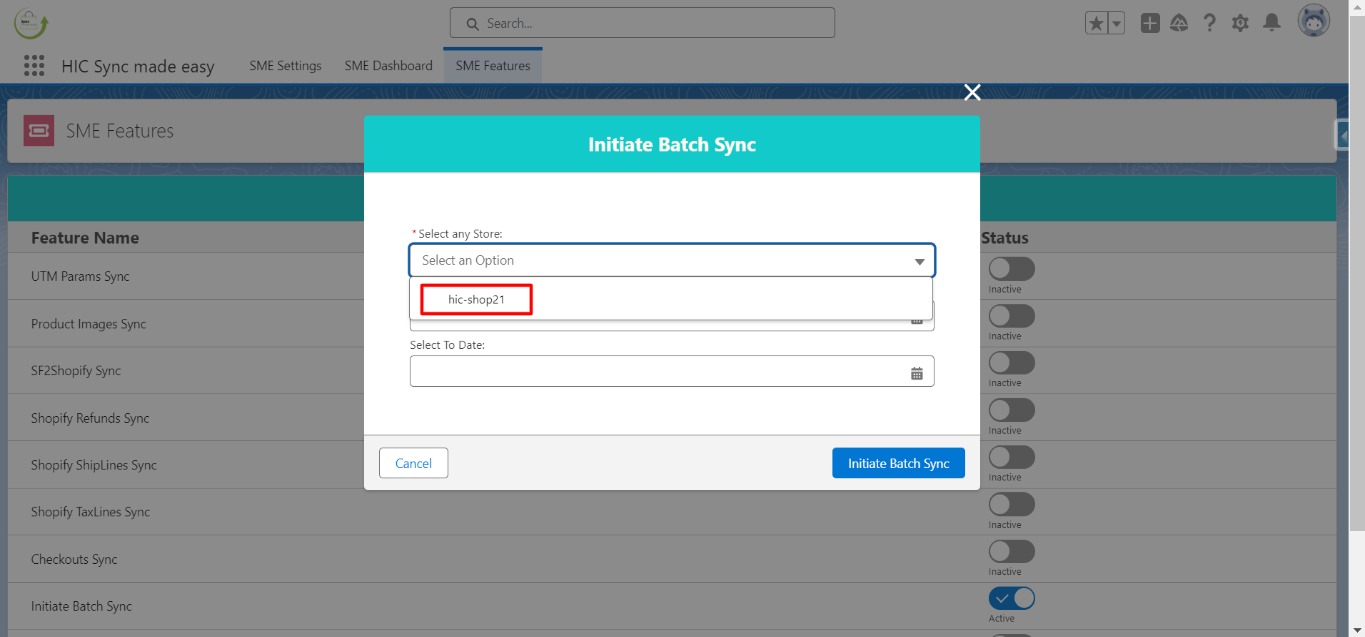
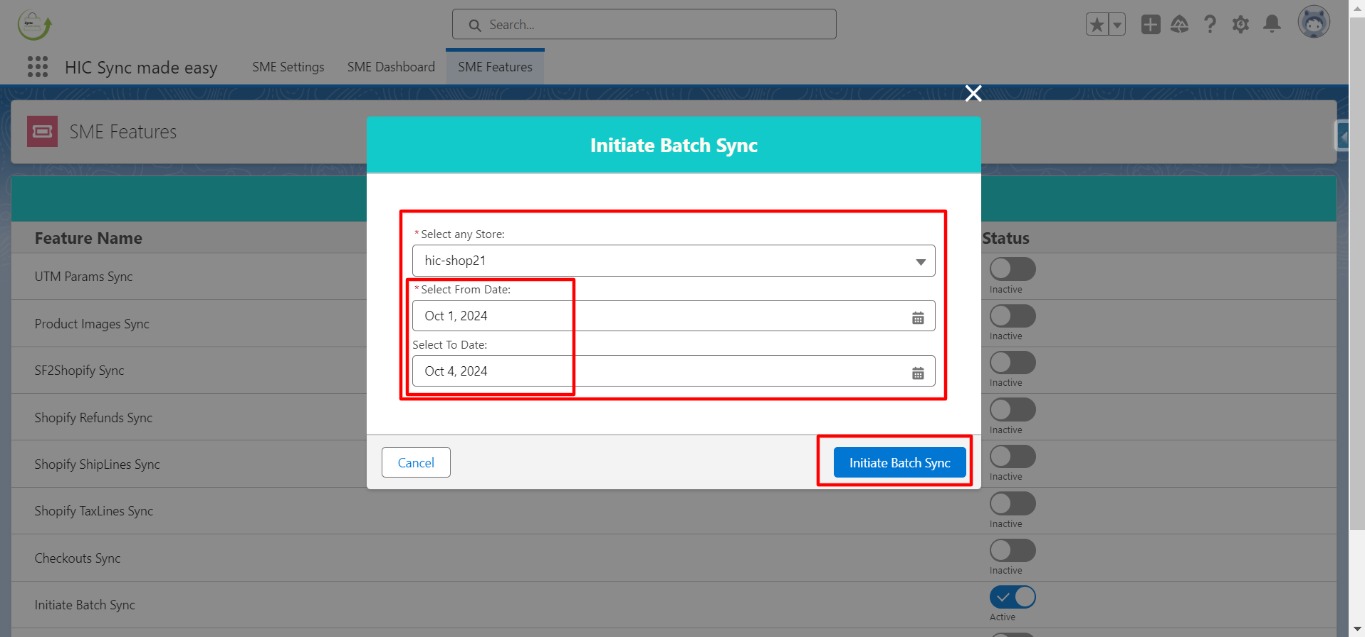
Step 4:Once the feature is enabled, you can see the options to Select “Store“, “Start Date“, and “End Date“.
Step 5:Select the “Store” you want to initiate the batch sync.
Step 6:Specify the desired Start Date and End Date, then click on the “Initiate Batch Sync button“.
Step 7:A confirmation message will appear:
“Batch Sync Initiated for the given time period. You can check this in your Apex Job.”
This concludes the functionality of the Initiate Batch Sync feature. Thank you!