This guide explains the “Send To Shopify” button functionality for Products. When we create a Product in Salesforce and click on the Send to Shopify button, then the Shopify ID is generated in the Salesforce product and the Product is synced successfully in the Shopify store as a Product.
SEND TO SHOPIFY- PRODUCT
Step 1: Create a Product in Salesforce.
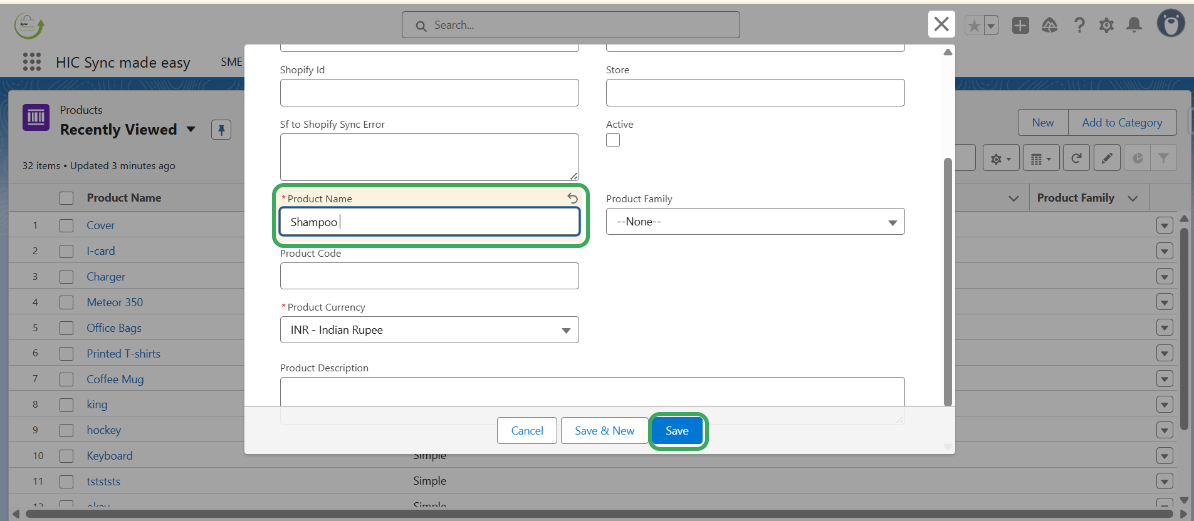
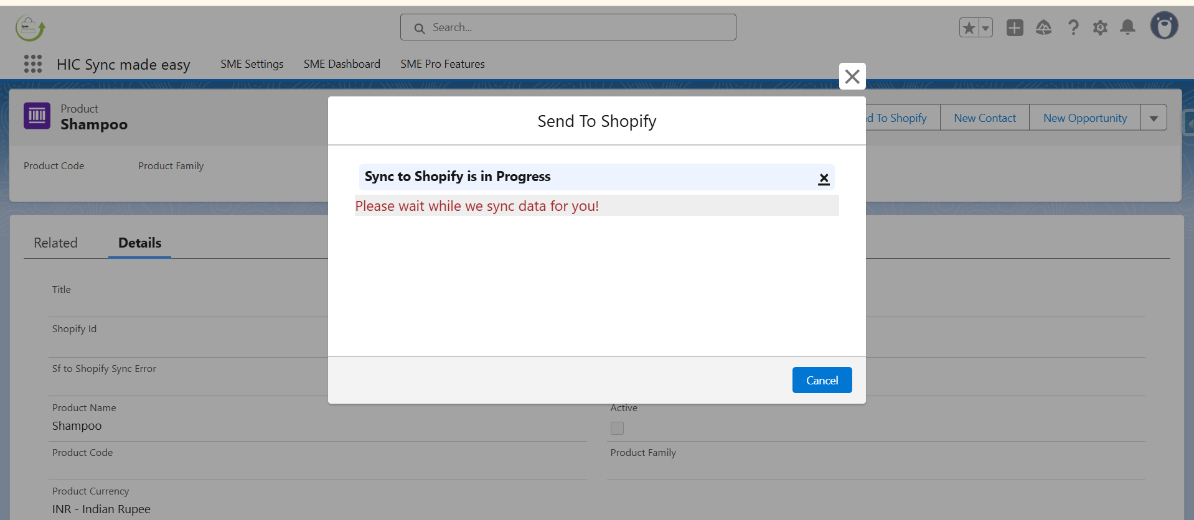
Step 2: Observe that the “Shopify ID” and “Store Name” fields are blank. Click on the Send to Shopify button to generate the Shopify ID and Store Name.

Step 3: Once the process is completed, the “Shopify ID” and “Store Name” fields will be populated.
Step 4: Verify that the “Shopify ID” and “Store Name” fields are now populated.

Step 5: Copy the “Shopify ID” and search for it in your Shopify store.
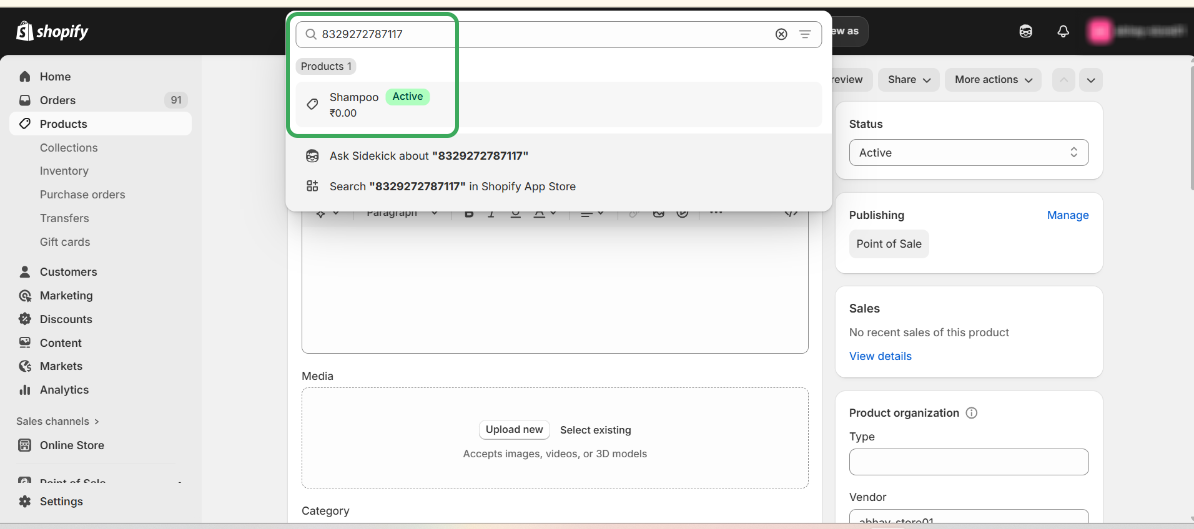
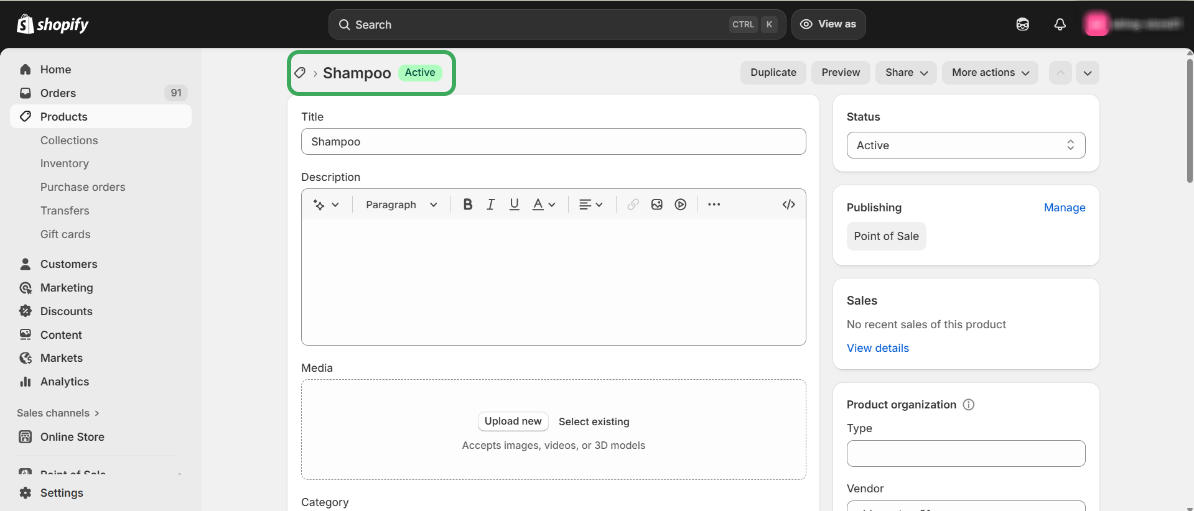
Step 6: Confirm that the Product has been successfully synced to Shopify using the Send to Shopify feature.
This concludes the functionality of the Send to Shopify button for Products.
Thanks!
Was this article helpful?
That’s Great!
Thank you for your feedback
Sorry! We couldn't be helpful
Thank you for your feedback
Feedback sent
We appreciate your effort and will try to fix the article
