This guide walks you through the process of syncing “Customers“, “Products“, and “Orders” in real time between Shopify and Salesforce, ensuring seamless integration and accurate data management across both platforms.
Real Time Sync of Accounts
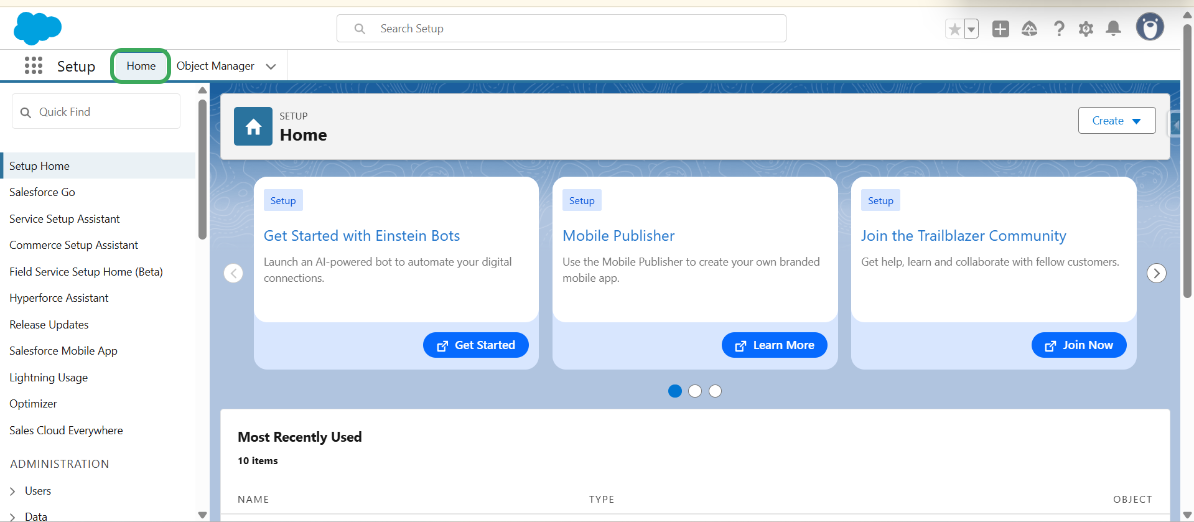
Step 1 – Log in to your Salesforce.
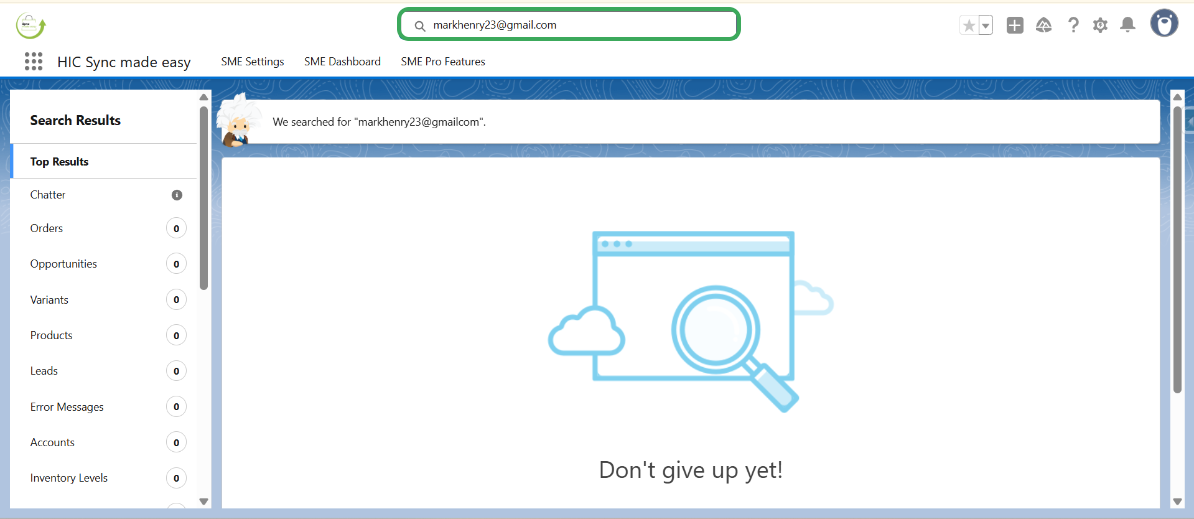
Step 2 – Search for the email “markhenry23@gmail.com” and press enter; you will see that there is no account associated with this email ID.
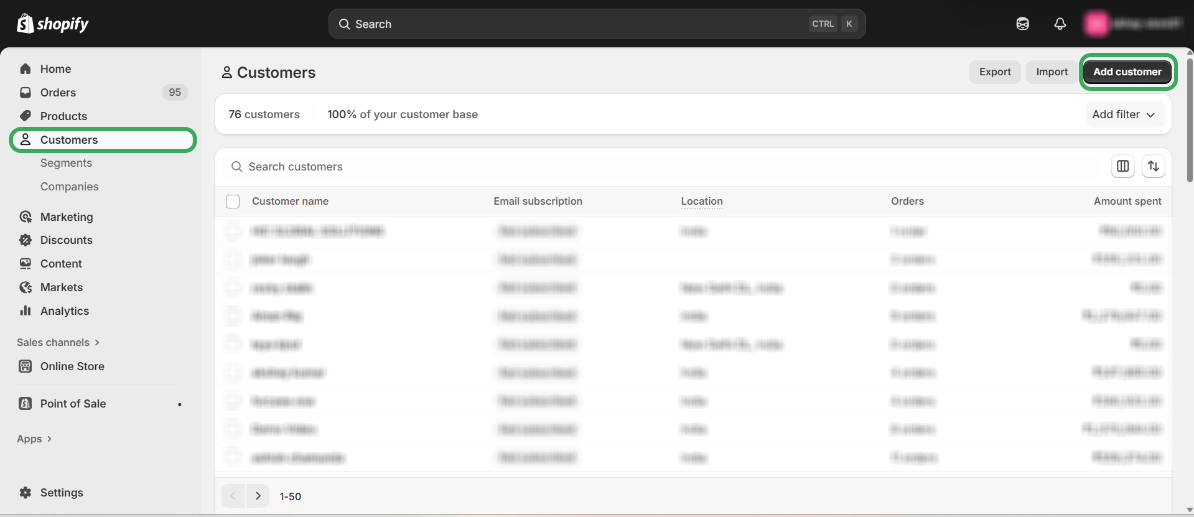
Step 3 – Open your Shopify Store, go to the customer section, and click on “Add Customer.”
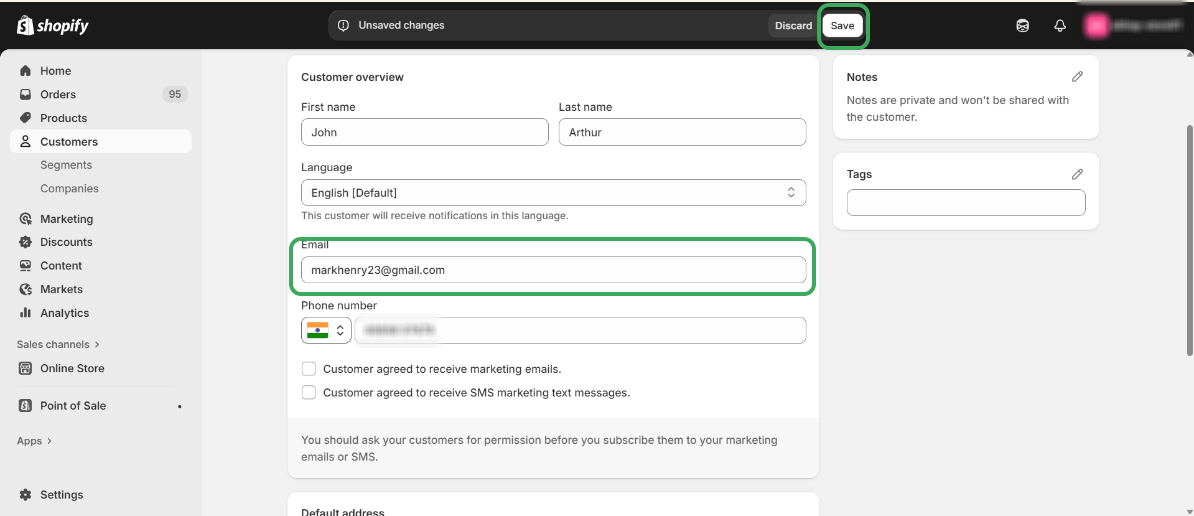
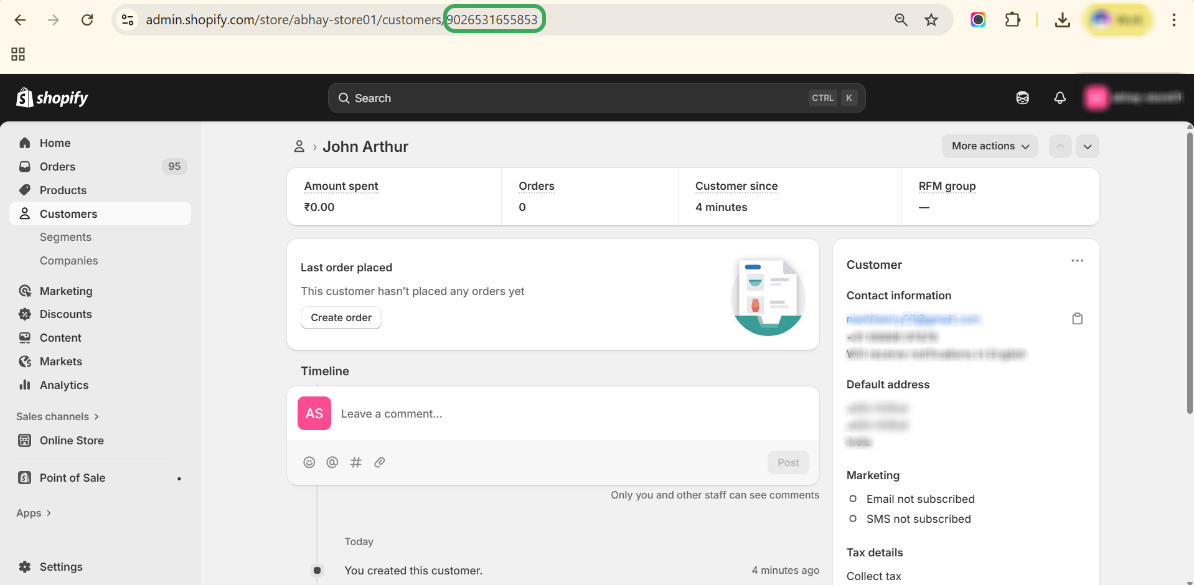
Step 4 – Create a new customer by filling in all the required fields, enter the email ID “markhenry23@gmail.com ” and click on save button.
Step 5 – Copy the Shopify “Customer ID” from the Shopify Store URL.
Step 6 – Search for the Shopify Customer ID in Salesforce.
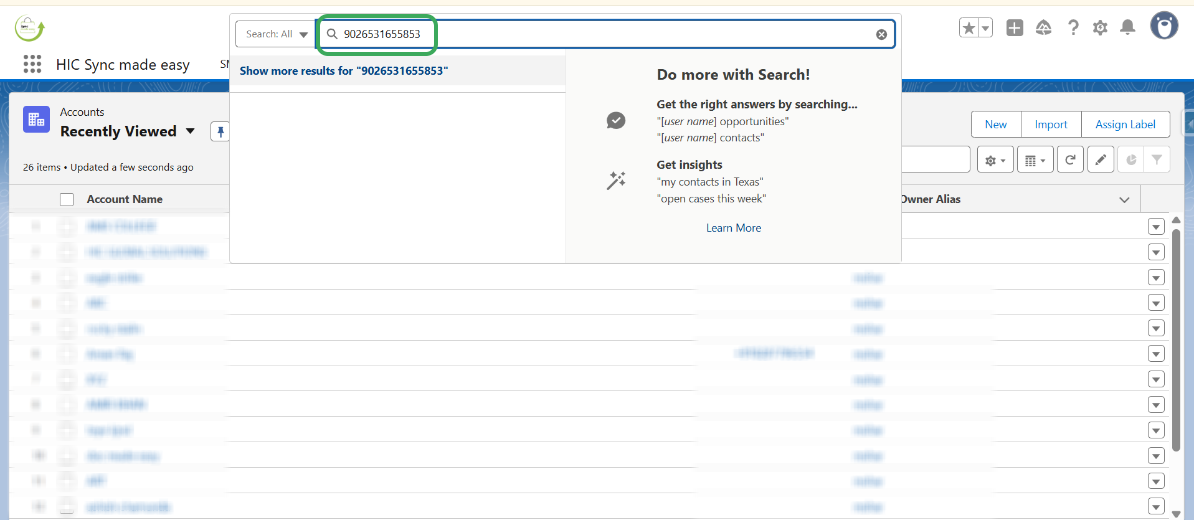
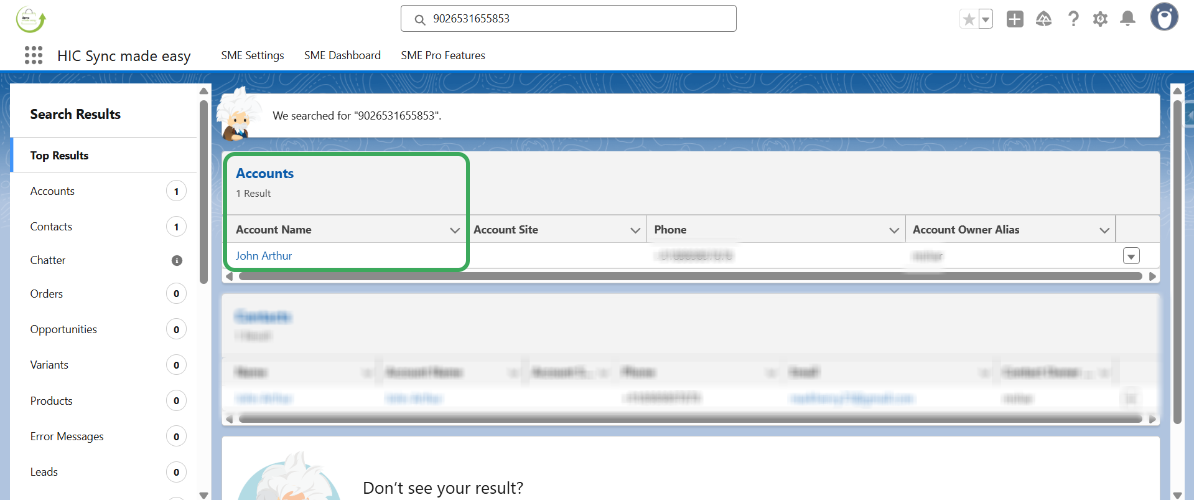
Step 7 – Wait for 5–10 seconds to allow synchronization, then press enter, an account will be created in Salesforce with the company name.
Step 8 – Open the account in Salesforce, where you will see that a contact has been created with the email ID “markhenry23@gmail.com .”
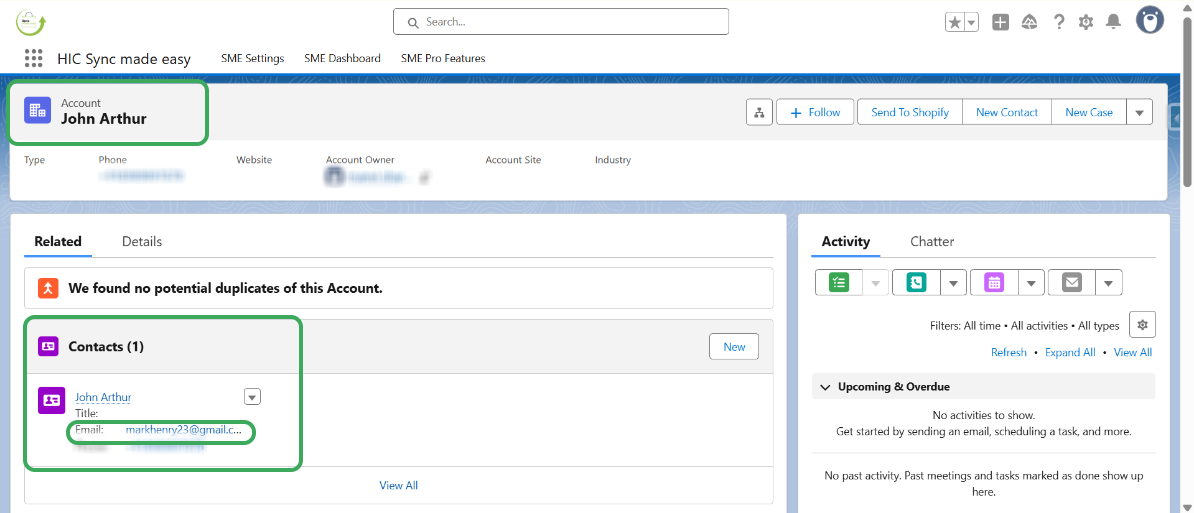
In our organization, we have enabled the “Business Account” setup, which associates both Account and Contact details. A Business Account stores information about companies, and the contact is created under the account. Since we do not enable the “Person Account” setup, which stores information about individual people, the account name appears as the company name, and the contact name appears as the customer name.
If you want to sync a Person Account from Shopify to Salesforce, you need to select the “Person Account” option in the Object Setup page. Then, follow all the steps outlined above, ensuring that you do not add a company name. The account will be created in Salesforce as a Person Account.

Real Time Sync of Products
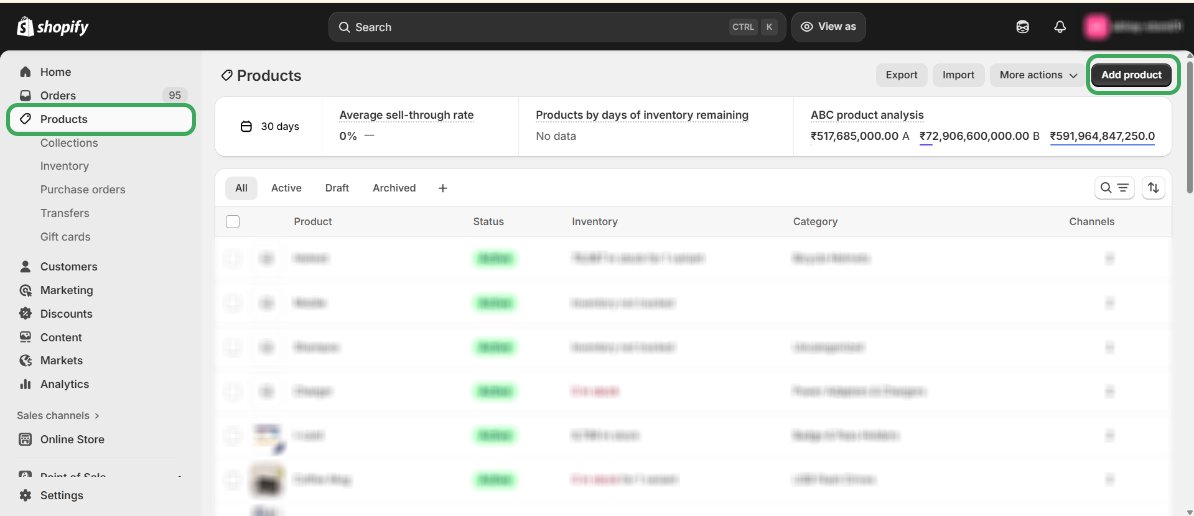
Step 1 – Open your Shopify Store, click on “Products,” and then click on “Add products” to begin adding products to your store.
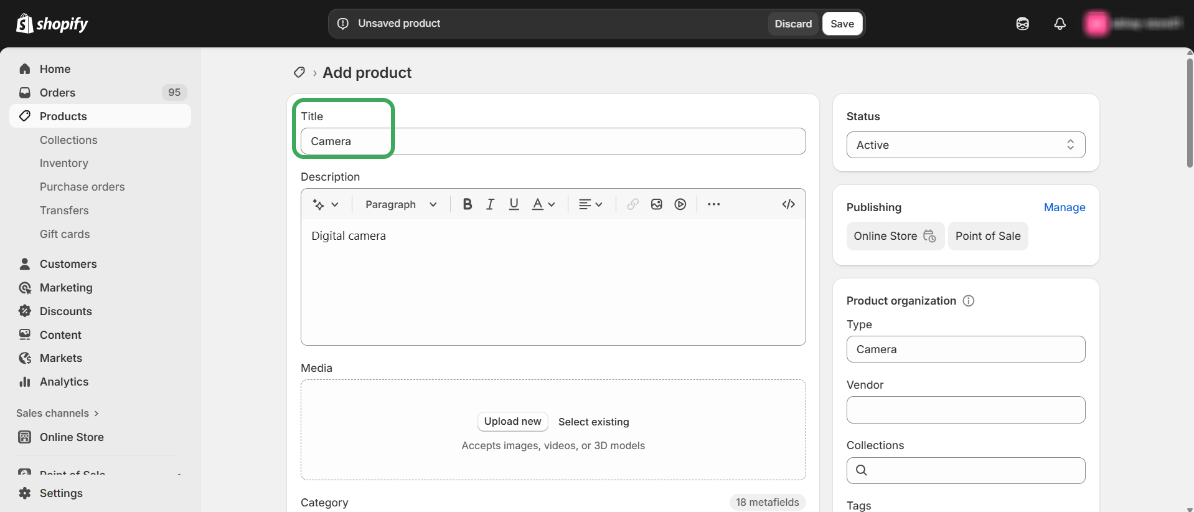
Step 2 – Enter the name of your product, then scroll down to add the Price and Quantity for your product.
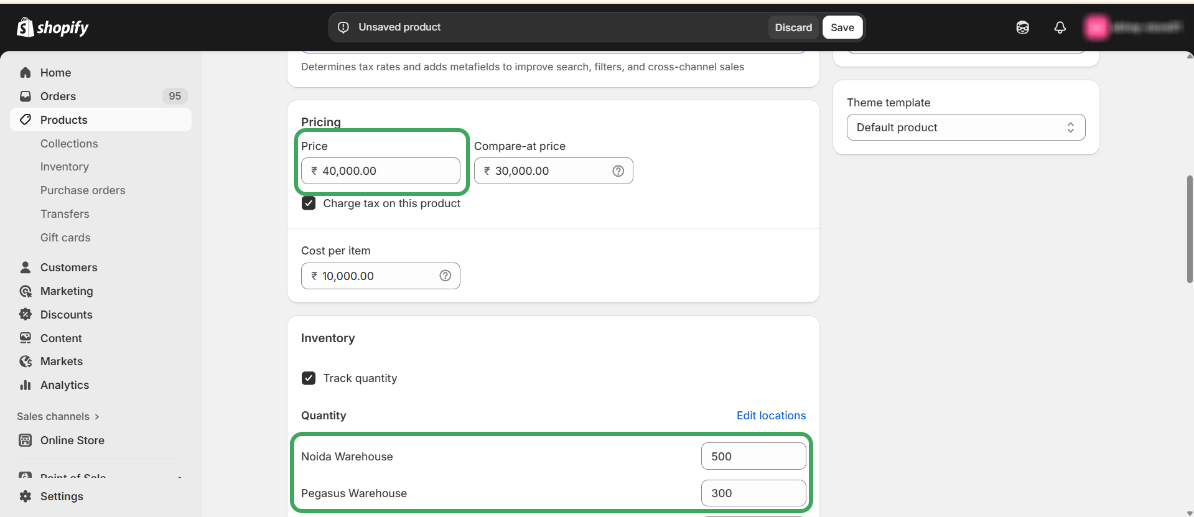
Step 3 – Enter the “Price” and “Quantity” of your product.
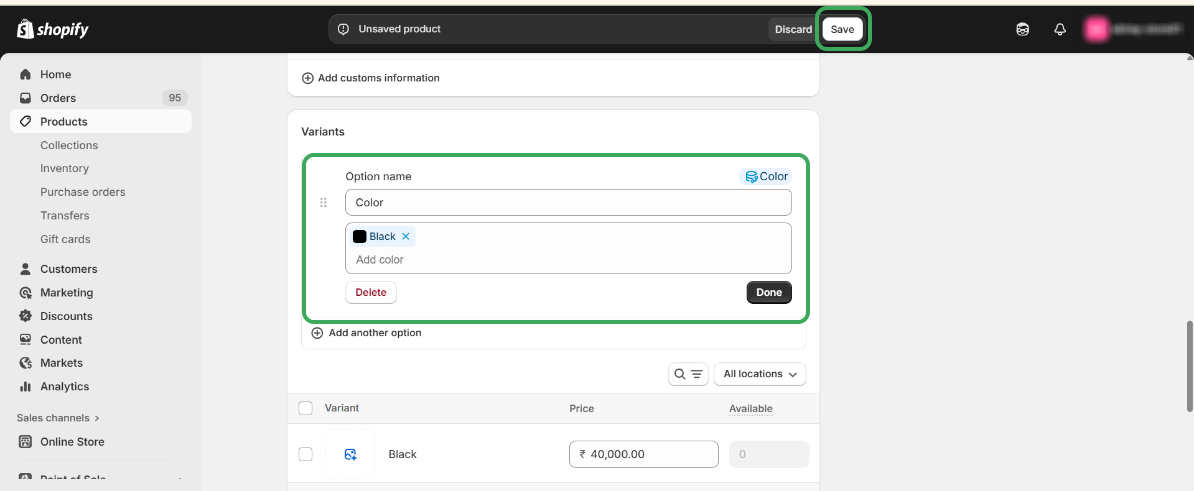
Step 4 – Add a Variant, if applicable, and click on the Done button.
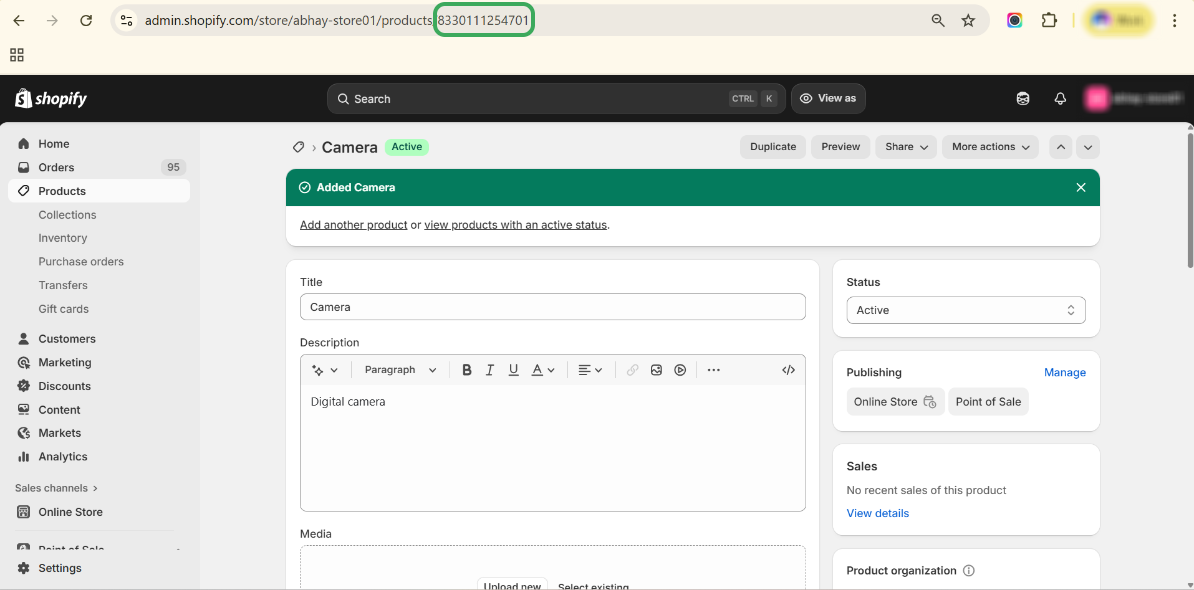
Step 5 – Copy the Shopify Product ID from the Shopify Store URL.
Step 6 – Open Salesforce, paste the Product ID in the search box, and press Enter.
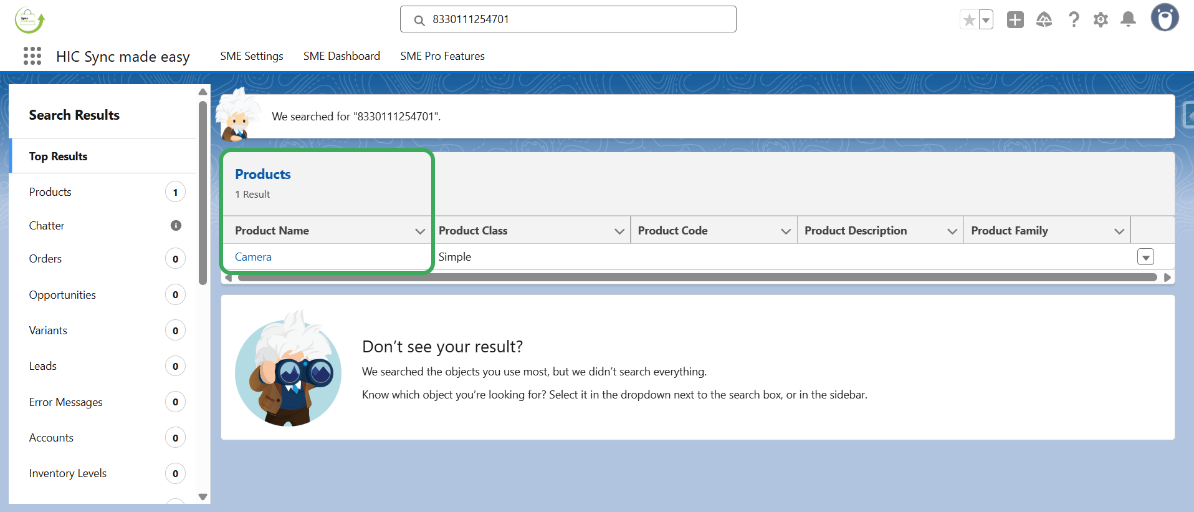
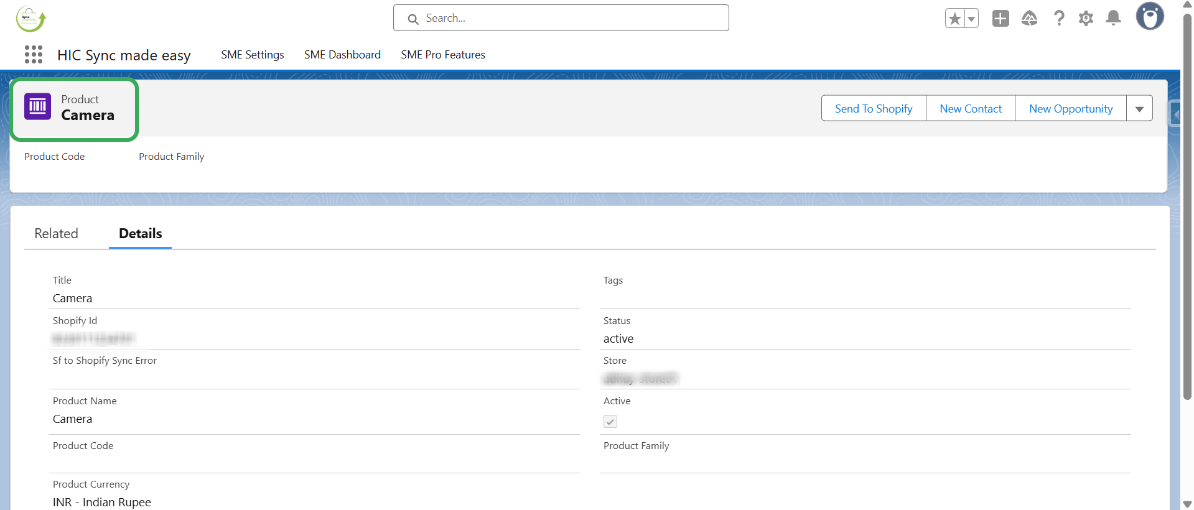
Step 7 – The product is successfully created in Salesforce.
Real-Time Sync of Orders
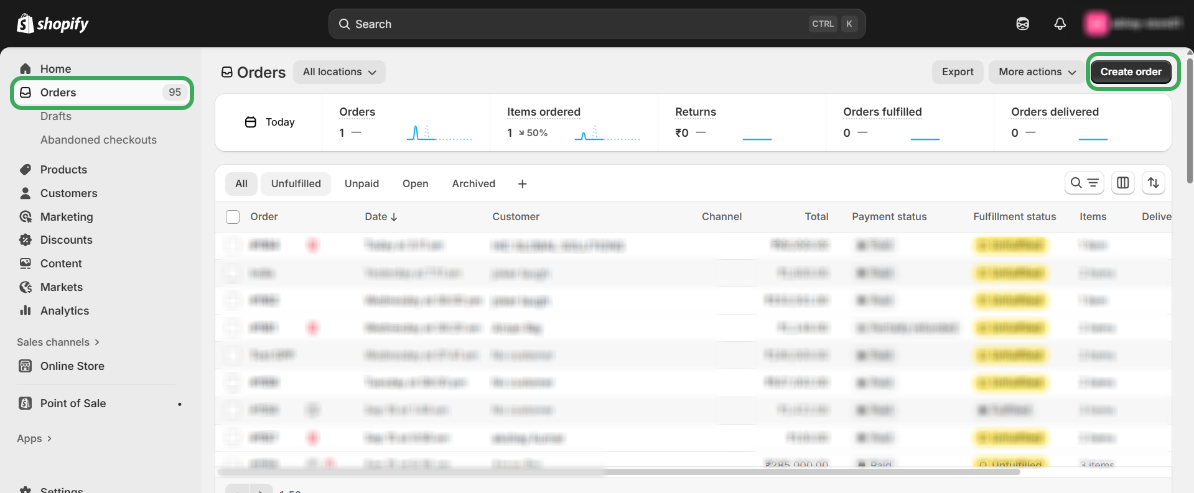
Step 1 – Open your Shopify Store.
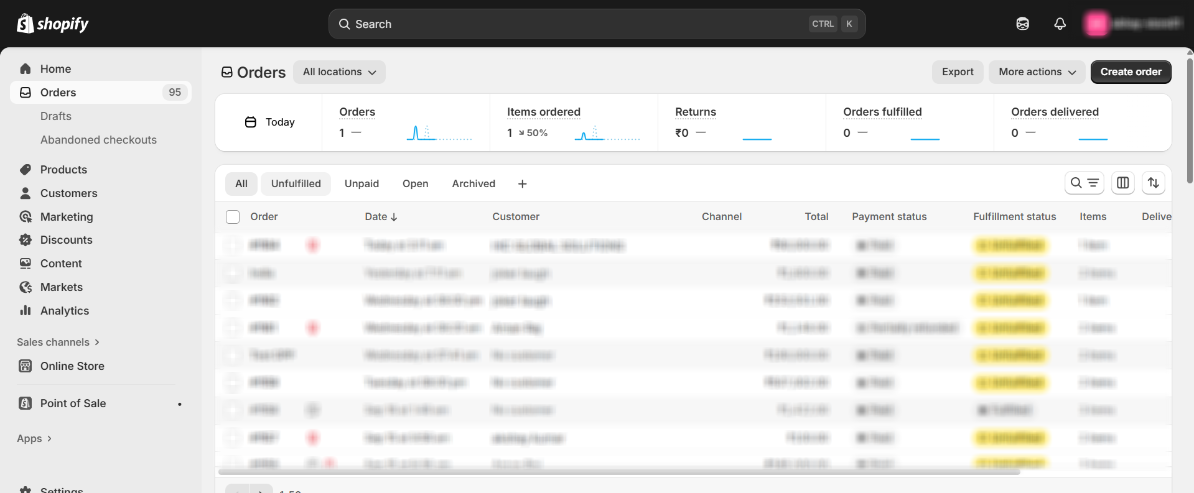
Step 2 – Click on “Orders,” then select “Create Order” to create a new order.
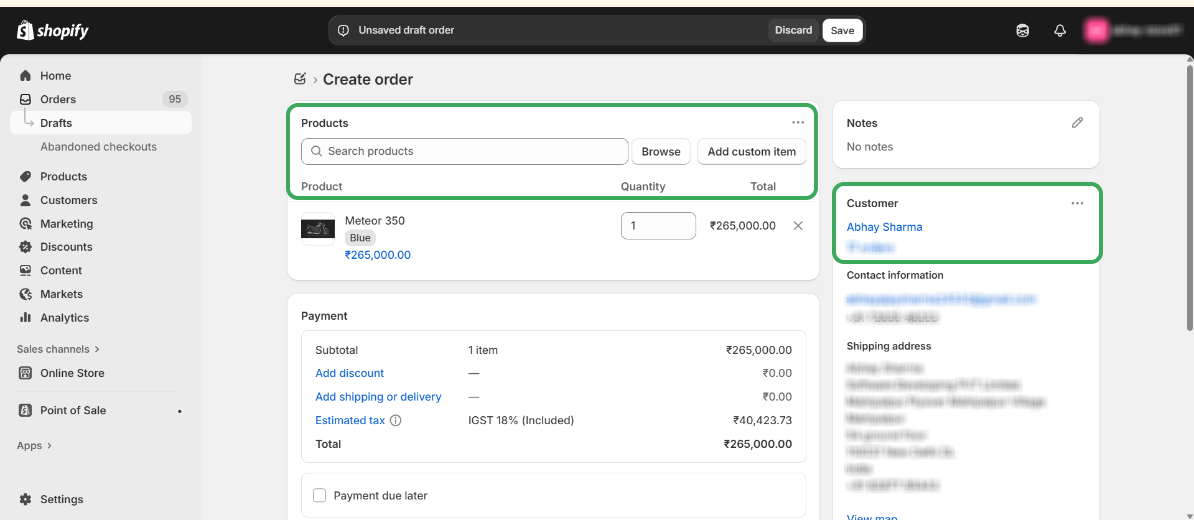
Step 3 – Select the products by clicking the "Browse" button and add the "Customer".
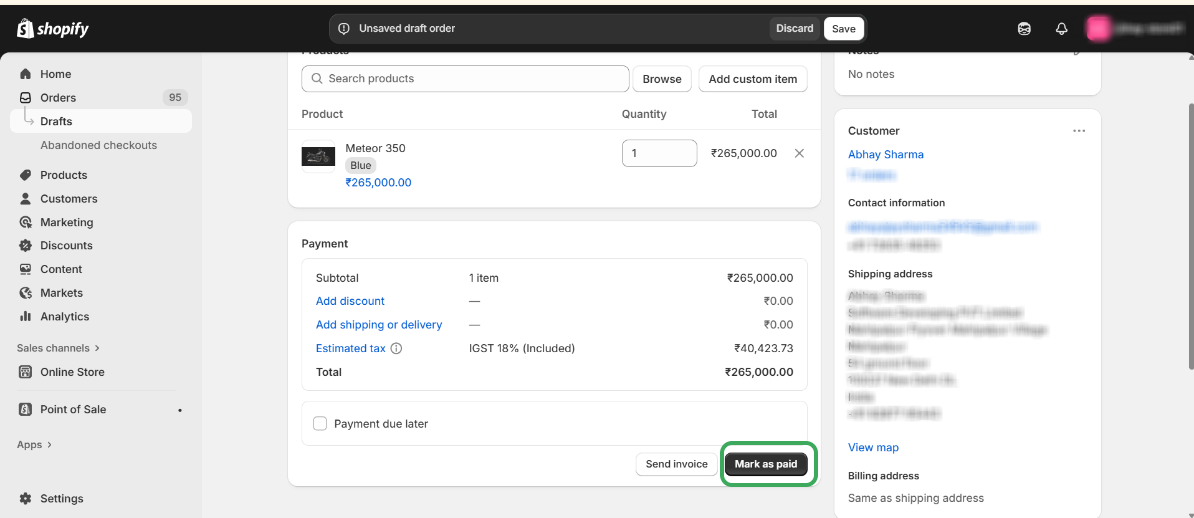
Step 4 – After selecting the product and customer, scroll down, click on "Mark as Paid".
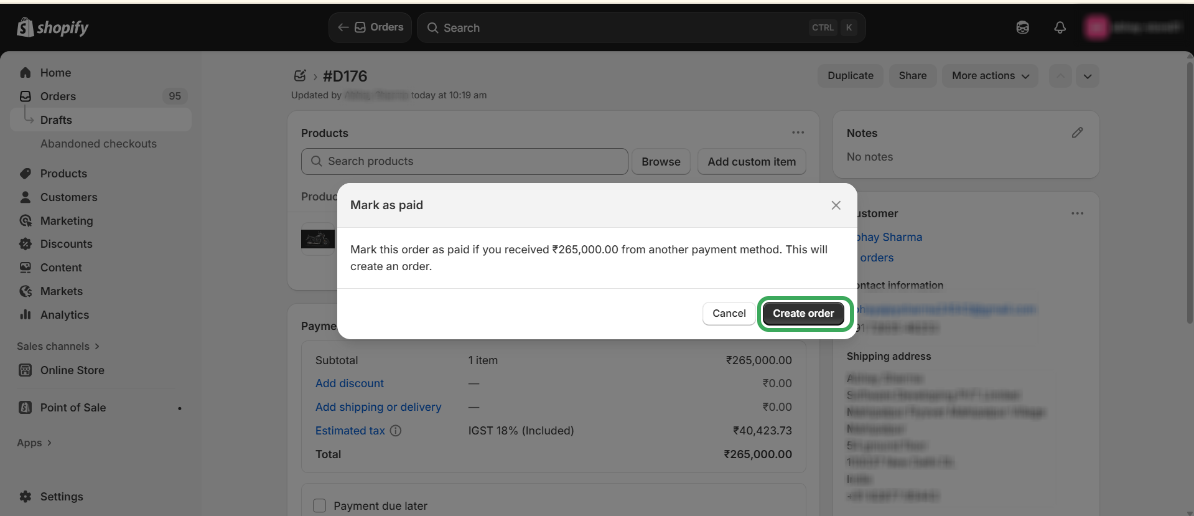
Step 5 – Click on "Create Order".
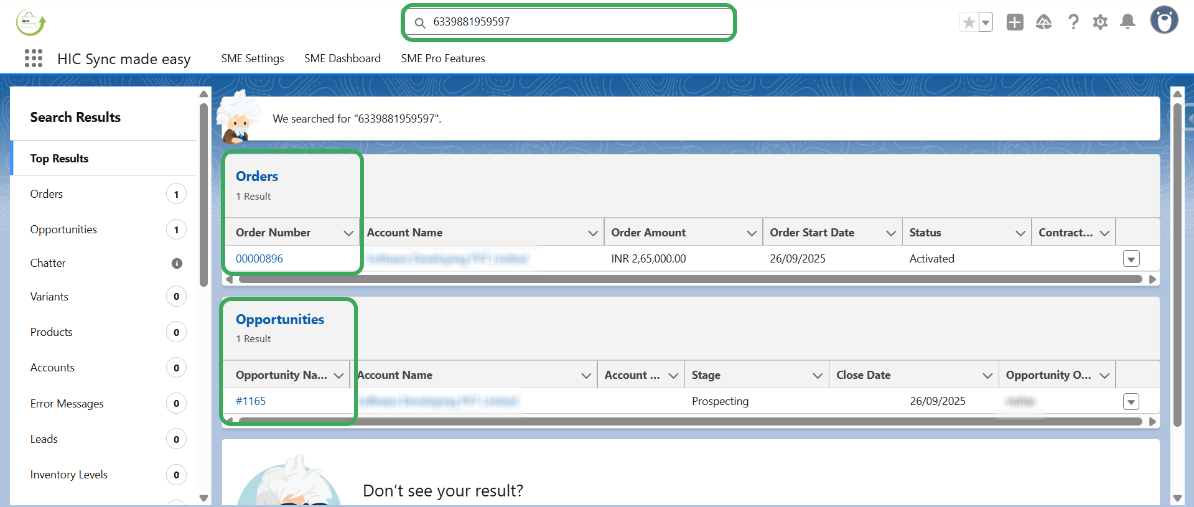
Step 6 – Copy the Shopify Order ID from the Shopify Store URL.

Step 7 – Search for the ID in Salesforce and check for the Order and Opportunity Sync and you will see that order and opportunity is created in salesforce.
Was this article helpful?
That’s Great!
Thank you for your feedback
Sorry! We couldn't be helpful
Thank you for your feedback
Feedback sent
We appreciate your effort and will try to fix the article
