Here's a walkthrough to uninstall the Sync Made Easy package from your org. Follow the steps below to complete the uninstallation easily:
Step 1: Log in to your Salesforce account. Click on the (gear icon) and select Developer Console.

Step 2: Once on the console, click on Debug and then click on Open Execute Anonymous Window.

Step 3: First, change the order status from Activated to Draft. To do this, run the script provided below.
List<Order> ordersToUpdate = [SELECT Id, Status FROM Order WHERE Status = 'Activated' LIMIT 100];
if (!ordersToUpdate.isEmpty()) {
    for (Order order : ordersToUpdate) {
        order.Status = 'Draft';
    }
    // Use Database.update to perform a bulk update
    List<Database.SaveResult> updateResults = Database.update(ordersToUpdate, false);
    // Check for errors in the update results
    for (Database.SaveResult sr : updateResults) {
        if (!sr.isSuccess()) {
            for (Database.Error error : sr.getErrors()) {
                System.debug('Error updating record: ' + error.getMessage());
            }
        }
    }
    System.debug('Updated ' + updateResults.size() + ' orders to Draft');
} else {
    System.debug('No orders with status "Activated" found.');
}- Copy the above script and paste it into the Anonymous Window. Select the Open Log checkbox, then click Execute.

Step 4: Delete all Draft Orders and orders created by this app using the script provided below.
- Click on Debug and then click on Open Execute Anonymous Window.

- Paste this script into the Anonymous Window. Double-click the script to highlight it, then click Execute Highlighted.
database.delete([select id from Order limit 8000],false);

After clicking Execute Highlighted, the script will run. Once it completes, all orders and draft orders will be deleted from Salesforce.
Step 5: Empty the Recycle Bin (after deleting all orders and draft orders).
- Go to the App Launcher, search the Recycle Bin, and open it.

- On the Recycle Bin page, click Empty Org Recycle Bin. When the pop-up appears, click Empty to proceed.

The Recycle Bin has been successfully emptied.
Step 6: Remove user from Permission Set -
- Click on the (gear icon) and select Setup.

- In the Quick Find box, search for Permission Sets and open it.
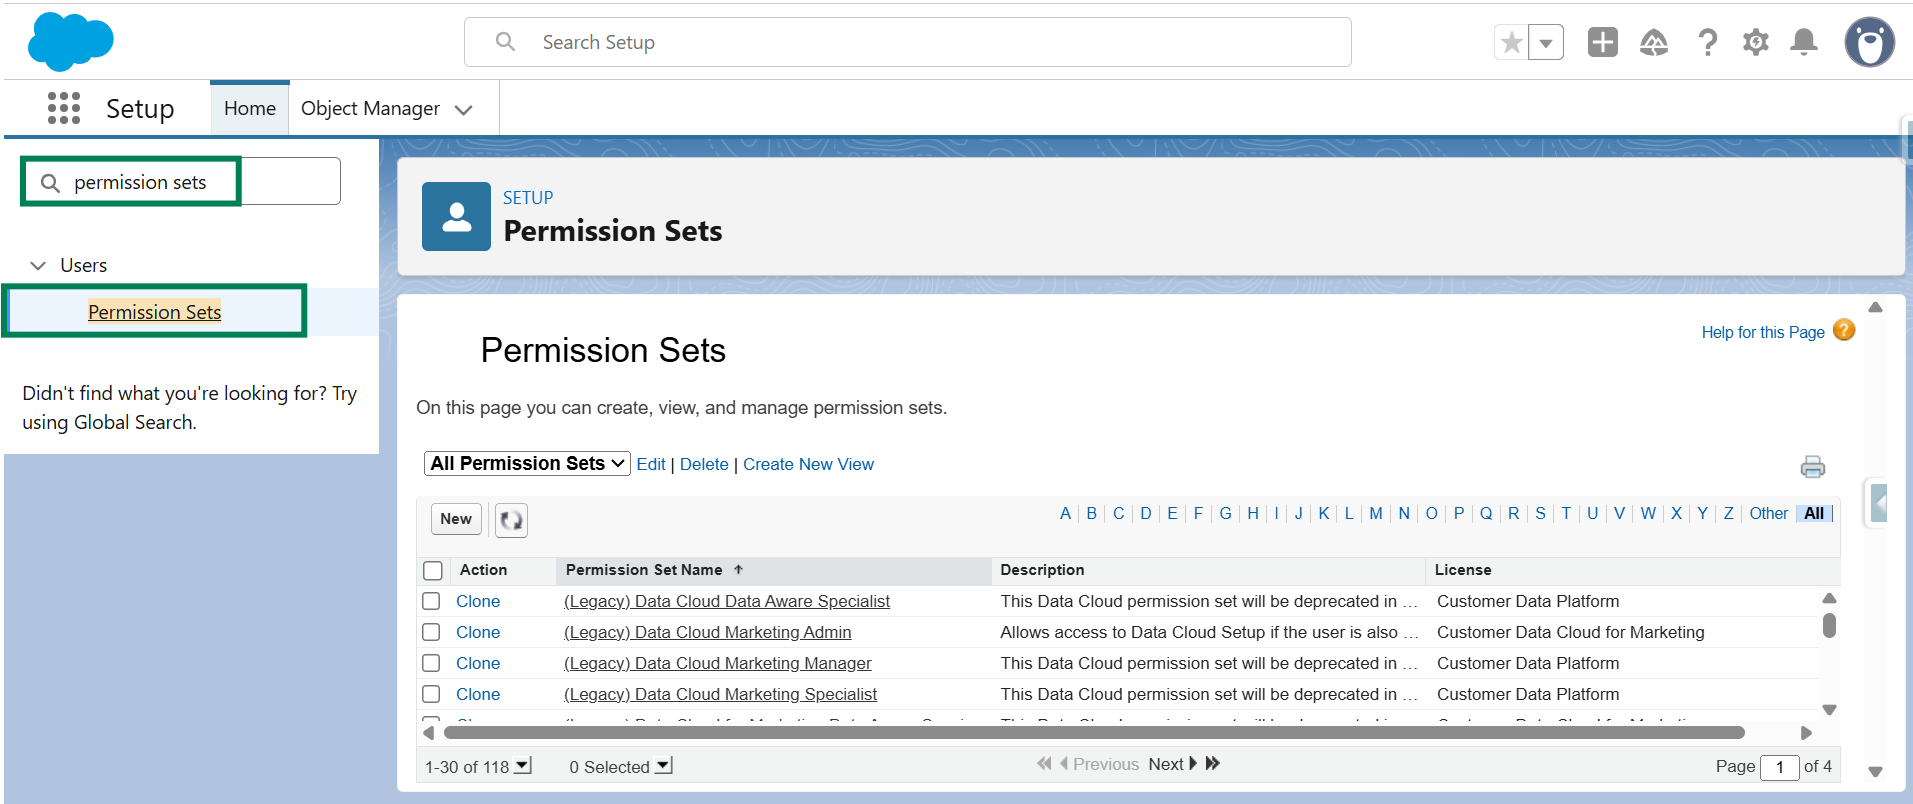
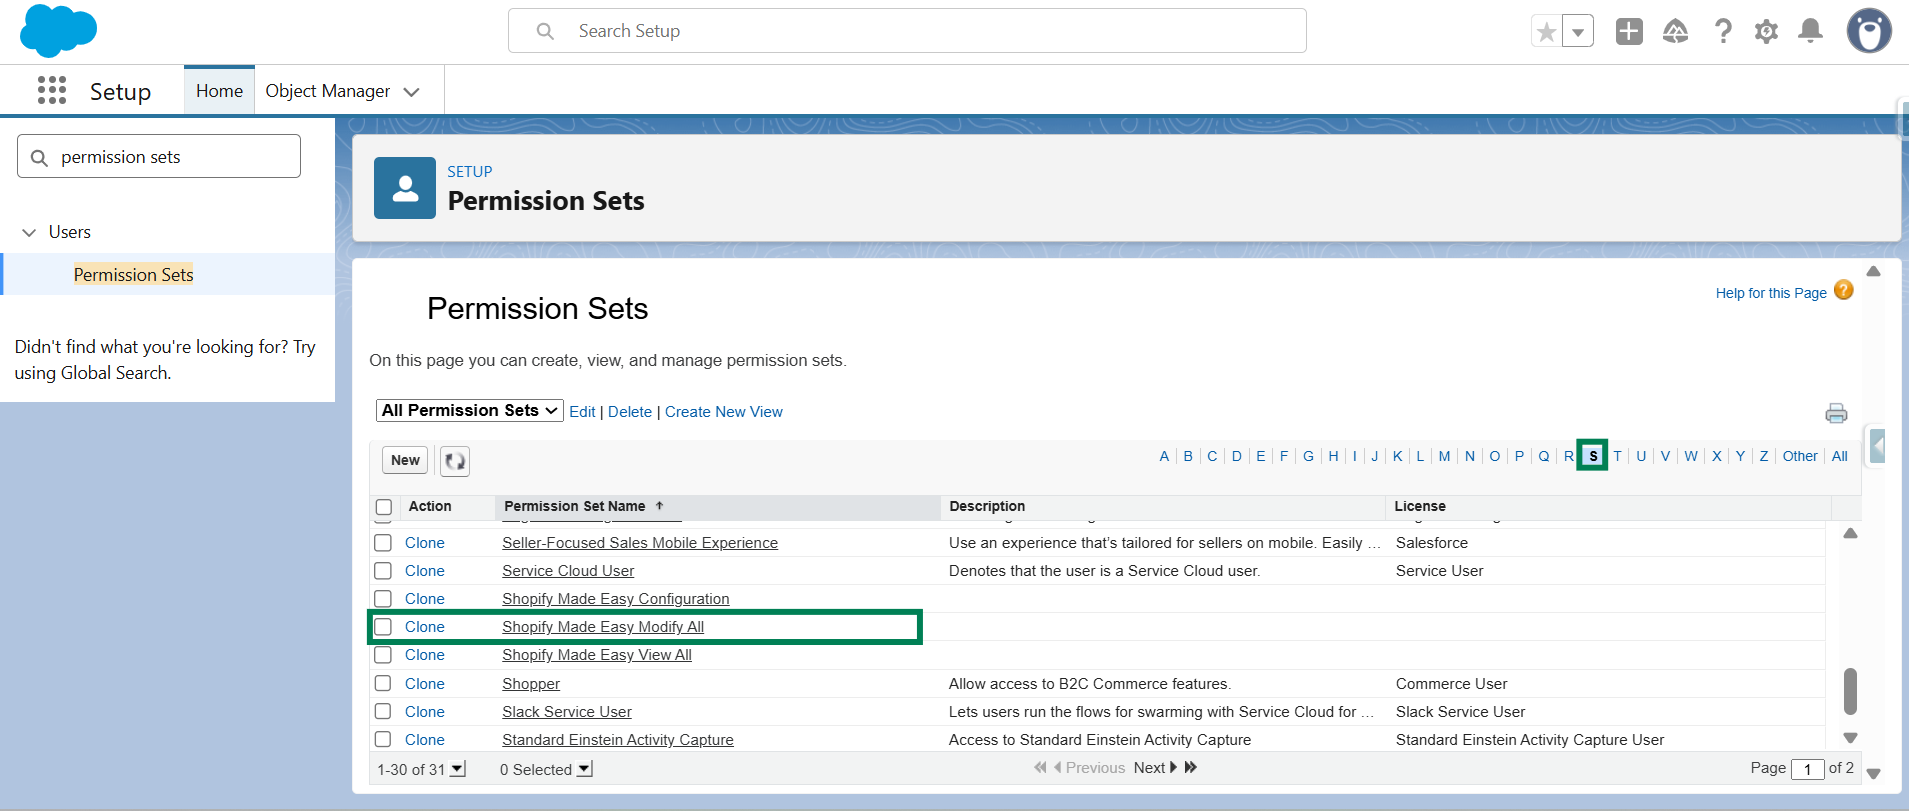
- Click on “S” to quickly find the "Shopify Made Easy Modify All" Permission Set, and open it.
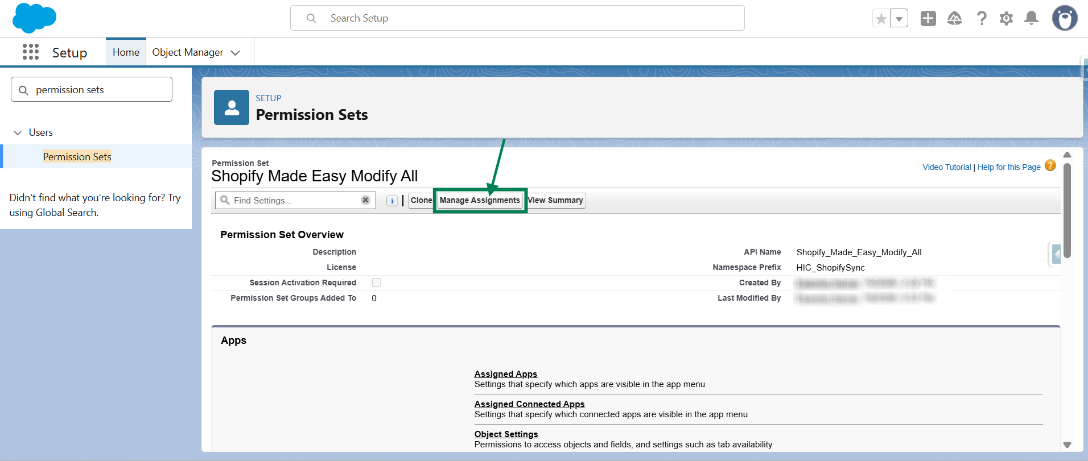
- Click on the “Manage Assignments” button.
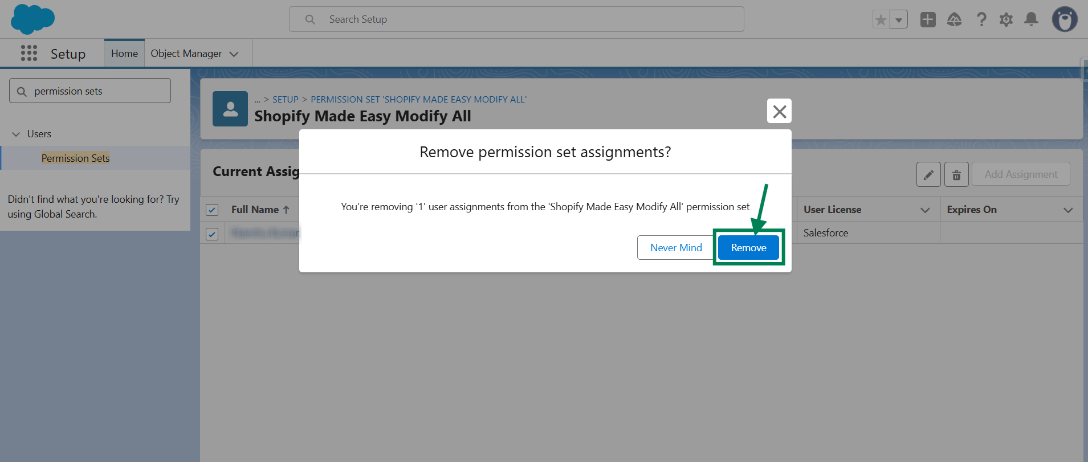
- Select all assigned users, then click the Trash icon to unassign them.
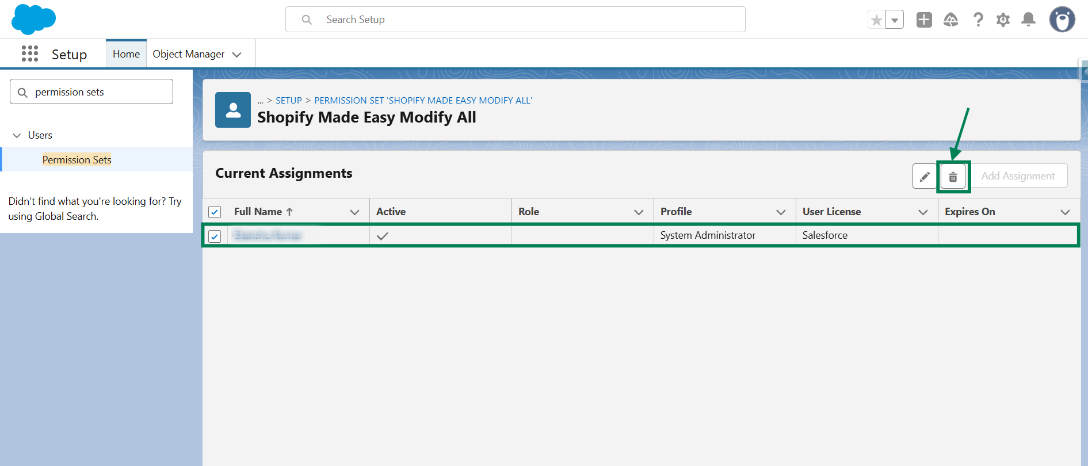
- Click "Remove" to confirm the action.
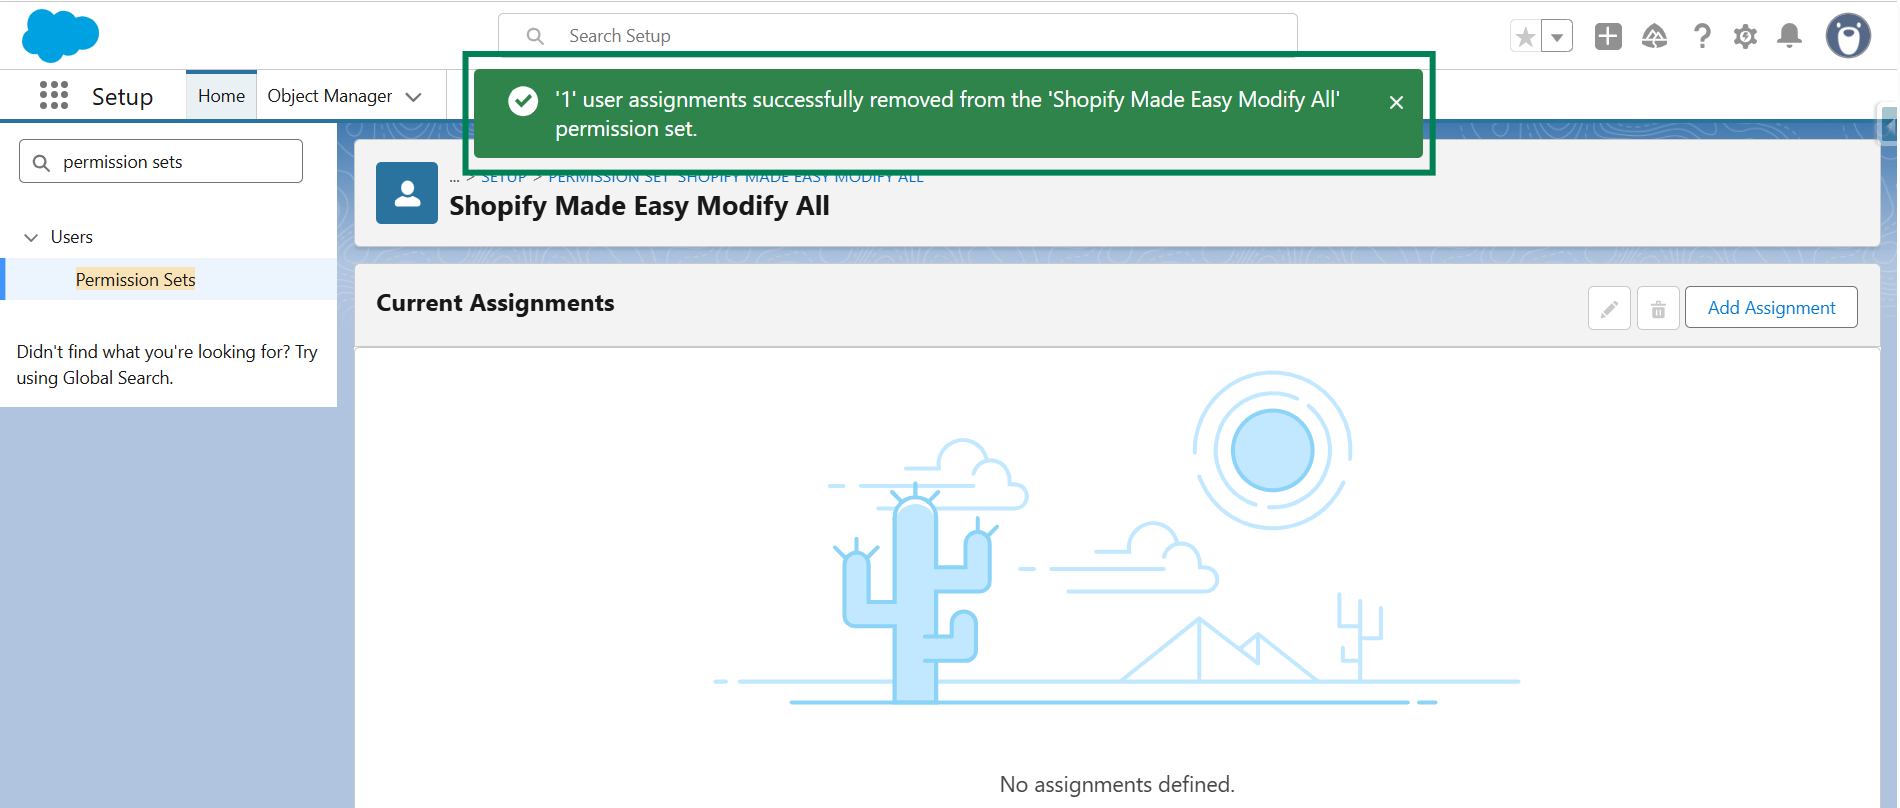
- A success message will appear confirming that the permission set has been removed from the selected users.
Step 7: Unistall the Package -
- In the Quick Find box, search for Installed Packages and open it.

- Find Sync Made Easy and click on Uninstall.

- Scroll to the bottom and select “Do not save a copy of this package’s data after uninstall”. Then, when the pop-up appears, click OK, as shown in the GIF below.

- Now, check the checkbox “Yes, I want to uninstall this package and permanently delete all associated components”. Then, click Uninstall.

- The package will now be uninstalled. If you want to delete associated data, click on the Del button.

We hope this article helps! If you still face any issues, feel free to contact us at support@syncmadeasy.com.
Thanks!
Was this article helpful?
That’s Great!
Thank you for your feedback
Sorry! We couldn't be helpful
Thank you for your feedback
Feedback sent
We appreciate your effort and will try to fix the article