In this guide, we’ll walk you through the step-by-step process of creating an 'Admin API Access Token' in your Shopify store using Sync Made Easy App. Follow the instructions below to obtain your access token and ensure a smooth setup for your integration.
Step 1: Log in to Salesforce and in the App Launcher, search "HIC Sync Made Easy" and click on it.

Step 2: Make Sure you have completed the "Salesforce Configuration" Step already, then click on Verify
Note:
To complete the Salesforce Configuration Step, you can take reference from "How to Setup Sync Made Easy".
Step 3: You will be jumped into the "Shopify Store Setup" page. Here, you have to enter the Shopify Store Name.

Step 4: To get the Name of your Store, from the homepage, copy the Store name from the URL.
Step 5: Now, back to the Shopify Store Setup page (step 2) and enter your Shopify Store Name and click on "Generate Access Token" button.

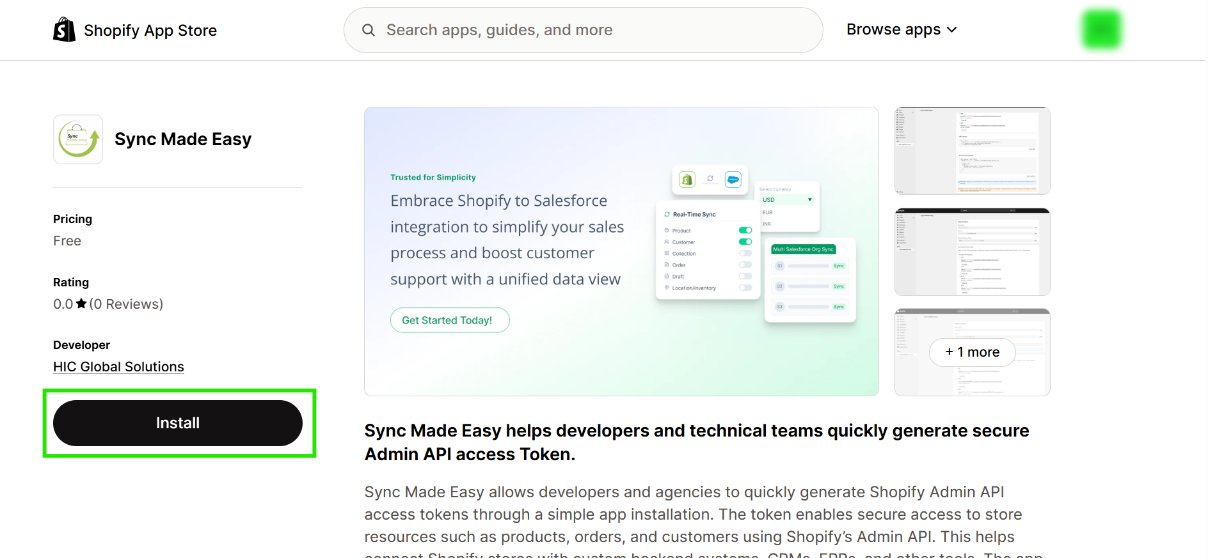
Step 6: It will redirect to another tab, as shown in the screenshot below. Click on Install.
Step 7: Click on Install again.

Step 8: After installation, you will get your Shopify access token.

Step 9: Please note that the Shopify access Token key can be viewed only once after revealing the token. Ensure to copy the Token key and save it in a secure place for later use.

Step 10: Go back to the Shopify Store Setup page, fill the Shopify store access token, and click on "Check Credential".

Step 11: After checking the Credential, your store is added.

Thanks!
Was this article helpful?
That’s Great!
Thank you for your feedback
Sorry! We couldn't be helpful
Thank you for your feedback
Feedback sent
We appreciate your effort and will try to fix the article
